Advertisement
Quick Links
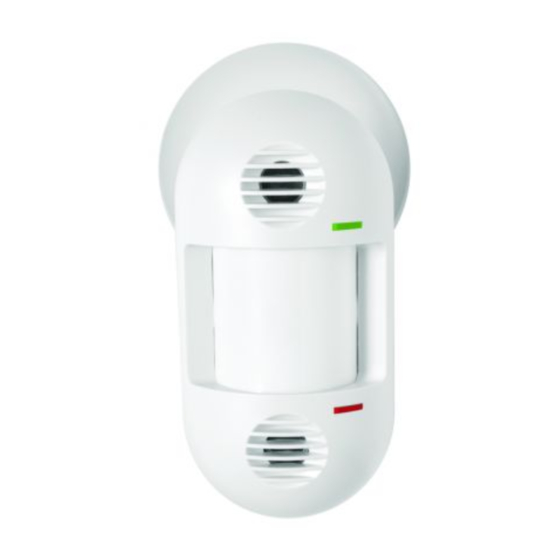
LightOWL® Dual Technology Passive Infrared and Accoustic
Sensors LODT and LOIR
Installation and Setup Procedure
INSTALLATION
1. Insert wiring through bracket legs. Secure bracket to wall or ceiling. For ACAK Installation see page 2.
"POP"
INSTALLATION OPTIONS
9601 Dessau Road, Building One | Austin, TX 78754 Toll Free: 888-698-3242 | Fax: 512-450-1215 | www.hubbell-automation.com
Cover
PULL
2. Connect building wiring harness with wire nuts. Snap
bracket cover in place to conceal wiring and bracket. Feed
wiring harness through the back of the sensor body and out
exit slot.
3. Snap sensor into mounting post. Plug wiring harness into
connector located on the left side opposite exit slot and
place wiring under wire tabs. Align sensor and tighten
position locking screw.
4. Replace sensor cover.
Mounting
Body
Bracket Cover
Wiring
Harness
Locking screw
loosen
tighten
ACAK
Bracket
Acoustic Ceiling
Adaptor Kit
(optional)
1501B 03.02.2016
Advertisement

Related Manuals for Hubbell LightOWL LODT


Summary of Contents for Hubbell LightOWL LODT
- Page 1 Align sensor and tighten position locking screw. “POP” 4. Replace sensor cover. INSTALLATION OPTIONS 9601 Dessau Road, Building One | Austin, TX 78754 Toll Free: 888-698-3242 | Fax: 512-450-1215 | www.hubbell-automation.com 1501B 03.02.2016...
- Page 2 ACAK INSTALLATION (optional) SENSOR PLACEMENT Wrong Correct Hallway º When placing the sensor in a Insert ACAK into mounting bracket and twist clockwise 90 to lock room, do not place where the into place. Screw bracket and self-cutting AKAC into ceiling tile sensor is aimed out through a and secure with washer and nut.
Need help?
Do you have a question about the LightOWL LODT and is the answer not in the manual?
Questions and answers