Sign In
Upload
Download
Add to my manuals
Delete from my manuals
Share
URL of this page:
HTML Link:
Bookmark this page
Add
Manual will be automatically added to "My Manuals"
Print this page
×
Bookmark added
×
Added to my manuals
Manuals
Brands
CipherLab Manuals
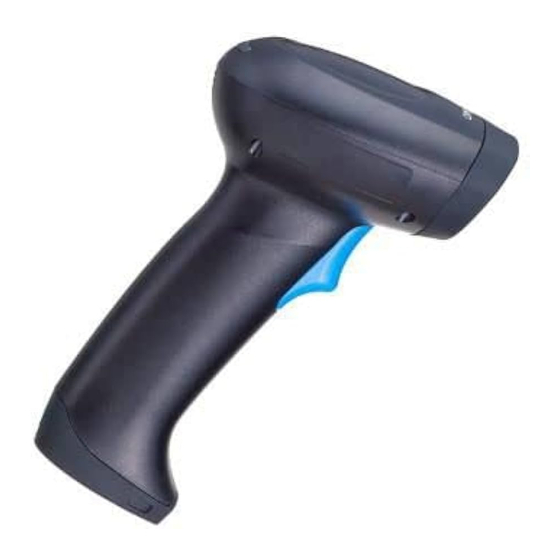
Barcode Reader
22 Series
User manual
CipherLab 22 Series User Manual
Scanmaster web for scanner configuration
Hide thumbs
1
2
3
4
5
6
7
8
9
10
11
12
13
14
15
16
page
of
16
Go
/
16
Bookmarks
Advertisement
Quick Links
Download this manual
ScanMaster Web for Scanner Configuration
For 22/25 Series Barcode Scanners:
Version 1.02
Previous
Page
Next
Page
1
2
3
4
5
Advertisement
Need help?
Do you have a question about the 22 Series and is the answer not in the manual?
Ask a question
Questions and answers
Related Manuals for CipherLab 22 Series
Barcode Reader CipherLab 2560 User Manual
(253 pages)
Barcode Reader CipherLab 2200 User Manual
Omnidirectional presentation scanner (58 pages)
Barcode Reader CipherLab 2200 Series Quick Start Manual
Omnidirectional (2 pages)
Barcode Reader CipherLab 2564 User Manual
(291 pages)
Barcode Reader CipherLab 25 Series User Manual
Scanmaster web for scanner configuration (16 pages)
Barcode Reader CipherLab 250 Series Quick Start Manual
(2 pages)
Barcode Reader CipherLab CIPHER Lab CPT-8061 Use And Installation Manual
Wireless scanner (98 pages)
Barcode Reader CipherLab 1500 User Manual
Barcode scanner (168 pages)
Barcode Reader CipherLab Cipher Lab 1560 User Manual
(243 pages)
Barcode Reader Cipherlab 1560 User Manual
(222 pages)
Barcode Reader CipherLab 1504 User Manual
(217 pages)
Barcode Reader CipherLab 1660 User Manual
(235 pages)
Barcode Reader CipherLab 1560 User Manual
(206 pages)
Barcode Reader CipherLab 1166 User Manual
(180 pages)
Barcode Reader CipherLab 1664 User Manual
(267 pages)
Barcode Reader CipherLab 1500 User Manual
(150 pages)
This manual is also suitable for:
25 series
Print
Rename the bookmark
Delete bookmark?
Delete from my manuals?
Login
Sign In
OR
Sign in with Facebook
Sign in with Google
Upload manual
Upload from disk
Upload from URL


Need help?
Do you have a question about the 22 Series and is the answer not in the manual?
Questions and answers