Table of Contents
Advertisement
Quick Links
Advertisement
Table of Contents

Subscribe to Our Youtube Channel
Related Manuals for Caliber RMD 069


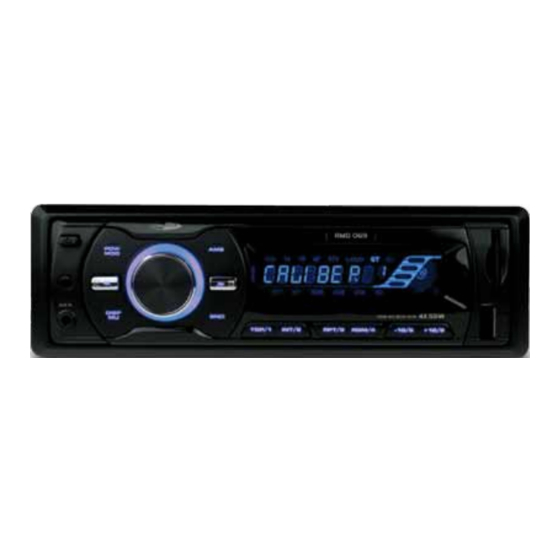
Summary of Contents for Caliber RMD 069
-
Page 2: Table Of Contents
Installation ……………………………………………………………………………… Additional information ………………………………………………………… General operations ………………………………………………………………… Radio operations …………………………………………………………………… USB/SD operations ……………………………………………………………… RDS operations ……………………………………………………………………… Specification ………………………………………………………………………………... -
Page 3: Installation
INSTALLATION PRECAUTIONS Cho os e the moun ting loc at ion whe re the un it wi ll no t int er fer e wi th the no rmal driving function of the driver. Bef or e final ly ins tal ling the uni t, co nne ct the wi ring tem por ar ily and mak e su re it is all connected up properly and the unit and the system work properly. - Page 4 INSTALLATION Removing the unit 1. Dashboard 2. Nut (5mm) 2.Insert fingers into the groove in the 3. Spring Washer front of fram e and pul l out to rem ove 4. Screw (5 x 25mm) the fram e. (When reatt achi ng the 5.
-
Page 5: Additional Information
ADDITIONAL INFORMATION RE AR Rc h LI NE OUT RE AR Lc h LI NE OUT YELLOW BLUE BLACK GREY WHITE GREY/BLACK WHITE/BLACK VIOLET GREEN VIOLET/BLACK GREEN/BLACK... -
Page 6: General Operations
GENERAL OPERATIONS FRONT PANEL LAYOUT Press Release Button to Detachable 1.Power Button 13.Repeat & Preset Button 3 2.Volume/Sel Button 14.Random & Preset Button 4 3.Mode switch 15.Preset Button 5 4.Display Button 16.Preset Button 6 5.LCD Display 17.Release Button 6.Reset Button 18. -
Page 7: Sound Adjustment
GENERAL OPERATIONS GENERAL OPERATIONS ON/OFF Press POWER button (1) to turn on the unit. Press it more than 1 second to turn off. SOUND ADJUSTMENT Turn on (2) can adjust the desired volume quality. Press SEL button (2) will change in the following order. Option: ( Volume) ( Bass) - Page 8 GENERAL OPERATIONS Note: On Remote Control AREA SETUP In Radio mode. Press SEL button for several seconds. LCD will be show from BEEP ON AREA USA/EUR. At AREA USA/EUR. You can use VOL +/- to select the AREA frequency.
-
Page 9: Liquid Crystal Display
GENERAL OPERATIONS SELECT MODE By pressing this button(3) to go to different function mode: - Tuner (radio) - USB to go to this mode USB device must be connected. - Memory Card to go to this mode must be have a Memory Card in. - AUX in put DISPLAY Press DISP button (4) to operate as the conversion of each display mode as follow:... -
Page 10: Radio Operations
RADIO OPERATIONS BAND SELECTION At tuner mode, press BAND button (7) to select the desired band. The reception band will change in the following order: STATION SELECTION STATION SELECTION During radio mode, Press “SEEK ” or “SEEK ”buttons shortly to automatically search a station, Press “SEEK ”... -
Page 11: Usb/Sd Operations
USB/ SD OPERATIONS USB/SD FLASH MP3 Playing: PLAY / PAUSE Press button (11) pause function is activated. Music track play time INDICATOR flashes. Pr ess it again to resum palying, press it more than 1 second is TOP function. Press button (12): During INTRO ON, INT indicator comes on and begins Playing the first 10sec of each song, until the last song is played. -
Page 12: Rds Operations
RDS OPERATIONS... -
Page 13: Specification
SPECIFICATION General Power Supply Requirements: DC 14 4V, Negative Ground Load Impedance 4 ohms Maximum Output Power: 7W x 4(CH) Chassis Dimensions: 178 x 130x 50mm (W x D x H) Current Drain: Tone Controls Bass (at 100Hz): +10dB / -10dB Treble (at 10K): +10dB / -10dB USB/ SD MUSIC Player...
Need help?
Do you have a question about the RMD 069 and is the answer not in the manual?
Questions and answers