Graco A Series Repair Manual
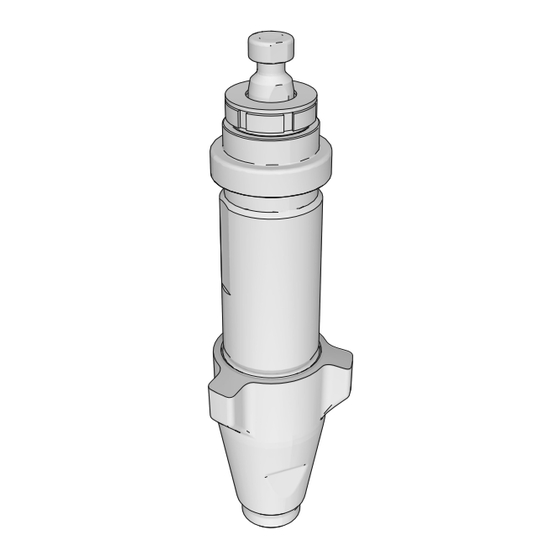
Displacement pump
Hide thumbs
Also See for A Series:
- Instructions - parts manual (52 pages) ,
- Instructions-parts list manual (48 pages) ,
- Manual (36 pages)
Table of Contents
Advertisement
Repair
Displacement Pump
For professional use only.
3300 psi (22.7 MPa, 227 bar) Maximum Working Pressure
Model 16X414, Series A
UltraMax II and Ultimate MX II 695/795
GMAX II 3900
Model 16X418, Series A
TexSpray Mark IV
Model 16X419, Series A
UltraMax II and Ultimate MX II 1095/1595
GMAX II 5900
Model 16X420, Series A
UltraMax II and Ultimate MX II 1095/1595 IronMan
GMAX 5900 IronMan
Model 16X421, Series A
TexSpray Mark V and 5900 HD
Model 16Y602, Series A
TexSpray Mark VII
Model 16X426, Series A
GMAX II 7900
Model 16X427, Series A
TexSpray Mark X and 7900HD
Model 16Y599, Series A
TexSpray Mark V and IronMan
Model 17N693, Series A
APX 6200 (MaxLife)
Model 17R044, Series A
APX 6200 (Chrome)
Model 17N694, Series A
APX 8200 (MaxLife)
Model 17R042, Series A
APX 8200 (Chrome)
Important Safety Instructions
Read all warnings and instructions in this
manual. Save these instructions.
332922D
EN
ti23273a
Advertisement
Table of Contents


Need help?
Do you have a question about the A Series and is the answer not in the manual?
Questions and answers