Table of Contents
Advertisement
Quick Links
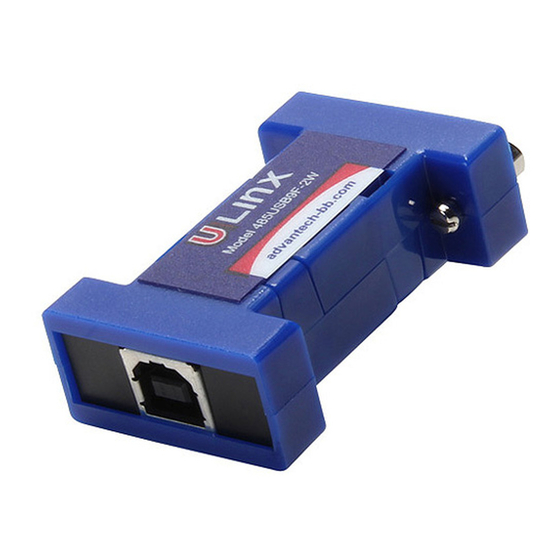
Product Overview
USB Side
RS-485
Side
DB9F
1
Install the Drivers
Use the included CD to install the converter's
drivers.
Warning: To prevent installation errors, do
not plug in the hardware until you have al-
ready installed the drivers.
The driver software is contained on the CD
that is packaged with your converter.
• Put the driver CD into the PC. The setup
program should automatically launch.
• Click Next. Accept the license agreement
and click Next again.
• The program will install the driver and a
screen will be displayed indicating successful
installation.
• When you connect the converter to your
PC for the first time, the COM port will be
configured. This could take up to 30 seconds.
2
Connect the Converter
485USB9F-2W Wiring
RS-485 2-Wire Device
485USB9F-2W
PIN 2 Data A (-)
USB
PIN 3 Data B( +)
To PC
PIN 4 GND
485USB9F-2W
RS-485 2-Wire Device
485USB9F-4W Wiring
RS-485 4-Wire Device
485USB9F-4W
Pin 2 RDA(-)
TDA(-)
USB
Pin 3 TDB(+)
RDB(+)
Pin 7 RDB(+)
TDB(+)
Pin 8 TDA(-)
RDA(-)
Pin 6 GND
GND
To PC
3
Loopback Test (4 Wire)
Loopback RDA(-) to TDA(-) and TDB(+) to
RDB(+) as shown in the diagram.
Using Hyper Terminal or similar program,
connect to the appropriate COM port. Set the
desired baud rate. Ensure that Hyper Terminal
local echo is OFF. Transmit data. If the same
character string is returned, the test is good.
Data A (-)
Data B (+)
A detailed description of this test is located in
GND
the technical notes section of our web page,
www.bb-elec.com.
4
Back to Back Test (2 Wire)
Due to the configuration, a loopback test is
not possible with this model. However, two
converters can be used in a back to back
configuration.
Wire the converters as shown below.
Using HyperTerminal or similar program, connect
to the appropriate COM ports. Set the desired
baud rate. Transmit data. If the same string is
returned the test is good.
Advertisement
Table of Contents

Related Manuals for Advantech B+B SmartWorx 485USB9F-2W


Summary of Contents for Advantech B+B SmartWorx 485USB9F-2W
-
Page 1: Product Overview
Product Overview • The program will install the driver and a Loopback Test (4 Wire) screen will be displayed indicating successful installation. USB Side Loopback RDA(-) to TDA(-) and TDB(+) to • When you connect the converter to your RDB(+) as shown in the diagram. PC for the first time, the COM port will be configured. -
Page 2: Quick Start
1-888-948-2248 | Europe: +353 91 792444 advantech-bb.com 707 Dayton Road | PO Box 1040 | Ottawa, IL 61350 Phone: 815-433-5100 | Fax: 815-433-5109 www.advantech-bb.com Fast and easy on the web: www.advantech-bb.com | E-mail: support@advantech-bb.com Document number – 710-10880-00_485USB9F-xW-xx_4216qsg...
Need help?
Do you have a question about the B+B SmartWorx 485USB9F-2W and is the answer not in the manual?
Questions and answers