Roland VR-50HD MK II Startup Manual
Multi-format av mixer
Hide thumbs
Also See for VR-50HD MK II:
- Reference manual (65 pages) ,
- Owner's manual (48 pages) ,
- Information (4 pages)
Table of Contents
Advertisement
Quick Links
Connect the ground terminal to an external ground point before use
In order to stabilize the connections between this unit and external devices, and to prevent malfunctions or faulty operation caused by
static electricity, you should connect the ground terminal of this unit to an external ground point before use. Use the included ground cord
to make this connection.
* Before connecting the ground cord or any external devices, you must minimize the volume of all devices and
turn off the power of all devices in order to prevent faulty operation or malfunctions.
* Unsuitable places for connection
5 Water pipes (may result in shock or electrocution)
5 Gas pipes (may result in fire or explosion)
5 Telephone-line ground or lightning rod (may be dangerous in the event of lightning)
Ground terminal
* If you connect the ground terminal to an external ground point, a slight hum might occur.
* If you do not understand how to connect the ground terminal, contact the nearest Roland Service Center.
Checking the Included Items
Check that all of the included items are present. If any of the
included items are missing, contact your dealer.
* VR-50HD MK II unit
* Ground cord
* AC adaptor
* Startup Guide (this document)
* Power cord
* Leaflet "USING THE UNIT SAFELY"
Before using the unit, ensure that its system program is at the most recent version. For information on available upgrades for the system program, see
the Roland website (https://proav.roland.com/).
You can check the system program version by Pressing the [MENU] button 0 System < Setup > 0 < Version >.
Before using this unit, carefully read "USING THE UNIT SAFELY" and "IMPORTANT NOTES" (the leaflet "USING THE UNIT SAFELY" and the Owner's Manual
(p. 8)). After reading, keep the document(s) where it will be available for immediate reference.
PDF Manual
(download from the Web)
For details on operation and a list of menus, refer to "Reference
Manual" (PDF).
Downloading
1.
Access the Roland website.
https://proav.roland.com/
2.
Move to the product page 0 click "Support" 0
download the applicable PDF file.
Startup Guide
© 2019 Roland Corporation
Advertisement
Table of Contents

Subscribe to Our Youtube Channel
Related Manuals for Roland VR-50HD MK II


Summary of Contents for Roland VR-50HD MK II
- Page 1 Ground terminal * If you connect the ground terminal to an external ground point, a slight hum might occur. * If you do not understand how to connect the ground terminal, contact the nearest Roland Service Center. Checking the Included Items...
-
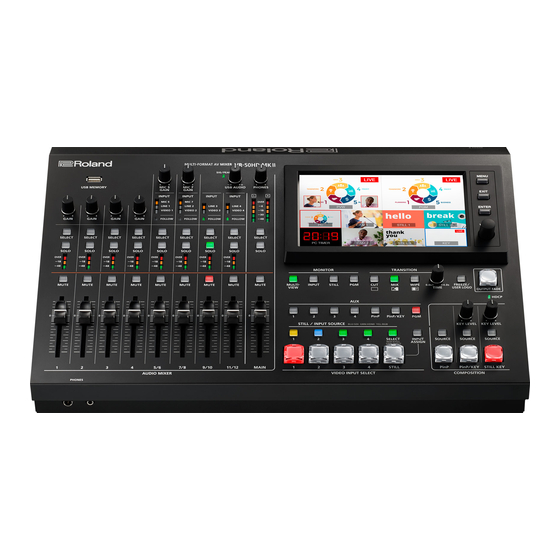
Page 2: Panel Descriptions
Panel Descriptions Top Panel Audio Mixer Section (Input channels 1–11/12, MAIN bus) [GAIN] knobs Adjust the gain (sensitivity) of the audio that is being input from the AUDIO IN 1–4 jacks. [SELECT] buttons Accesses a menu screen related to audio input and output. [SOLO] buttons Turn the solo function on/off. - Page 3 Panel Descriptions Common Controllers USB MEMORY port Connect a USB flash drive here. It is used when loading a still image, or when saving or loading settings. PHONES jacks (Front panel) Connect headphones here. Two sets of headphones can be used simultaneously.
-
Page 4: Rear Panel
Panel Descriptions Rear Panel * To prevent malfunction and equipment failure, always turn down the volume, and turn off all the units before making any connections. USB port AC adaptor jack Cord hook Connect a USB flash drive here. This is used to update the system Connect the included AC adaptor to this jack. -
Page 5: Basic Operations
Basic Operations Turning the Power On/Off Operating the Menu Once everything is properly connected, be sure to follow the Here’s how to access the menu, and make video/audio settings and procedure below to turn on their power. If you turn on equipment in settings for this unit. -
Page 6: Setting The Output Format
Basic Operations Setting the Output Format Switching the Video Here’s how to specify the output format as appropriate for the device Assigning video sources that’s connected. Here’s how to assign the video sources being input from the video input connectors to the VIDEO INPUT SELECT [1]–[4] buttons. Press the [MENU] button to display the MENU screen. -
Page 7: Adjusting The Audio
Basic Operations Adjusting the Audio Adjusting the Input Gain (Sensitivity) Adjusting the Volume Balance Here’s how to adjust the input gain so that the audio is at the Here’s how to adjust the volume balance of each input and the appropriate level. -
Page 8: Using The Unit Safely
Although we will do our utmost to preserve the For the latest information, refer to the Roland data stored in your unit when we carry out repairs, • This product is using the open source license (GPL/ website.
Need help?
Do you have a question about the VR-50HD MK II and is the answer not in the manual?
Questions and answers