Advertisement
Quick Links
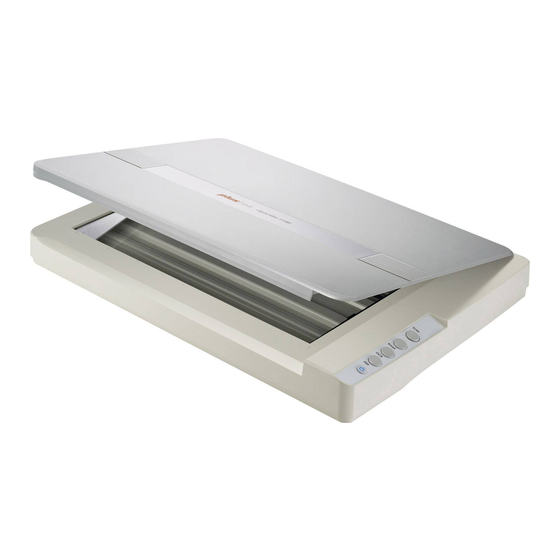
OpticSlim A3 series
Quick Installation Guide
Read these instructions before using your product.
1
Install software and connect the scanner
Step 1 Connecting
Connecting the scanner to your computer
Please use the AC adapter provided with the scanner.
2
Scan a document
1.
Check the system tray to see if the installation is successful.
For Windows OS
For Mac OS
Scan Button (Graphics)
Useful Tips:
1. Select or add desired application.
2. Recommended Resolution:
300 dpi
(Note: The higher the resolution, the slower the scanning speed is.)
3. Tick the check box of Apply Color Matching. The purpose of Color Matching is getting the consistent
color. This option uses the default parameters (sRGB profile) to adjust the colors of the image.
Please scan the QR code in the title bar to see more software video tutorials.
Step 2 Installing
Insert the Setup/Application Disc, included with your scanner, into
your DVD-ROM drive.
2.
Place the document on the glass.
File Button
Click
Add
button
to
add
frequently-used image-editing
programs,
for
example:
Photoshop, PageManager.
Useful Tips:
1. Select desired utility, for example:
2. If you want to scan a batch of document, please tick the check box of Continuous Scan, there will be a
For product detailed information, please visit:
Scan me
Follow the on-screen instructions to install all software:
Note:
Visit our official download center for latest driver, simply search
by keywords: "Plustek Download" via search engines.
3.
Close the cover and press scanner button.
File
Utility.
countdown dialog appear for you to place the next page.
For software video tutorials, please visit:
Scan me
Click
Setup
button
to
customize the file name, for
example: student picture.
P/NO.: 17-07-2BB5070-C
Advertisement

Related Manuals for Plustek OpticSlim A3 Series


Summary of Contents for Plustek OpticSlim A3 Series
-
Page 1: Scan A Document
DVD-ROM drive. Note: Visit our official download center for latest driver, simply search by keywords: "Plustek Download" via search engines. Please use the AC adapter provided with the scanner. Scan a document Check the system tray to see if the installation is successful. -
Page 2: Ocr Button
Select the folder or the DVD-ROM drive that contains this scanner’s driver, then click Next to complete the installation. Technical Support If you need further support, please call 714-670-7713 to speak to our support representatives, 9 AM to 5:30 PM PST, Monday through Friday. For detailed information, please visit product website: http://plustek.com/us/products/flatbed-scanners/opticslim-1180...
Need help?
Do you have a question about the OpticSlim A3 Series and is the answer not in the manual?
Questions and answers