Advertisement
Connecting
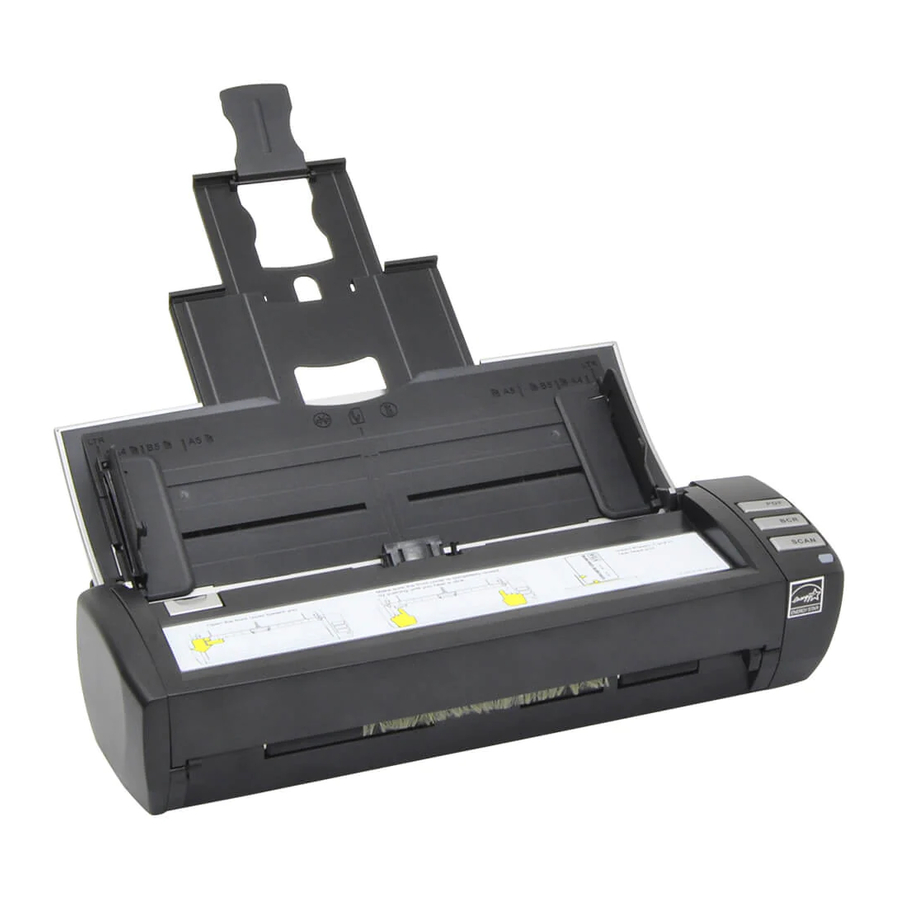
Connecting the scanner to your computer

* Please use the AC adapter provided with the scanner.
Installing
* Be sure connecting the scanner to your computer before install required software.
Insert the product DVD or download and run your product's software package: www.plustek.com/ad480
Before scanning, please check the system tray to see if the installation is successful.

Scan a Document

Loading Plastic Cards

If you want to scan from card slot, please select "Scan Type" from the dropdown list and click "Apply" button.

Calibration
 If the colors of the scanned images are strange, or there are some stripes on the scanned image, please calibrate the scanner and reset the scan settings to default.

PDF Button
- Click
![]() button to select saving folder.
button to select saving folder.
![]()
- Click Setup button to select the filename format.

 button to select saving folder.

- Select desired file format from the dropdown list. This selection should match with the selection of Scan Mode.

![]()
Searchable PDF file format is only available when OCR software is installed in your system.

- Click Configure button to configure advanced settings for PDF file format, you may select to generate all pages in one file.

Click Setting button to select the desired OCR language.


- Check the scan settings and make any required changes.
- After all settings are done, click Apply button.
- Press the PDF button on the scanner panel to perform the scanning task.
BCR Button

-
Click Configure button to configure BCR settings. Select the desired BCR language.
![]()

- Check the scan settings and make any required changes. For examples:
- Select Resolution from the dropdown list:

- Select Resolution from the dropdown list:

- After all settings are done, click Apply button.
- Press the BCR button on the scanner panel to perform the scanning task.
Scan Button

- Click Add button to add frequently-used imageediting programs, for example: Photoshop.
![]()
- Click Save Setup button to select saving folder and the file name format.
![]()
- Select desired file format from the dropdown list. This selection should match with the selection of Scan Mode.


- Click Configure button to configure advanced settings for JPG, TIFF - Compressed and PDF file formats.
![]()

- Check the scan settings and make any required changes.
- After all settings are done, click Apply button.
- Press the Scan button on the scanner panel to perform the scanning task.

- The Scan button is customizable, you may select the desired utilities from the Button Template dropdown list.
![]()
- If you select the FTP Utility, you have to setup the FTP connection by clicking the Add button.
![]()


For detailed information, please visit www.plustek.com/ad480
Clean & Maintenance
Clearing Paper Jams
If a paper jam in the scanner happens, please open the ADF cover, gently but firmly pull the jammed documents out of the scanner.

Cleaning the ADF
Clean your scanner regularly to ensure the best scanning performance.
Clean Feed Roller:

Clean Pad Module:

Clean ADF Glass:

For detailed information, please visit www.plustek.com/ad480
Documents / Resources
References

Download manual
Here you can download full pdf version of manual, it may contain additional safety instructions, warranty information, FCC rules, etc.
Advertisement


Need help?
Do you have a question about the AD480 and is the answer not in the manual?
Questions and answers