Advertisement
Advertisement
Table of Contents

Related Manuals for Xiaomi Mi Robot STYTJ02YM


Summary of Contents for Xiaomi Mi Robot STYTJ02YM
- Page 1 Mi Robot Vacuum-Mop Cleaner Model : STYTJ02YM User Manual https://fr.aliexpress.com/item/4000095616285.html Represented by Please read this manual carefully before use and keep it properly. The adapter supplied with this product can only be used at an altitude below 2000m.
-
Page 2: Table Of Contents
Product Introduction............................. 1-3 Installation Instructions............................4-5 Operation Instructions............................6-7 Routine Maintenance......................... Basic Parameters..............................10 Troubleshooting..............................11 Common Problems............................... 12 Restrictions on Use.............................. 13 Warranty Certificate.............................. 14... -
Page 3: Product Introduction
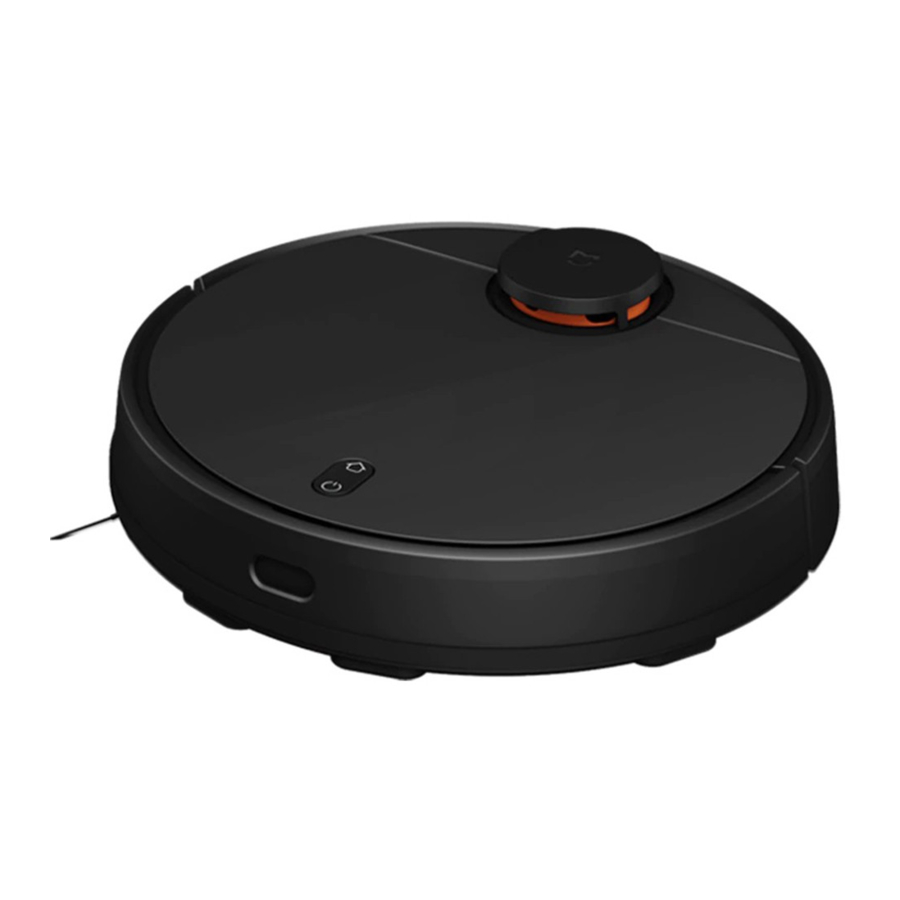
Product Introduction Robot Intelligent recharging Short press it to start intelligent recharging Startup and shutdown/global cleaning Short press it to start/suspend cleaning Long press it for 3s to start up or shut down the robot Blue light remains on: Working normally Yellow light blinks slowly: Returning for recharging / low battery Yellow light breathes: Charging Blue light blinks slowly: Entering the network configuration mode... - Page 4 Product Introduction Robot and Sensor Laser radar Collision sensor Side brush Left wheel Top cover Universal wheel Boundary sensor Right wheel Button Charging electrode Cover for middle motor Infrared receivingsensor Battery Rolling brush...
- Page 5 Product Introduction Water Tank Charging Dock Water inlet Signal Charging indicator transmitting area Water tank Charging Charging electrode electrode Water tank clip Cable slot Dustbin component Duster component Duster Dustbin HEPA Duster bracket Sticking Filter mesh Clip...
-
Page 6: Installation Instructions
Installation Instructions 1. Connect the power cord, and collect the redundant cable. 3. Startup and charge. Long press for 3s; the indicator light on the robot comes on, connect the robot to the charging dock for charging. * Please put the redundant cable into the cable slot at the bottom of the charging dock, otherwise the cable may be dragged and disconnect power supply to the charging dock. -
Page 7: Installation Instructions
Installation Instructions ③ Attach the duster into the duster bracket, and stick 4. Install the water tank the duster to the Velcro. ① Open the rubber cover of the water tank; fill the water tank with water; then close the rubber cover. ④... -
Page 8: Operation Instructions
Operation Instructions 1. Startup/shutdown The robot will start up automatically while it is being charged on the charging dock. The robot cannot shut down while it is being charged on the charging dock. Long press the Power Button; the power indicator light comes on, and the robot enters the power-on state; after startup, a prompt tone will be heard. When the robot is stationary, long press the Power Button to shut it down;... - Page 9 Operation Instructions In the DND period , the robot will not respond to Resume Pause Cleaning, When the robot is in operation, press any button to pause; press Scheduled Cleaning or give voice prompts. The DND mode is to continue cleaning; press to return to the charging dock enabled during 22:00-07:00 by default, and can be disabled via and end the current cleaning task.
-
Page 10: Routine Maintenance
Routine Maintenance Dustbin 3. Use the cleaning brush to clean the dustbin, 1. Open the top cover to take out the dustbin, as shown in the figure. and put ba.ck the HEPA component 2. Open the HEPA component; take it out and empty it. 4. - Page 11 Routine Maintenance Side Brush HEPA Component Remove and clean the side brush regularly. Follow the figure to remove the HEPA component and clean it. Rolling Brush Boundary Sensor 1. Turn over the lower clip to remove the cover for the middle motor; Clean the boundary sensor with soft cloth regularly 2.
-
Page 12: Basic Parameters
Basic Parameters Charging Dock Robot Over dimensions 153.9mmx74.6mmx99.5mm Name Parameter Rated power Over dimensions Φ350mmx94.5mm Rated input 1.2A Product weight Approx. 3.27kg Rated output 1.2A Rated voltage 14.8V Rated frequency 50/60Hz Rated power Battery capacity 3200mAh Names and Contents of Hazardous Substances in the Product Hazardous substances Part name Cr(VI) -
Page 13: Troubleshooting
Troubleshooting Fault prompt Solution Check or clear foreign objects around the laser radar, or move the robot to a new position Abnormality 1: Please confirm that the laser radar is not blocked. and restart it. Abnormality 2: Please wipe the boundary sensor and move the Wipe the boundary sensor and retry (for the sensor position, please consult the robot to a new position for restart. -
Page 14: Common Problems
Common Problems Problem Solution The battery level is too low; connect the robot to the charging dock for charging. Power-on failure The ambient temperature is too low (<0℃) or too high (>50℃). Fail to start cleaning The battery level is too low; connect the robot to the charging dock for charging. There are too many obstacles near the charging dock;... -
Page 15: Restrictions On Use
Restrictions on Use This product only applies to cleaning of house floors, and should not be used in outdoor areas (e.g., balcony), areas other than floors (e.g., sofa), or ■ commercial or industrial environments; Do not use the product in environments (e.g., duplex floor, balcony, top of furniture) that are not equipped with guardrails; ■... -
Page 16: Warranty Certificate
After-sales warranty ( replacement parts, repair or return) are provided for this product, the services cover the following: Warranty Period You may choose to return, replace or repair the product in case of any performance failure not caused by man-made reasons within 7 ■... - Page 17 Warranty Card (Show This Card before Service) Warranty Period Items Warranty Period Model Robot 1 year Warranty Period Robot (DD/MM/YYYY) Battery 6 months Name User Name Charging dock, power adapter 1 months Address Consumables: side brush, Name Not covered Store Seal cleaning tool Address...
- Page 18 User Manual for Mi Robot Vacuum-Mop Cleaner...
Need help?
Do you have a question about the Mi Robot STYTJ02YM and is the answer not in the manual?
Questions and answers
Робот пылесос stytj02zhm стоит на зарядном устройстве и обе кнопки вместе периодически моргают: горят 30 с затем тухнут на 0,5 с и опять горят - тухнут и так далее. Пылесос не работает. Причина и как исправить?
When the Xiaomi Robot STYTJ02YM vacuum cleaner's buttons blink together while on the charging dock, it indicates a charging error (Error 6). To fix it, clean the charging contact surfaces both on the charging dock and on the robot with a clean cloth, then place the robot back on the dock and try charging again.
This answer is automatically generated