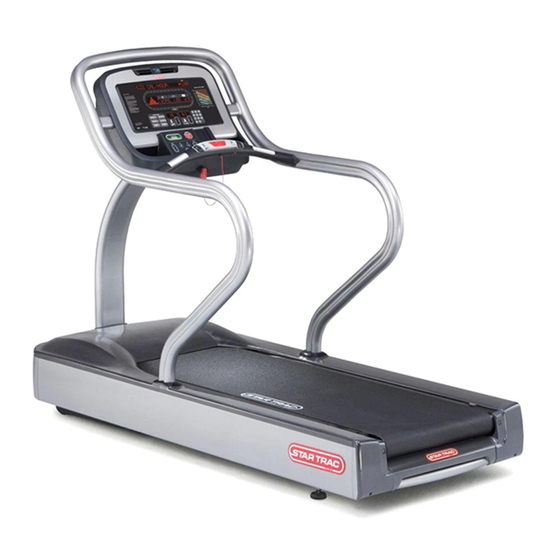
Star Trac E Series Calibration & Setup
Service menu, incline calibration
Hide thumbs
Also See for E Series:
- Operation manual (42 pages) ,
- Install manual (8 pages) ,
- Operation service menu (4 pages)
Table of Contents
Advertisement
Quick Links
Calibration & Setup: Incline Calibration
The following procedure will guide you through the Incline calibration of the E Series E-TRe and E-TRxe treadmills.
Start on the default screen (Fig. 1)
Press and hold the VOL '+' key and the CH '+' key and the number '3'
key on the keyboard at the same time to enter the Service Menu (Fig.
2).
VOL
Press the number '5' key on the keyboard or touch "Calibration Setup".
STAR TRAC FITNESS
E-TRe & E-TRxe
CH
1 of 3
Fig. 1
Fig. 2
637-1417 Rev: A
Advertisement
Table of Contents

Related Manuals for Star Trac E Series


Summary of Contents for Star Trac E Series
-
Page 1: Service Menu
Service Menu Calibration & Setup: Incline Calibration E-TRe & E-TRxe The following procedure will guide you through the Incline calibration of the E Series E-TRe and E-TRxe treadmills. Step 1 Start on the default screen (Fig. 1) Fig. 1 Step 2 Press and hold the VOL ‘+’... - Page 2 Once in Incline Calibration Mode gently touch the ‘Start’ button to begin the calibration. Fig. 5 WARNING For your own safety DO NOT stand on the treadmill during the calibration process STAR TRAC FITNESS 2 of 3 637-1417 Rev: A...
-
Page 3: Troubleshooting
The treadmill will return to 0% incline and will be ready for normal use. Fig. 7 Step 9 Test unit for proper function. Troubleshooting This document contains the follow troubleshooting instructions: • Error Code 38 STAR TRAC FITNESS 3 of 3 637-1417 Rev: A... - Page 4 Fig. 1 2. Remove the screw (Fig. 2) holding the cap to the motor and remove the cap to expose the elevation potentiometer (pot) (Fig. 3). Fig. 2 Fig. 3 STAR TRAC FITNESS 1 of 4 637- 1329 Rev: B...
- Page 5 If the pot is turned all the way to the right or left and the ohm values are not within the necessary range, go to Step 6. If the values are within the range, go to Step 8. STAR TRAC FITNESS 2 of 4...
- Page 6 7. Put the pot back in the motor. Be careful to not twist it. Once the pot is in place, verify that the ohm value is still in the desired range. Install the two screws and tighten the pot in place (Fig. 9). Fig. 9 STAR TRAC FITNESS 3 of 4 637- 1329 Rev: B...
- Page 7 9. Once the treadmill has booted up, enter the “Service Menu” to run the elevation calibration program. Once complete, reinstall the elevation motor cap and motor shroud. The unit is now operational. STAR TRAC FITNESS 4 of 4 637- 1329 Rev: B...
Need help?
Do you have a question about the E Series and is the answer not in the manual?
Questions and answers