Sign In
Upload
Download
Table of Contents
Contents
Add to my manuals
Delete from my manuals
Share
URL of this page:
HTML Link:
Bookmark this page
Add
Manual will be automatically added to "My Manuals"
Print this page
×
Bookmark added
×
Added to my manuals
Manuals
Brands
Asko Manuals
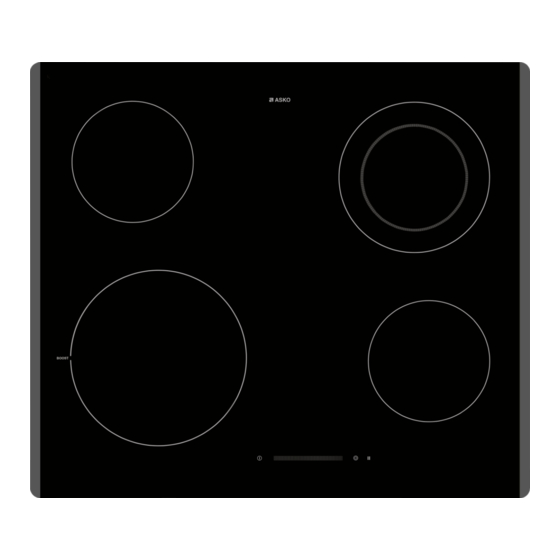
Hob
HCL614G
Instructions for use manual
Asko HCL614G Instructions For Use Manual
Hide thumbs
1
2
Table Of Contents
3
4
5
6
7
8
9
10
11
12
13
14
15
16
17
18
19
20
page
of
20
Go
/
20
Contents
Table of Contents
Troubleshooting
Bookmarks
Table of Contents
Table of Contents
Your Hob
Introduction
Description
Control Panel
Safety
First Use
Cooking-Time Limiter
Use
Using the Slide Control and Touch Keys
Pans
Power Levels
Automatic Heat up
Pause Function
Indications in the Display
Cooking Power Levels
Operation
Switching on and Power Setting
Changing the Cooking Zone Power Setting
Switching off
How to Link Bridge Cooking Zones
Using the (Child) Lock Function
Pause Mode
Cooking-Timer/Alarm
Switch on the Automatic Heat-Up Function
Recall Function
Maintenance
Cleaning
Troubleshooting
General
Troubleshooting Table
Environmental Aspects
Disposal of Packaging and Appliance
Advertisement
Quick Links
Download this manual
Instructions for use
Ceramic hob
HCL614G / BR6BBS0
HCL634G / BR6BAS0
Table of
Contents
Previous
Page
Next
Page
1
2
3
4
5
Advertisement
Table of Contents
Need help?
Do you have a question about the HCL614G and is the answer not in the manual?
Ask a question
Questions and answers
Related Manuals for Asko HCL614G
Hob Asko HCL634G Instructions For Use Manual
(20 pages)
Hob Asko H8 Use And Care Manual
Asko h8 hob: user guide (53 pages)
Hob Asko HI1655M Instructions For Use Manual
(36 pages)
Hob Asko HI1194G Instructions For Use Manual
(36 pages)
Hob Asko Hg1654s Instructions For Use Manual
(40 pages)
Hob Asko HG1666A Instructions For Use Manual
(12 pages)
Hob Asko HG1666AB Instructions For Use Manual
(25 pages)
Hob Asko HG1935AB Instructions For Use Manual
(23 pages)
Hob Asko HG8953BGBx Instructions For Use Manual
(25 pages)
Hob Asko HI1621G Instructions For Use Manual
(24 pages)
Hob Asko HG1666AD Operating Instructions Manual
(25 pages)
Hob Asko HG1145AB Instructions For Use Manual
(24 pages)
Hob Asko HG1145AD Operating Instructions Manual
(9 pages)
Hob Asko HG1615ab Instructions For Use Manual
(12 pages)
Hob Asko HIHD854GF Instructions For Use Manual
Induction hob with integrated extractor (79 pages)
Hob Asko HI16317M Instructions For Use Manual
(24 pages)
This manual is also suitable for:
Br6bbs0
Hcl634g
Br6bas0
Table of Contents
Print
Rename the bookmark
Delete bookmark?
Delete from my manuals?
Login
Sign In
OR
Sign in with Facebook
Sign in with Google
Upload manual
Upload from disk
Upload from URL


Need help?
Do you have a question about the HCL614G and is the answer not in the manual?
Questions and answers