Sign In
Upload
Download
Table of Contents
Contents
Add to my manuals
Delete from my manuals
Share
URL of this page:
HTML Link:
Bookmark this page
Add
Manual will be automatically added to "My Manuals"
Print this page
×
Bookmark added
×
Added to my manuals
Manuals
Brands
Asko Manuals
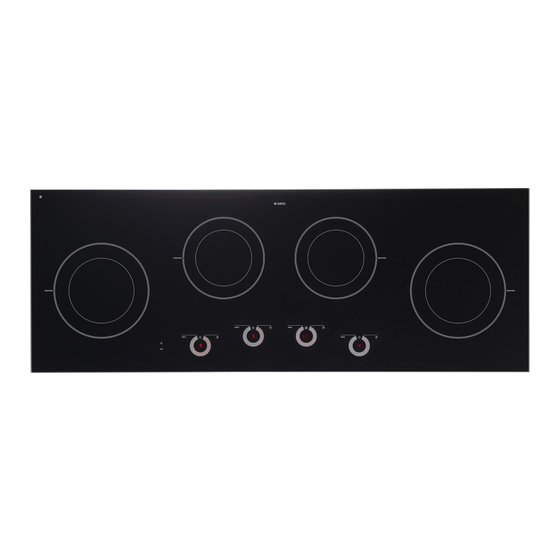
Hob
HI1194G
Instructions for use manual
Asko HI1194G Instructions For Use Manual
Hide thumbs
1
2
Table Of Contents
3
4
5
6
7
8
9
10
11
12
13
14
15
16
17
18
19
20
21
22
23
24
25
26
27
28
29
30
31
32
33
34
35
36
page
of
36
Go
/
36
Contents
Table of Contents
Bookmarks
Table of Contents
Instructions for Use
Table of Contents
Your Induction Hob
Introduction
Control Panel
Description
Use
Operation of the Touch-Sensitive Buttons
Induction Cooking
How Induction Works
Induction Noises
Pans
Operation
Switching on and Power Setting
Residual Heat Indicator
Boost
Two Cooking Zones One in Front of the Other
Bridging of the Vario Induction Zones
Switching off
Stand-By Mode
Eco Stand-By Mode
Child Lock
Pause
Recognising a Mode
Timer / Kitchen Timer
Switching the Audible Signal on and off
Automatic Cooking Programmes
Healthy Cooking
Cooking Settings
Maintenance
Cleaning
Faults
General
Error Table
Environmental Considerations
Disposing of the Appliance and Packaging
Advertisement
Quick Links
1
Instructions for Use
2
Introduction
3
Control Panel
4
Error Table
Download this manual
Instructions for use
HI6HTI02 HI1694G
HI7CTI02 HI1794G
HI8ATI02 HI1794M
HI9FTI04 HI1994G
HI9FTI04 HI1994M
HI1ATI02 HI1194G
Table of
Contents
Previous
Page
Next
Page
1
2
3
4
5
Advertisement
Table of Contents
Need help?
Do you have a question about the HI1194G and is the answer not in the manual?
Ask a question
Questions and answers
Related Manuals for Asko HI1194G
Hob Asko HI13 Installation Instructions
(2 pages)
Hob Asko HI1632 Instructions For Use Manual
Induction hob (18 pages)
Hob Asko HI1655M Instructions For Use Manual
(36 pages)
Hob Asko HI1995G Instructions For Use Manual
(68 pages)
Hob Asko SIVK9DTA Instructions For Use Manual
(68 pages)
Hob Asko HI1994M Instructions For Use Manual
(36 pages)
Hob Asko HI1694G Instructions For Use Manual
(36 pages)
Hob Asko HI17111G Instructions For Use Manual
(24 pages)
Hob Asko HI1621G Instructions For Use Manual
(24 pages)
Hob Asko SIVK6B7TS Instructions For Use Manual
(24 pages)
Hob Asko HI1884M Instructions For Use Manual
(32 pages)
Hob Asko HI1633G Operating Instructions Manual
(24 pages)
Hob Asko HI1345G Manual
(112 pages)
Hob Asko HI3CTA07 Instructions For Use Manual
(31 pages)
Hob Asko HI 1975 G Manual
(76 pages)
Hob Asko HI16317M Instructions For Use Manual
(24 pages)
This manual is also suitable for:
Hi1ati02
Hi1994m
Hi1994g
Hi9fti04
Hi1794m
Hi8ati02
...
Show all
Hi1794g
Hi7cti02
Hi1694g
Hi6hti02
Table of Contents
Print
Rename the bookmark
Delete bookmark?
Delete from my manuals?
Login
Sign In
OR
Sign in with Facebook
Sign in with Google
Upload manual
Upload from disk
Upload from URL


Need help?
Do you have a question about the HI1194G and is the answer not in the manual?
Questions and answers