Advertisement
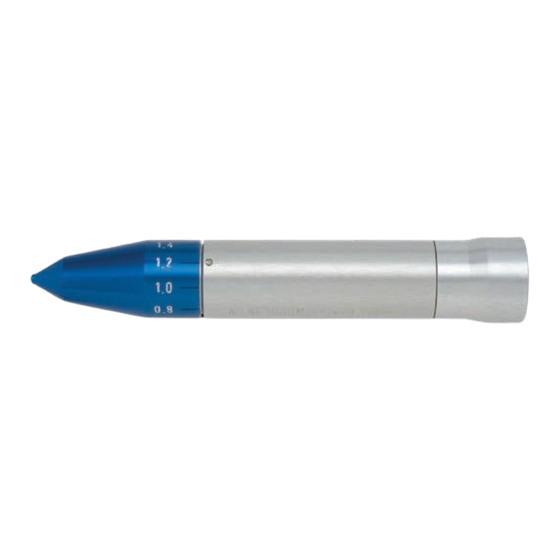
THP 3000
Tattooing handpiece
OPERATING INSTRUCTIONS
GB
Safety Instructions
The instrument is delivered in non-sterile condition! Before initial use and immediately after every use the handpiece
•
must be cleaned, disinfected and sterilised!
Do not clean handpiece with compressed air!
•
Only operate handpiece with attached needle!
•
Never work on handpiece with the motor running, risk of injury!
•
The handpiece must be used by skilled and trained persons only!
•
The handpiece must not be operated at a speed exceeding 10 000 rpm!
•
The clamp must not be stored clamped for an extended period without a clamped needle!
•
No liability for warranty claims or any other liability will be accepted for improper use of the handpiece and operation
•
without observing the operating instructions!
GB
Specifications
Weight: ....................................................................................................................................................................................................... 86 g
Optimum speed:................................................................................................................................................................................... 8000 rpm
Maximum speed:............................................................................................................................................................................... 10 000 rpm
Micromotor coupling: ..................................................................................................................................................................as per EN23964
GB
Icons on device
1275 :EU- conformity symbol
Spare parts
GB
Art. no.
Name
5021............. Tattooing head blue (for 1x and 3x needles)..........................................................................................................................1 unit
5022............. Tattooing head red (for 7x, 10x and 12x needles) ..................................................................................................................1 unit
40451........... Clamping nut .........................................................................................................................................................................1 unit
5024............. 1x needle sterilisable .............................................................................................................................................................1 unit
5025............. 3x needle sterilisable .............................................................................................................................................................1 unit
5026............. 7x needle sterilisable .............................................................................................................................................................1 unit
5027............. 10x needle sterilisable ...........................................................................................................................................................1 unit
5028............. 12x needle sterilisable ...........................................................................................................................................................1 unit
1984............. Nou-Clean Spray...................................................................................................................................................................1 unit
1958............. Attachment for Nou-Clean Spray ...........................................................................................................................................1 unit
GB
Operation
Replacing needle
1.
Unscrew the tattooing head in an anticlockwise direction.
2.
Unscrew the clamping nut two revolutions anticlockwise.
3.
Insert or replace needle.
4.
Hand-tighten clamping nut clockwise.
5.
Screw tattooing head clockwise by hand to the last notch (the insertion depth is now set to 2 mm).
Please use the blue tattooing head for the 1x and 3x needles. Please use the red tattooing head for the 7x, 10x and
•
12x needles.
! ! ! !
The insertion depth is adjusted on the tattooing head, which can be set for a stroke length from 0.2 mm to 2.0 mm.
•
The increment from one notch to the next is 0.2 mm.
To ensure optimum colour pigmentation on the skin note that the variable pressure of the tattooing handpiece on the
•
skin will influence the insertion depth.
It is also important to ensure that the handpiece is applied perpendicular to the skin during tattooing.
•
: Autoclavable up to max. 135° C
No. 31959 - 05/12
: suitable for thermal disinfection
Units
Advertisement
Table of Contents

Subscribe to Our Youtube Channel
Summary of Contents for Nouvag THP 3000
-
Page 1: Spare Parts
THP 3000 Tattooing handpiece OPERATING INSTRUCTIONS No. 31959 - 05/12 Safety Instructions The instrument is delivered in non-sterile condition! Before initial use and immediately after every use the handpiece • must be cleaned, disinfected and sterilised! Do not clean handpiece with compressed air! •... - Page 2 The above instructions have been classified by NOUVAG AG as suitable for preparation for re-use. The person doing the preparation is responsible for ensuring that the actual preparation with the equipment, materials and personnel achieves the desired results.


Need help?
Do you have a question about the THP 3000 and is the answer not in the manual?
Questions and answers