Table of Contents
Advertisement
Quick Links
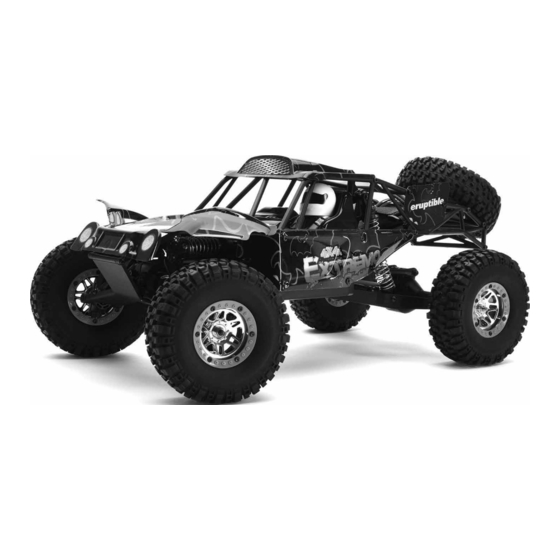
Congratulations on your purchase of a Ripmax Polar Violence R/C car, please read these
instructions carefully and fully before use and we hope you enjoy your car. The instructions
apply to all the 'Polar Violence' 1/10 car range including the All Sport 4WD, Extremo 4x4,
2000 Fast and the Survival Force.
Recommended Tools
Your R/C car is supplied in 'Ready to Run' format so you do not need any tools to operate it.
Over time you may require the tools below to perform more in-depth maintenance and repairs.
2mm Allen Key
Phillips Screwdriver
Large
Specifications
• Car Scale: 1:10
• Car Battery: 7.4V 2200mAh Li-Po
• Driving Time: 10-15min (Approx)
• Car Charging Time: 3 Hours (Approx)
Hobby Knife
Scissors
Phillips Screwdriver
Small
Pliers Set
• Tx Max Control Range: 30m
• Tx Frequency: 2.4GHz
• Tx Batteries: 4x 'AA' 1.5V (Required)
Side Cutters
Cross Spanner
Thread
Lock
Advertisement
Table of Contents

Summary of Contents for Ripmax Polar Violence Cross-Country
- Page 1 Congratulations on your purchase of a Ripmax Polar Violence R/C car, please read these instructions carefully and fully before use and we hope you enjoy your car. The instructions apply to all the ‘Polar Violence’ 1/10 car range including the All Sport 4WD, Extremo 4x4, 2000 Fast and the Survival Force.
-
Page 2: Safety Information
Important R/C Modelling Safety Notices Make sure you read this safety information and the instructions before using your model. Follow exactly the recommended procedures and settings given in the instructions. If you are operating a radio-controlled model car for the first time, we recommend that you enlist the help of an experienced modeler to guide you. -
Page 3: Operating The Model
In as far as legally permitted, compensation shall be limited to the invoice value of the Ripmax products directly involved in the damage-causing event. This does not affect your statutory... - Page 4 Battery Charging Instructions 1. Plug the battery charger into the wall adaptor and plug the wall adaptor into a mains socket. The power LED indicator should illuminate GREEN. 2. Connect the lithium battery using the short battery balance lead into the side of the charger and the charger LED will illuminate RED.
-
Page 5: Troubleshooting Guide
Transmitter Guide Study the diagram below to understand the controls on your transmitter. Steering Trim Steering Wheel Power Indicator Throttle Trim Power Switch Throttle/Brake Trigger It is important to always ensure there is a signal to the car at all times. Always turn the transmitter on before you turn on the car and always turn the car off before you turn off the transmitter. - Page 6 Operating Instructions Note: Always ensure the transmitter is on when the car is on. To do this switch on the transmitter first before use and turn it off last. The steering is controlled by the steering wheel, turn it anti-clockwise to turn left and clockwise to go right when driving forward.
-
Page 8: Warranty
Warranty All Ripmax products are supplied with the legally prescribed 24 month warranty. If you want to make a warranty claim please consult with your dealer directly as they are a great source of knowledge and will be responsible for handling and dealing with Ripmax on your behalf. We will work to correct any operating deficiencies in manufacturing or material defects that are not related to over or incorrect use. - Page 9 Arm Parts Hebel Teile Z-GEK949-757 Body Shell Karosserie Z-GEK949-808284 Bearings 80/82/83 Lager 80/82/83 Z-GEK949-878889 Screw Bags 87/88/89 Schraubenbeutel 87/88/89 Z-GEK949-919293 Screw Bags 91/92/93 Schraubenbeutel 91/92/93 Z-GEK949-949596 Screw Bags 94/95/96 Schraubenbeutel 94/95/96 Z-GEK949-97321334 Screw Bags 97/321/334 Schraubenbeutel 97/321/334 Website: www.ripmax.com Webseite: www.ripmax.de...


Need help?
Do you have a question about the Polar Violence Cross-Country and is the answer not in the manual?
Questions and answers