Advertisement
Quick Links
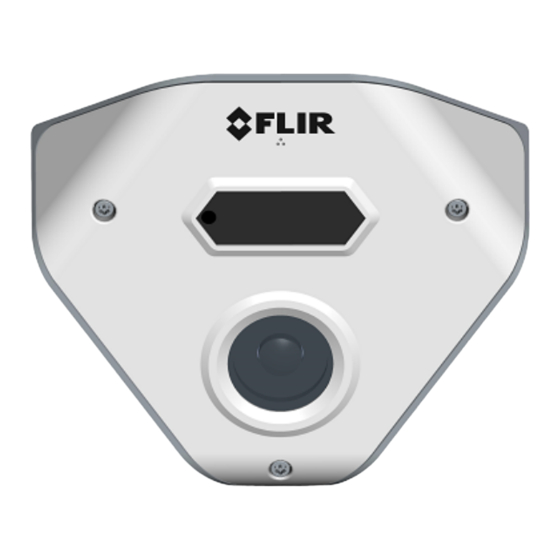
A. What's in the Box
Quantity
Description
1
CC-3103 corner camera
1
Bag containing six screws and six plastic
anchors
1
T20 Torx wrench
2
Desiccants
1
CC-3103 Desiccants User Guide
1
CC-3103 Quick Install Guide
B. Accessing Camera Documentation and Utility Software from the Web
C. Insert and Configure the MicroSD Card
A microSDXC card (not supplied) must be inserted in the camera in order to locally store a snapshot or recording
triggered by an event. The microSDXC card drive is located on a printed circuit board inside the camera housing.
To install a microSDXC card:
1. After removing the camera's cover, insert a microSDXC card (up to 128GB, Class 10) in the card drive.
2. Be sure that a new desiccant is inserted inside the enclosure.
3. Replace the cover and screw the enclosure shut.
Quick Install Guide
Ariel Gen II
CC-3103
Corner IP Camera
Advertisement

Related Manuals for FLIR Ariel Gen II CC-3103


Summary of Contents for FLIR Ariel Gen II CC-3103
- Page 1 Ariel Gen II Quick Install Guide CC-3103 Corner IP Camera A. What's in the Box Quantity Description CC-3103 corner camera Bag containing six screws and six plastic anchors T20 Torx wrench Desiccants CC-3103 Desiccants User Guide CC-3103 Quick Install Guide B.
- Page 2 F. Discover the Camera Set the Camera's IP address and Video Format 1. Download and install the DNA Utility from the FLIR website as shown The camera’s web interface can be 4. If using a Static IP address (as on a Latitude System), follow above the DNA instructions to set the desired IP address.
Need help?
Do you have a question about the Ariel Gen II CC-3103 and is the answer not in the manual?
Questions and answers