Table of Contents
Advertisement
Quick Links
A. Connect the Camera
1. Insert a cable in the RJ45 connector to attach to the
network switch for a 10/100 Mbps Ethernet and
POE connection.
2. If not using PoE, use a properly rated
12VDC/24VAC power supply.
B. Download Camera Documentation and Utility Software
C. Prepare and Install the Camera
C.1 Insert and Configure the MicroSD Card
A microSDXC card (not supplied) must be inserted in the card drive on the connector panel in order to locally store a
snapshot or recording triggered by an event. To install a microSDXC card:
1. Insert a microSDXC card (up to 128GB, Class 10) in the card drive.
2. Verify that the card status is displayed as mounted in the System > Events Handler > SD Card screen.
3. Format the card.
4. Configure the camera to store snapshots and recordings from the System > Events Source screens.
D. Discover the Camera
The camera's web interface can be accessed by
Internet Explorer 10 and higher (32-bit) with the ActiveX
plug-in and by browsers that do not require ActiveX,
such as Microsoft Edge, Chrome or Firefox, on PCs
running 64-bit Windows 7, 8, 8.1, or 10.
Quick Install Guide
Set the Camera's IP address and Video Format
1. Download and install the DNA Utility as shown above
2. Attach the unit to the same LAN segment as the computer that is
managing the unit. DNA automatically discovers the unit on the
network and displays the device's current IP address in the
Discover List.
3. Select the unit from the Discover List.
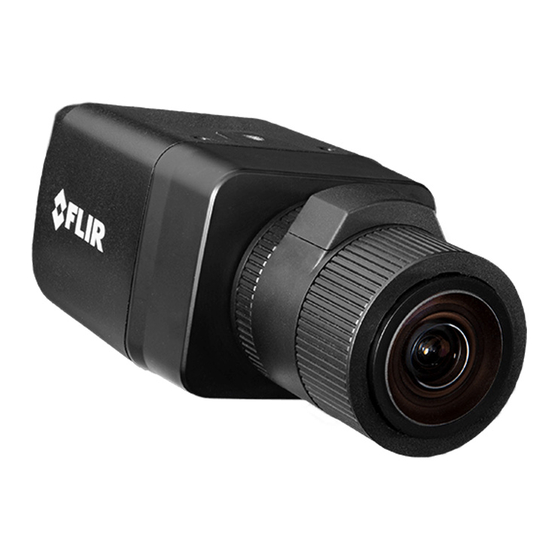
Quasar Gen III
CF-6308
Fixed Box IP Camera
C.2 Install the camera
1. Verify that the operating temperature range is between -20°
C ~ 50°C (-4° ~ 122°F),
0-90% relative humidity (non-condensing).
2. Mount the camera at the site. Be sure to have the required
accessories and tools available.
3. Refer to the User Guide as necessary.
4. If using a Static IP address (as on a Latitude System),
follow the DNA instructions to set the desired IP address.
5. On a system using DHCP, select the DHCP option in DNA.
6. To select PAL or NTSC, select the device in the Discover
list, right-click to open the context menu and clicking
Change Video Format.
5. Click Update.
Advertisement
Table of Contents

Related Manuals for FLIR Quasar Gen III CF-6308


Summary of Contents for FLIR Quasar Gen III CF-6308
- Page 1 Quasar Gen III Quick Install Guide CF-6308 Fixed Box IP Camera A. Connect the Camera 1. Insert a cable in the RJ45 connector to attach to the network switch for a 10/100 Mbps Ethernet and POE connection. 2. If not using PoE, use a properly rated 12VDC/24VAC power supply.
- Page 2 ABF button to complete the setup. G. Attach to VMS Once you have completed installation and found the current IP address with DNA, use your VMS Discovery/Attach procedures to attach the camera to your VMS. FLIR Systems, Inc. 6769 Hollister Ave. Goleta, CA 93117...
Need help?
Do you have a question about the Quasar Gen III CF-6308 and is the answer not in the manual?
Questions and answers