
Subscribe to Our Youtube Channel
Related Manuals for Innovative STAXX Series


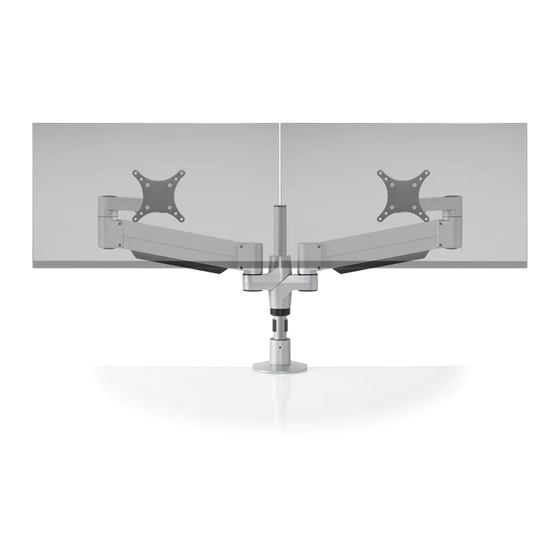
Summary of Contents for Innovative STAXX Series
- Page 1 STAXX ™ Installation Instructions STX-500 STX-600 STX-800 STX-1000 STX-500-8510 STX-600-8510 STX-450 STX-800-8510 STX-1000-8510 STX-450-8510 800.524.2744 InnovativeWorkspaces.com PAGE 1 OF 10 © 2019 Innovative Office Products, LLC P513181 REV B...
-
Page 2: Parts List
STAXX ™ Parts List Mount Column 1/2-13 x 3" Socket Set Screw M6 x 1mm Phillips Pan Head Screw 3/32" Allen Wrench 401328 701126 105304 700146 Base Plate Dimpled Pole 10-32 x 3/8" Phillips Pan Head Screw (4-pack) Laptop Holder 406656 113868 702281... - Page 3 MOUNT | DESK EDGE CONFIGURATION Spacer Spacer 7/32" 800.524.2744 InnovativeWorkspaces.com PAGE 3 OF 10...
- Page 4 MOUNT | GROMMET CONFIGURATION 7/32" 7/32" 7/32" 800.524.2744 InnovativeWorkspaces.com PAGE 4 OF 10...
- Page 5 MOUNT | THRU-DESK CONFIGURATION 3/32" 7/32" 3/32" 800.524.2744 InnovativeWorkspaces.com PAGE 5 OF 10...
- Page 6 IMPORTANT: Install part (R) in the orientation as shown to the left. When washer, part (R), is installed correctly, the arms will not rotate past the back of the mount. 800.524.2744 InnovativeWorkspaces.com PAGE 6 OF 10...
- Page 7 7/32" 7/32" Tension can be tightened or loosened as shown. 800.524.2744 InnovativeWorkspaces.com PAGE 7 OF 10...
- Page 8 ARE YOU INSTALLING: STX-XXX-8510? IF NOT, PLEASE CONTINUE TO STEP 12. 800.524.2744 InnovativeWorkspaces.com PAGE 8 OF 10...
- Page 9 7/32" 3/32" In some instances, an additional counterbalance adjustment may 1/8" be needed to allow the arm’s instant height adjustment function to work properly. If your arm is not staying in position Tighten the adjustment screw. after performing step 12, tighten the adjustment screw with a 1/8"...
- Page 10 800.524.2744 InnovativeWorkspaces.com PAGE 10 OF 10...
Need help?
Do you have a question about the STAXX Series and is the answer not in the manual?
Questions and answers