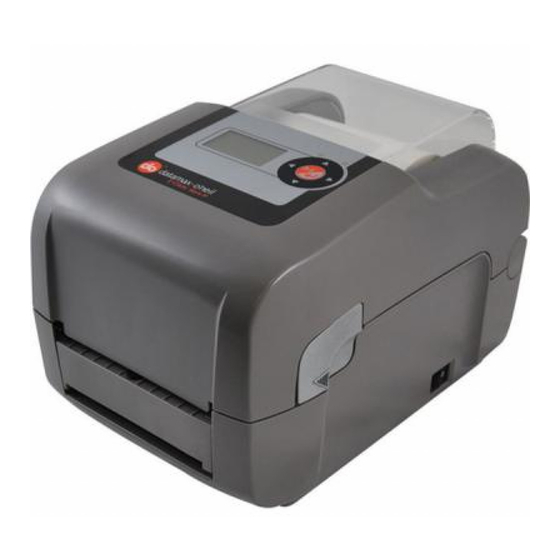
Datamax E-Class Mark III Quick Start Manual
Paper menu
Hide thumbs
Also See for E-Class Mark III:
- Programmer's manual (330 pages) ,
- Operator's manual (58 pages) ,
- Operator's manual (58 pages)
Advertisement
Quick Links
Paper Menu Introduction
The Paper Menu is a feature that allows the operator to change the printer's settings without the need of a
host computer or additional software. This document explains how to use the internal Paper Menu and
change the printer settings.
Requirements:
Basic or Advanced E-Class Mark III printer.
Firmware version 14.134 or greater or printer Serial# 4xxxxxxx or greater.
Printer loaded with full width media, at least 4" (102mm) wide.
Accessing the Paper Menu
There are two ways to access the Paper Menu, depending on the state of the printer. The illustrations
below show the sequence of steps for when the printer is already on and when the printer is off. The left
LED blinks green at a 1 second interval once the Paper Menu has been accessed.
From the Power Off State:
Printer is OFF
Turn On
i n i t i a l i z i n g
Green, Off
Press and hold
Release Button
Enter
Paper Menu
Selection Mode
Green, Slow Blink
1
92-2604-01 Rev.C
Paper Menu
Both Flashing
Advertisement

Subscribe to Our Youtube Channel
Summary of Contents for Datamax E-Class Mark III
- Page 1 This document explains how to use the internal Paper Menu and change the printer settings. Requirements: Basic or Advanced E-Class Mark III printer. Firmware version 14.134 or greater or printer Serial# 4xxxxxxx or greater.
- Page 2 From the Power On State:...
- Page 3 Printing the Paper Menu Because the printer has no display, it is necessary to print the Paper Menu in order to show the available menu items and the current setting for each one. Be sure the printer is loaded with full width media (and ribbon if necessary).
- Page 4 Paper Menu Contents and Options The table below lists all the items and values in the Paper Menu, and shows the status of the LEDs for each possible value. In this table, an illuminated LED is indicated by , and LED off by Item Parameter Settings LED Status...
- Page 5 Navigating the Paper Menu An item must be selected before it can be changed. Because the location within the Paper Menu structure depends on the number of button presses and the amount of time between them, it is recommended that button presses and pauses be noted before editing is attempted, at least until the system is completely familiar.
- Page 6 Example: Editing a Setting This example assumes that the printer is in selection mode within the Paper Menu. The object is to change the Media setting from its current value of DT (Direct Thermal), to TT (Thermal Transfer).
-
Page 7: Special Functions
Special Functions Items 1 (Prn Menu), 6 (Quick Cal), 10 (Entr Hex Dump) and 11 (Prn Full Config) are special functions. They work as follows: 1. Two seconds after the item is selected, the right LED will illuminate red. 2. To invoke the function, press the button once. The function will execute immediately, without a 10 second waiting period.


Need help?
Do you have a question about the E-Class Mark III and is the answer not in the manual?
Questions and answers