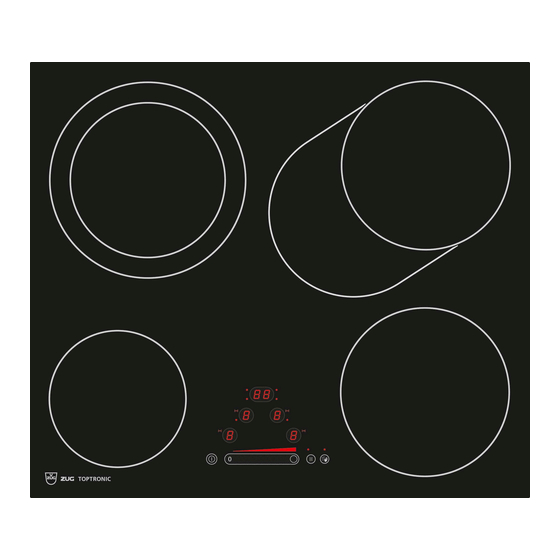
V-ZUG Toptronic GK45TEBSC Installation Instructions Manual
Glass ceramic hob
Hide thumbs
Also See for Toptronic GK45TEBSC:
- Installation instructions manual (12 pages) ,
- Operating instructions manual (24 pages)
Advertisement
Quick Links
Installation instructions
Toptronic
GK45TE
Glass ceramic hob
The appliance should be installed by qualified personnel only. Each step must be carried out and checked in full in
the order specified.
Validity
These installation instructions apply to the following models:
Product family
With normal mounting frame
31103
31104
31105
31106
GK45TEXSC, GK45TEXSCO
31107
GK45TEASC, GK45TEASCO
General notes
If installing into a combustible material, the guidelines and standards for low-voltage installations and fire protection
must be strictly observed.
Identification plate
The identification plate is located next to the connection plate.
▸
Affix the second identification plate (supplied) in an accessible position behind the front of the fitted cabinet beneath the appliance.
GK45TEBSC
GK45TEGC
GK45TESC, GK45TESCO
1039710-R02
With DualDesign
GK45TEBSZ
GK45TEGZ
GK45TESZ, GK45TESZO
GK45TEXSZ, GK45TEXSZO
GK45TEASZ, GK45TEASZO
Connection plate
1
1039710-R02
05/03/2019
With oversize frame
-
-
GK45TESU, GK45TESUO
-
GK45TEASU
Identification plate
Advertisement

Summary of Contents for V-ZUG Toptronic GK45TEBSC
- Page 1 1039710-R02 Installation instructions 05/03/2019 Toptronic GK45TE 1039710-R02 Glass ceramic hob The appliance should be installed by qualified personnel only. Each step must be carried out and checked in full in the order specified. Validity These installation instructions apply to the following models: Product family With normal mounting frame With DualDesign...
- Page 2 1039710-R02 Installation instructions 05/03/2019 Toptronic GK45TE 1039710-R02 Glass ceramic hob Installation accessories provided Normal mounting frame: Designation Remarks Art. no. Mounting angle, right/left For GK45TESC, GK45TEBSC/.1C, GK45TEGC only H62484 Large mounting angle, back For GK45TEASC only H62221 Large mounting angle, front For GK45TEASC only H62408 Mounting angle, right/left...
- Page 3 1039710-R02 Installation instructions 05/03/2019 Toptronic GK45TE 1039710-R02 Glass ceramic hob Electrical connection Electrical connections must be carried out by qualified personnel in accordance with the guidelines and standards for low-voltage installations and the specifications of the local electricity supply companies. Refer to the identification plate for information on the required mains voltage, current type and fuse protection.
- Page 4 1039710-R02 Installation instructions 05/03/2019 Toptronic GK45TE 1039710-R02 Glass ceramic hob Overlying installation with normal mounting frame The layout of the hob to be fitted may differ from the hob illustrated! GK45TEGC, GK45TEBSC, GK45TESC, GK45TESCO GK45TEXSC, GK45TEXSCO GK45TEASC, GK45TEASCO Cable length 1.7 m Cable length 1.7 m Cable length 1.7 m Centering mark,...
- Page 5 1039710-R02 Installation instructions 05/03/2019 Toptronic GK45TE 1039710-R02 Glass ceramic hob Installation with stone covers With stone covers, the installation rails K and L can be stuck into place (for adhesive see Accessories [} 2]). Clean/prime the bonding surfaces on the stone and installation rails well and leave to dry thoroughly. Apply the adhesive to the stone and smooth with a scraper.
-
Page 6: Installation
1039710-R02 Installation instructions 05/03/2019 Toptronic GK45TE 1039710-R02 Glass ceramic hob Installation Create the mounting cut-out accurately. Carefully place the appliance in the mounting cut-out and push against the work surface until flat. Flush installation The layout of the hob to be fitted may differ from the hob illustrated! GK45TEBSZ, GK45TEGZ, GK45TESZ, GK45TESZO GK45TEXSZ, GK45TEXSZO... - Page 7 1039710-R02 Installation instructions 05/03/2019 Toptronic GK45TE 1039710-R02 Glass ceramic hob Installation Create an accurate installation cut-out. – The mounting surface can be reamed out or created by installing wood/stone supports or using the steel angle set (see Accessor- ies). Access to the appliance from below via the entire cut-out area must be guaranteed. For servicing purposes, the induction gen- erator can be removed from below with the mounting plate.
- Page 8 1039710-R02 Installation instructions 05/03/2019 Toptronic GK45TE 1039710-R02 Glass ceramic hob Lower the appliance symmetrically into the mounting cut-out until it reaches the spring clips on the work surface. The connection cable must not touch the hot areas of the tray located underneath the cooking zones. Installation with stone covers With stone covers, the installation rails K and L can be stuck into place (for adhesive see Accessories [} 2]).


