Sign In
Upload
Download
Table of Contents
Contents
Add to my manuals
Delete from my manuals
Share
URL of this page:
HTML Link:
Bookmark this page
Add
Manual will be automatically added to "My Manuals"
Print this page
×
Bookmark added
×
Added to my manuals
Manuals
Brands
V-ZUG Manuals
Hob
GK45TEBS
Operating instructions manual
V-ZUG GK45TEBS Series Operating Instructions Manual
Toptronic hob
Hide thumbs
Also See for GK45TEBS Series
:
Operating instructions manual
(44 pages)
1
2
Table Of Contents
3
4
5
6
7
8
9
10
11
12
13
14
15
16
17
18
19
20
21
22
23
24
page
of
24
Go
/
24
Contents
Table of Contents
Bookmarks
Table of Contents
Table of Contents
1 Safety Precautions
Appliance-Specific Safety Precautions
General Safety Precautions
Symbols Used
Instructions for Use
2 Using for the First Time
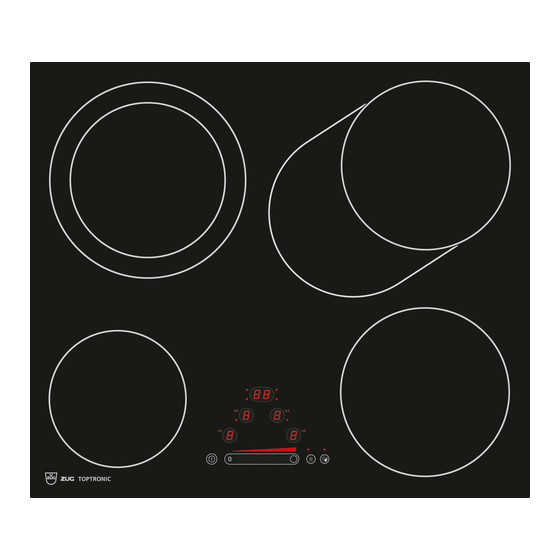
3 Your Appliance
Appliance Overview
Operating and Display Elements
Cookware
Optiglass
4 Operating the Appliance
Switching the Appliance on and off
Selecting a Cooking Zone
Switching a Cooking Zone off
Residual Heat Indicator
Overview of Power Levels
Switching the Dual Ring Cooking / Frying Zone on and off
Automatic Boost
Operating Time
Timer
Childproof Lock
Restore Function
Wipe Protection
Acoustic Signal
5 Care and Maintenance
Cleaning Agent
6 Trouble-Shooting
Error Messages
Other Possible Problems
7 Technical Data
Product Fiche
8 Disposal
9 Index
10 Notes
Advertisement
Quick Links
Download this manual
Operating instructions
GK45TEBS | GK45TES | GK45TEXS
Toptronic hob
Table of
Contents
Previous
Page
Next
Page
1
2
3
4
5
Advertisement
Table of Contents
Need help?
Do you have a question about the GK45TEBS Series and is the answer not in the manual?
Ask a question
Questions and answers
Related Manuals for V-ZUG GK45TEBS Series
Hob V-ZUG GK37TIMSF Operating Instructions Manual
(44 pages)
Hob V-ZUG GK36TIS Installation Instructions Manual
Glass ceramic hob (12 pages)
Oven V-ZUG GK43 1F Series Installation Instructions Manual
Oven/cooker, all devices (12 pages)
Hob V-ZUG Toptronic GK45TEBSC Installation Instructions Manual
Glass ceramic hob (9 pages)
Hob V-ZUG CookTopInduktion V4000 Installation Instructions Manual
(6 pages)
Hob V-ZUG GK45TEBS.1 Operating Instructions Manual
Glass ceramic hob, toptronic with single slider (32 pages)
Hob V-ZUG GK45TEBS.1 Operating Instructions Manual
Toptronic with single slider glass ceramic hob (32 pages)
Hob V-ZUG GK45TEASF Operating Instructions Manual
Toptronic hob (32 pages)
Hob V-ZUG GK45TEAS Operating Instructions Manual
Toptronic hob (24 pages)
Hob V-ZUG GK45TEG Operating Instructions Manual
Toptronic hob (20 pages)
Hob V-ZUG 31033 Series Operating Instructions Manual
Toptronic hob (28 pages)
Hob V-ZUG GK45TES Series Operating Instructions Manual
Toptronic hob (24 pages)
Hob V-ZUG GK45TEBSF Operating Instructions Manual
Toptronic hob (24 pages)
Hob V-ZUG GK36TI Operating Instructions Manual
Induction glass ceramic hob (36 pages)
Hob V-ZUG GK46TIMS Operating Instructions Manual
(40 pages)
Hob V-ZUG GK46TIGC/U/F Operating Instructions Manual
Glass ceramic hob, induction basic (32 pages)
This manual is also suitable for:
Gk45tes series
Gk45texs series
Gk45tebsc
Gk45tebsz
Gk45tebsf
Gk45tesc
...
Show all
Gk45tesco
Gk45tesu
Gk45tesuo
Gk45tesz
Gk45teszo
Gk45texsc
Gk45texsco
Gk45texsz
Gk45texszo
Table of Contents
Print
Rename the bookmark
Delete bookmark?
Delete from my manuals?
Login
Sign In
OR
Sign in with Facebook
Sign in with Google
Upload manual
Upload from disk
Upload from URL


Need help?
Do you have a question about the GK45TEBS Series and is the answer not in the manual?
Questions and answers