Advertisement
Quick Links
BUILD IN APPLIANCE
CAUTION – ALL OUTER SURFACES WILL GET HOT WHEN IN USE
MODEL
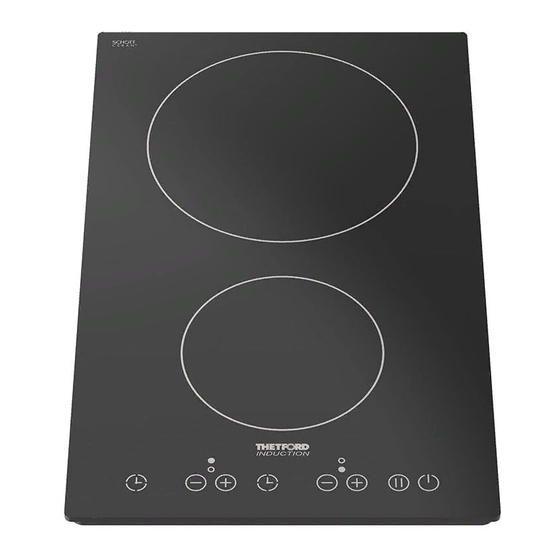
Series 902 Induction Hob
USER AND INSTALLATION INSTRUCTIONS
PLEASE READ THOROUGHLY AND KEEP FOR FUTURE
REFERENCE
FOR USE IN
GB, CH, ES, PT, IT, BE, FR, IE, DK, FI, GR, NL, NO, DE, SE, SI
THETFORD LIMITED
Unit 19, Oakham Drive, Parkwood Industrial Estate
Rutland Road, Sheffield S3 9QX, ENGLAND.
TEL: + 44 (0) 114 273 8157
FAX: + 44 (0) 114 275 3094
Advertisement

Related Manuals for Thetford 902 Series


Summary of Contents for Thetford 902 Series
- Page 1 REFERENCE FOR USE IN GB, CH, ES, PT, IT, BE, FR, IE, DK, FI, GR, NL, NO, DE, SE, SI THETFORD LIMITED Unit 19, Oakham Drive, Parkwood Industrial Estate Rutland Road, Sheffield S3 9QX, ENGLAND. TEL: + 44 (0) 114 273 8157...
- Page 2 INSTALLATION DETAILS – SERIES 902 Worktop clamping screw Foam seal Power connection (Plug optional) Air inlet – fan assist Air outlet – 10mm Min X 300mm Cool air inlet – worktop vent Cool air inlet – under hob side vent Cool air inlet –...
- Page 3 SPECIFICATION Note: Items 6, 7 & 8 are recommended options, read installation section for details. INTRODUCTION This appliance must be installed in accordance with the relevant local and national regulations in force. Failure to instal the appliance correctly could invalidate any warranty or liability claims and lead to prosecution.
-
Page 4: Operation
OPERATION Cooking on Induction Cooking with an Induction Hob is different to a conventional hob which has either heating elements or hotplates. An induction hob uses powerful electro magnets which are located below the glass surface. When a pan manufactured from magnetic material, is placed directly above an electro-magnet, energy is induced into the metal of the pan. - Page 5 Operation/Function Touch Controls L.E.D. Display 1. Ensure the power supply is connected and turned on 2. Switch On: The display for each heat zone Touch the Power On/Off will illuminate as shown. symbol until it beeps. If no function activated after 10seconds system will switch to standby.
- Page 6 Operation/Function Touch Controls L.E.D. Display 8. Simmer Control When selected the display illuminates as shown. Touch and hold Available on either zone, a symbol until ‘Lo’ constant very low heat displayed. C suitable for melting To deactivate touch either chocolate or delicate sauces.
-
Page 7: Care And Maintenance
OPERATION Do’s and Don’ts Read the instructions carefully before using the appliance. Clean the appliance regularly Remove spills as soon as they occur Check controls are in the OFF position when finished Use the correct type pans and always lift the pan, sliding may cause scratches. DO NOT Allow children near the appliance when in use. -
Page 8: Installation
INSTALLATION Regulations & Standards This appliance must be installed in accordance with the relevant local and national regulations in force. Installation should only be carried out by a qualified installer or engineer. The appliance is suitable for installation into Holiday Homes, Touring Caravans and Boats. In all cases the national standards with regard to appliance location and ventilation for the particular vehicle into which the appliance is to be installed must be adhered to. - Page 9 INSTALLATION Electrical Connection Models fitted with power cord only This appliance is supplied with a double insulated cord, type 227 IEC 53, HO5V V-F, which is suitable for use up to 4 amps. This should be connected to a double pole switched mains supply, with 3mm minimum contact separation at all poles.
Need help?
Do you have a question about the 902 Series and is the answer not in the manual?
Questions and answers