Table of Contents
Advertisement
Advertisement
Table of Contents

Summary of Contents for Melitta Cafe Cappuccino MEX6B
- Page 1 Café Cappuccino ™ STEAM ESPRESSO MAKER Model MEX6B...
-
Page 2: Important Safeguards
IMPORTANT SAFEGUARDS When using electrical appliances, basic safety precautions should always be followed, including the following: 1. Read all instructions. 2. Do not touch hot surfaces. Use handles or knobs. 3. To protect against electric shock, do not place cord, plugs, or appliance in water or other liquid. -
Page 3: Additional Important Safeguards
IMPORTANT SAFEGUARDS WARNING: This appliance generates heat and escaping steam during use. Proper precautions must be taken to prevent the risk of burns, fires, or other injury to persons or damage to property. 1. All users of this appliance must read and understand these Use & Care instructions before operating or cleaning this appliance. -
Page 4: Short Cord Instructions
Polarized Plug This appliance has a polarized plug (one blade is wider than the other). To reduce the risk of electric shock, this plug is intended to fit into a polar- ized outlet only one way. If the plug does not fit fully in the outlet, reverse the plug. -
Page 5: Getting To Know Your
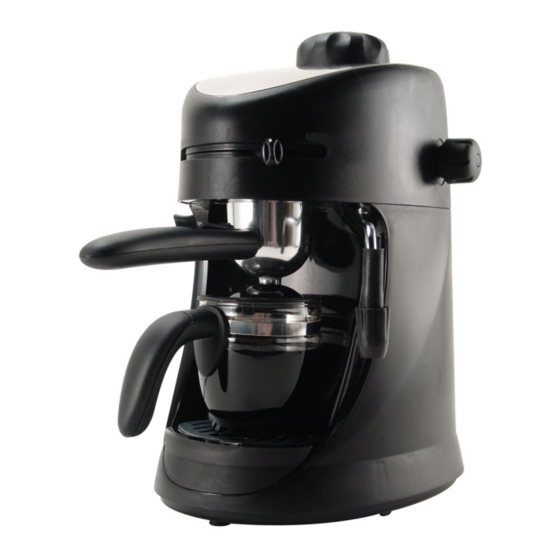
Getting To Know Your Steam Espresso Maker Product may vary slightly from illustrations. 1. Boiler Cap (P/N 31419) 2. Water Tank Opening 3. Steam Control Knob 4. Frother 5. Froth Booster Tip (P/N 31420) 6. Grid for Drip Tray (P/N 31421) 7. -
Page 6: Brewing Espresso
OPERATING INSTRUCTIONS efore brewing the first time: described below in the “Brewing Espresso” section, using water only. Then repeat the process a second time. Wash all removable parts in warm, soapy water. Rinse, dry and assemble as instructed. Brewing Espresso 1. - Page 7 7. Place the Filter Basket into the Filter Holder (see FIGURE 3). Make sure that the Filter Basket Clip is open and resting back along the Filter Holder handle. 8. Position the Filter Holder beneath the water outlet so that the handle is aligned with the “...
- Page 8 13. When finished using the Espresso Maker, flip the Power Switch to the “O” (OFF) position – the power light will turn off. NOTE: Unplug the Espresso Maker after each use. 14. Remove the Carafe from the Drip Tray and serve. 15.
-
Page 9: Frothing Milk
Frothing Milk 1. When frothing milk, the volume of the milk will generally double. Therefore, fill a frothing pitcher only halfway with milk to leave room for expansion. NOTE: For best frothing results, use fresh, cold skim milk. 2. Make sure the Froth Booster Tip is properly attached to the Frother before beginning to froth milk. - Page 10 Preparing a “Latte”: 1/3 espresso and 2/3 steamed milk (no foam). Thus it has more milk than a cappuccino, and has a milder, milkier taste. Lattes should be prepared by pouring milk and espresso into the cup simultaneously. 6. Clear the Frother of milk BEFORE turning off the Espresso Maker, as dried milk can be difficult to remove.
-
Page 11: User Maintenance Instructions
USER MAINTENANCE INSTRUCTIONS This appliance requires little maintenance. It contains no user serviceable parts. Do not try to repair it yourself. Any servicing requiring disassembly must be performed by a qualified appliance repair technician. 1. Unplug the Espresso Maker from the electrical outlet and allow it to cool completely before cleaning. - Page 12 Descaling The Espresso Maker should be regularly descaled. Distilled white vinegar may be used to descale this appliance. It is suggested that this unit be descalled according to the following intervals: • Normal water: every 6 months • Hard water: every 3 months •...
- Page 13 NOTES...
-
Page 14: Limited One-Year Warranty
This warranty gives you specific legal rights and you may have other rights under the laws of your jurisdiction. For more information on our products, visit our website: www.maxim-toastmaster.com. ©2006 All rights reserved.


Need help?
Do you have a question about the Cafe Cappuccino MEX6B and is the answer not in the manual?
Questions and answers