SECOLink KM20B Short Programming Manual - Basic Information
Intruder alarm system
Hide thumbs
Also See for KM20B:
- Short user manual (5 pages) ,
- Short programming manual - basic information (12 pages)
Table of Contents
Advertisement
Intruder alarm system
SAFETY WARNINGS
Short programming manual is recommended for the professional installers who are experienced in the installation
of intruder alarm systems and have already read the SecoLink wiring manual. The wiring manual must be read
before the installation to avoid accidents with high voltage and temperature.
The system must be connected to an AC power supply with Protective Earth ground: Phase or Live line (L) - black or
brown cable, Neutral line (N) - blue cable, Protective Earth line (PE) - green cable with yellow along stroke. Double isolated
cables with minimum cross-sectional area of 0,75 mm for 230V power supply must be used.
Additional automatic two-pole circuit breaker should be installed in AC electric power circuit in order to prevent over-
current and short circuits. The circuit breaker should be placed close to the system's housing and should be easily reached.
Full power-off could be done by turning off 230V AC main with automatic two-pole circuit breaker and by disconnecting the
battery. Before performing any work of installation or maintenance ALWAYS disconnect device from the power supply.
SYSTEM STARTUP - "FIRST START"
The keypad that comes with the SecoLink security system has been pre-installed with the most frequently used system
settings (further template).
USB socket
(MINI B)
USB cable
Fig. 1 USB connection
A registered module slowly flash it's address on the system with the help of a green LED, which is located on the module's
PCB (for EXM800, EXT116, EXT216, GSV2A, GSV2C, GSV2M, LAN800, PWR15, RCM800, RCM800WL, for PROX8,
RID820 - via external LED). If the LED is flashing with a poor contrast it means the CLK or DAT line has a wiring problem.
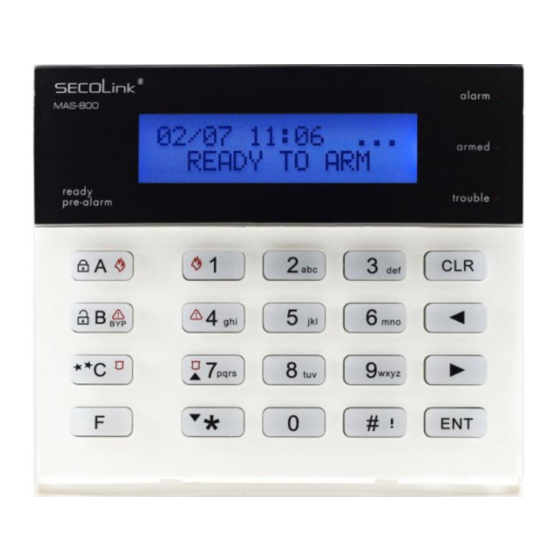
On the keypad LCD :
First Start
Press [ENT]
Press
key.
ENT
STARTING THE SYSTEM WITH FEW KEYPADS
Sometimes during the first start the words "No control, address 00" may appear on the screens of keypads. It means that
the keypad has the same address in the system as the other keypads or modules. Select the keypad which has a template
prepared by you or select any keypad if all keypads have the same template. Press
keypad must start the registration procedure and provide the system with a template. When the
will ask system to be a control keypad, it will emit a short audible signal when the control is received and it will show "First
start, Press "ENT". If the control keypad contains a modified template (project) with all keypads having a precise serial
number and address, just press
address are not determined in the project, use
each keypad. When all keypads addresses are set, press
registration and the project sending procedure.
For a small system, with a few keypads, it is recommended
to choose keypads addresses in 1 - 4 range, and for the big
system (PAS832) in 1 - 4 and 10 - 15 range. The idea is not to
disturb the default addresses of other modules with the
addresses of the keypads.
DEFAULT ADDRESSES OF THE MODULES
The system manufacturer has provided the modules with default addresses assigned to them. This is done in order to
simplify the process of registration for the most frequently used combinations of system modules (such as PAS808, KM20B,
RCM800, GSV2Ñ or PAS816, KM20B, EXM800, RCM800wl, GSV2C). While registering modules of a different type, you will
not need to enter serial numbers of each module, as the system will automatically assign default addresses for the modules
that are listed below:
For all control panels
For the keypad KM20B, KM24
For the keypad with a temperature sensor KM20BT, KM20GT, KM24A
For extra power supply module PWR15
For the zone/PGM expansion module EXM800
For the remote control module EXT116, EXT216, RCM800, RCM800wl,
For the user identification module RID820 and proximity reader PROX8
For the GSM/GPRS, LAN communicator GSV2A, GSV2C, GSV2M, LAN800
Before installing the system it is possible to connect the keypad with a computer via
USB and read the template with the help of the software MASCAD (which is free of
MASC
Computer
charge). Later it is possible to modify the template according to premise's
characteristics and to write it into the keypad again.
When the wiring works are done and when the system is powered up, words "First
USB
Start" will appear on the keypad. It will mean that the system is ready to automatically
transfer the data from the keypad to the other modules of the system. "First Start"
procedure also checks what modules are present, the modules are given addresses (ie,
they are registered).
Entering Service
Entering Service.
Registration of modules
. If the control keypad contains just a template or the keypad's serial number and
ENT
,
1
2
Registering...
From KM20 to CP
Processing...
is in progress.
sent to the system.
,
,
,
keys to manually enter the addresses in the system for
!
2
3
4
5
ghi
jkl
abc
def
on the control keypad and wait a few minutes for the end of the
ENT
No Control
Address 00
The keypad has no control.
Use
1
keys to enter address
for each keypad.
System with KM20B, KM20BT keypads
Short programming manual - basic information
Leaving Service
Template is being
. This way you will show, which
is pressed the keypad
No Control
Address 03
Address 03 will be
,
,
,
,
assigned to the keypad
2
3
!
4
5
ghi
jkl
abc
def
after "First Start".
- address 00;
- address 01 or 03;
- address 02 or 04;
- address 04 or none;
- address 05;
- address 06;
- address 06;
- address 07.
Leaving Service.
Page 1
Advertisement
Table of Contents


Need help?
Do you have a question about the KM20B and is the answer not in the manual?
Questions and answers