Advertisement
MANUAL FOR ASSEMBLY AND USE
!
Any user or installer of desk base must study this manual carefully.
Questions? Please contact Symmetry @ 888-552-5699 or email info@symmetryoffice.com
•
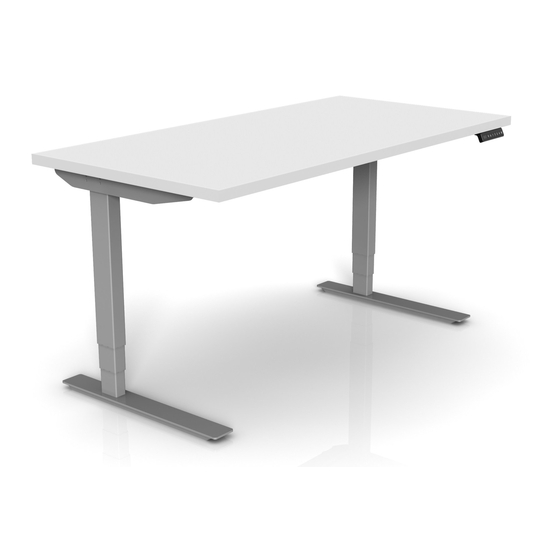
ENDEAVOUR
HEIGHT ADJUSTABLE DESK
If this desk is sold, please provide the manual to the buyer.
UL Number: E485560
IMPORTANT:
1
Advertisement
Table of Contents

Related Manuals for Symmetry ENDEAVOUR


Summary of Contents for Symmetry ENDEAVOUR
- Page 1 MANUAL FOR ASSEMBLY AND USE UL Number: E485560 IMPORTANT: Any user or installer of desk base must study this manual carefully. If this desk is sold, please provide the manual to the buyer. Questions? Please contact Symmetry @ 888-552-5699 or email info@symmetryoffice.com...
- Page 2 TABLE OF CONTENTS PAGE SAFETY AND WARNINGS USAGE SETUP AND INSTALLATION PARTS LIST ASSEMBLY INSTRUCTIONS 4 to 10 TECHNICAL SPECIFICATIONS TROUBLESHOOTING GUIDE SAFETY AND WARNINGS USAGE This height adjustable desk has an electric motor and is designed for use in dry work areas only. The desk height is adjustable so that it can be positioned at the most ergonomically suitable height.
- Page 3 PARTS LIST Components " Qty 1 Pre-assembled legs +frame Qty 2 Feet Qty2 Side Brackets Qty 1 Keypad & Qty 1 power cord Qty 1 Control box Qty 4 Leveling Studs Hardware 4mm 1PC 5mm 1PC M6*16 8PCS M6*45 8PCS M8*16 8PCS M5*20 6PCS...
- Page 4 assembly to avoid damage. For ease and safety, we recommend two people for assembly ASSEMBLY INSTRUCTIONS First, Lay out all components and hardware to ensure that you have all the parts listed on the compo- nents list. 10. 8 PCS M6*16 Screws 1. Qty 1 Pre-assembled legs and frame 11.
- Page 5 Take out the pre assembled lifting column and frame, tighten the screws (Part #10) ...
- Page 6 C. Take out Feet (Part #2), Use screw (Part #11), to fit the Feet on the lifting column bottom, and fit Leveling Stud (Part #7), on the feet. D. Turn around the desk to upright down. Tighten the side brackets on the desk frame, one for left side, one for right side.
- Page 7 Use a tape to measure the width, and adjust the cross rail in the middle of the frame. set up the width you want, Fit the control box into the desk frame. Then tighten the screws Your desktop may or may not be pre-drilled. Please check both sides of the desktop before placing the desk base on it for pre-drilling! Carefully place the upside down desk base on the underside of the desktop.
- Page 8 I. Double-check that the base is centered on the underside of the desktop and is located where you want it. Also, double-check that the included wood screws are not too long for your desktop and won’t puncture the surface when screwed all the way in. Never use countersunk screws to We recommend you pre-drill any holes fasten into the desktop.
- Page 9 to attach the Control Box (Part #6). Ensure enough clearance at the wire ports for cable connections. IN THIS FOLLOWING STEP, DO NOT OVERTIGHTEN SCREWS. OVER TIGHTENING MAY CAUSE THE PLASTIC ON THE COMPONENTS TO BREAK. Place the Keypad (Part #4) so the front of the keypad runs flush with the desktop edge (or recessed up to 1/8”).
- Page 10 Connect the Wires as per the diagram below. Use the adhesive-backed Cable Clips (Part #18) to secure the Connecting Wires, so they don’t sag. Turn the assembled desk right-side-up. With two people, grab the desk by the base (not the desk- top) and turn the desk right-side up.
- Page 11 TECHNICAL SPECIFICATIONS Height Range 23.4” – 48.6” (without desktop) Adjustable frame 43,3” min – 78.7” max Travel Speed 1.5” per second Weight Capacity 225 lbs. Duty Cycle 10%, Max. 2 mins on, 18 mins off Function Sit- Stand Desk with 4 Memory position in the handset Anti-collision technology to prevent damage TROUBLESHOOTING --Reset Instructions—...
Need help?
Do you have a question about the ENDEAVOUR and is the answer not in the manual?
Questions and answers