Advertisement
Advertisement
Table of Contents

Related Manuals for Vortex CDX2532G


Summary of Contents for Vortex CDX2532G
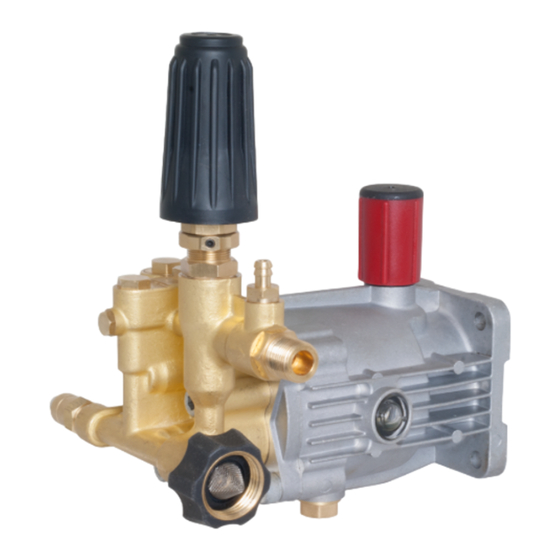
- Page 2 Models: CDX2532G CDX2532G-78 KEEP THIS BOOKLET Please read and follow carefully before installing, operate, assemble, or maintain this product. Make sure to observe all safety information to avoid injury of yourself and others. Non compli- ance with recommended information can result in injury or property damage! Keep this booklet for future reference.
-
Page 3: Limited Warranty
Vortex Power Products. Liability of manufacturer for warranty is limited to repair or replace- ment of parts only at the option of the manufacturer when such prod- ucts are found to be of original defect or workmanship at the time it was shipped from factory. - Page 5 Winter/Long Term Storage 1. Drain all of the water from the pump. 2. Screw in bottle of Vortex Pump Saver to the garden hose inlet and open up the valve on the cap of the bottle. 3. Make sure your pressure washer...
-
Page 6: Installation
Installation 1. Make sure the unit is powered off. Remove the mounting bolts that hold the old pump to the engine, and remove the old pump. Make certain that the engine shaft is clean and free of debris before installation of the new pump. 2. - Page 7 Installation 4. Once the pump is flush with the frame it’s time to bolt it together. Insert the mounting bolt with a washer through the mounting tab bolt hole and tighten down the bolts when you are absolutely positive that the mounting tabs are flush with the engine or you can break a tab or damage the hollow shaft inside the pump.
-
Page 8: Unloader Adjustment
Unloader Adjustment 1. The first step is to reset the unloader. Turn the adjustment knob counter clockwise until there is absolutely no pressure against the spring inside the unloader. 2. Connect hoses to your pump and run water to it. Now you will need to purge the air from your hoses by pulling the trigger until only water comes out. -
Page 9: Troubleshooting
Troubleshooting Symptom Possible Cause Corrective Action Oil leak between crankcase Worn oil seals around plunger Replace crankcase plunger oil seals and pump section Frequent or premature 1. Cracked, damaged, or worn 1. Replace plunger failure of the packing plunger 2. Overpressure to inlet 2. - Page 10 Troubleshooting Symptom Possible Cause Corrective Action Water leakage from under Worn packing or cracked Install new packing or plunger manifold plunger Slight leak, oil leaking in the 1. Worn crankshaft seal or 1.Remove oil seal retainer and install new oil area of the crankshaft improperly installed oil seal seal...
-
Page 11: Pump Servicing
Pump Servicing Inlet Valve Removal 1. Remove the pump head from the body. Note: Be careful not to damage parts below so they can be reused if not worn 2. Remove the first seal by inserting a screw driver (or other device for levering) under the lip of the seal and lift it up. - Page 12 Pump Servicing Easy Start Removal 1. Remove the easy start plug and inspect the o-ring for damage or wear and replace if nec- essary. 2. Remove the ball and spring then clean them and the barb of calcium build-up. 3. Using a coarse wood screw, insert it into the seat and twist it until the threads catch in the small hole at the bottom of the seat.
- Page 13 Pump Servicing Unloader Valve Installation 1. Insert the seat squarely in the port with the flat side facing up and the concave side facing down. 2. Press the seat into place with a wide blunt tool that will allow you to distribute pressure equally across the seat while pressing it in place.
- Page 15 Notes...
Need help?
Do you have a question about the CDX2532G and is the answer not in the manual?
Questions and answers
What is the correct oil level