Table of Contents
Advertisement
Advertisement
Table of Contents

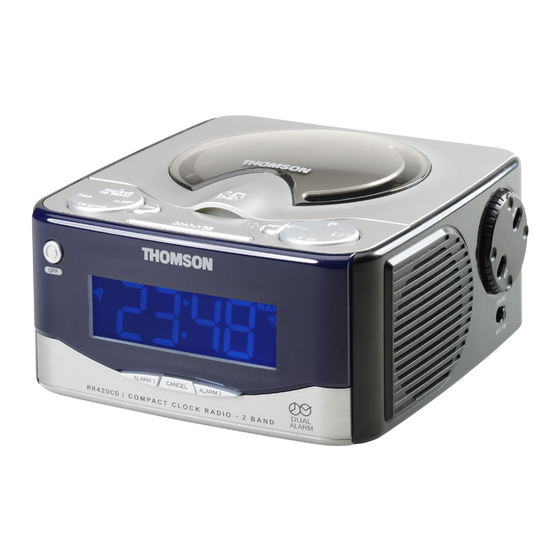
Summary of Contents for THOMSON RR420CD
- Page 2 Main Connections (For UK only) CAUTION: For UK Only CONNECT THE MAIN LEAD INTO AC MAINS POWER SOCKET POWER SUPPLY 230V. It must not be connected to D.C. mains. Note: The mains lead of the set is fitted with a moulded plug.
-
Page 3: Safety Information
Safety Information CAUTION! Invisible laser radiation when open. Avoid exposure to beam. Class 1 laser product. This system must be opened only by qualified technicians to prevent acci- dents caused by the laser beam. LASER λ = 780nm, P max=5 mW Rating Information : At the bottom of the unit. -
Page 4: Technical Specifications
Safety Information TECHNICAL SPECIFICATIONS: Power supply AC 230V ~50Hz Clock backup:9V 6F22 Power consumption: 7W Please respect the environment. Before throwing any batteries away, consult your distributor who may be able to take them back for specific recycling. Do not place the system near wet areas such as bathrooms and pool side. -
Page 5: Before You Begin
Before you begin This clock radio is equipped with a memory holding system that can be powered with 9V battery (not included). The power failure protection circuit will not operate unless battery is installed. When normal household power is interrupted, or AC cord is unplugged, the battery will power the clock radio to keep track of time and alarm settings programmed into the memory. -
Page 6: Operating The Clock
Operating the Clock Setting time: 1. Press the SET button, the “ : “ will flash on the display . 2. Press REV or FWD to set the time. the SET button repeatedly to confirm everything is set correctly. Tip: No icon will be flashing if all selectors are set, if you see any icon flashing on display, press... -
Page 7: Operating The Radio
Operating the Radio Tuning the Stations 1. Press ON to turn on the radio. 2. Slide the MW/FM switch to the desired broadcast band. 3. Turn the TUNING knob to select a station. 4. Press OFF to turn off the radio. Built-In AFC The Built In Automatic Frequency Control (AFC) works only on FM. -
Page 8: Operating The Cd Player
Operating the CD player Listening to compact disc 1. Lift to open the CD compartment door. 2. Insert a disc and close the door. 3. Press PLAY/PAUSE 4. Adjust volume to your desired level. 5. Press REV or FWD ward and forward. 6. -
Page 9: Operating The Alarm
Operating the Alarm Setting the WAKE Time Your digital clock operates on a 24 hour standard mechanism. 1. Press the SET button until ALARM 1 / ALARM 2 icon is blinking. 2. Press REV or FWD to set the wake time. -
Page 10: Sleep Mode
Operating the Clock Radio Sleep Mode In sleep mode, the radio or CD will turn off automatically. Simply: 1. Listen to CD or radio. 2. While holding SLEEP, press REV to set the sleep time. The time range is from 1 minute to 2 hours. 3. -
Page 11: Snooze Alarm Operation
Operating the Clock Radio Snooze Alarm Operation This operation allows extra sleep time after the alarm is on. The alarm will turn off by pressing SNOOZE until the snooze period is over. Snooze function can be used repeatedly up to 2 hours. After this, the alarm will turn off until the next alarm conditions are met.


Need help?
Do you have a question about the RR420CD and is the answer not in the manual?
Questions and answers