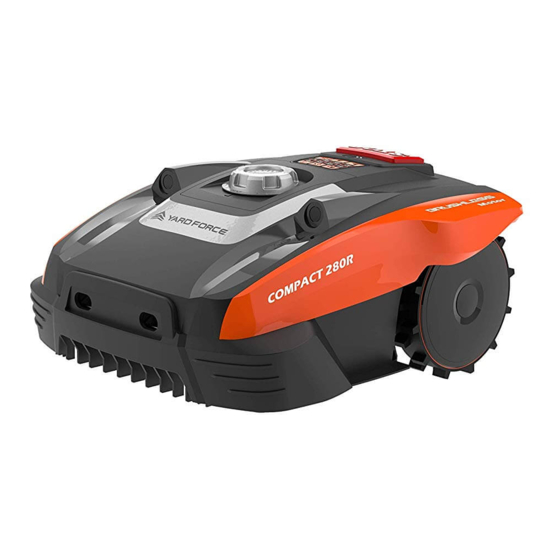
Yard force COMPACT 280R Installation Manual
Robotic mower
Hide thumbs
Also See for COMPACT 280R:
- Installation manual (55 pages) ,
- Installation manual (11 pages)

Related Manuals for Yard force COMPACT 280R


Summary of Contents for Yard force COMPACT 280R
- Page 1 20-30cm ROBOTIC MOWER Installation Guide COMPACT 280R 20-30cm 20-30cm >2m > 10 cm +44(0)1904 727513 support@yardforce.co.uk www.yardforce.eu Nov. 2019 20-30cm V2.0...
-
Page 2: Table Of Contents
CONTENT Description of product STOP button Ultrasonic sensor Description of product ............1 Charging port Rear wheel Installation ..............2 Height adjustment dial Control panel Operation ..............10 USB interface On/Off switch Technical data ..............13 Maintenance and storage ..........14 Troubleshooting ............16 Warranty ..............17 Parts included within this box Robotic Mower Docking station... -
Page 3: Installation
Installation Stones We recommend clearing the lawn of small rocks and stones and any stones with a round or sloped edge. The Robotic Mower might try and climb such rocks instead of recognising them as a barrier. Installation Guide A Robotic Mower getting stuck on such a stone requires user intervention to restart mowing. Contact with stones can result in damage to the blades. - Page 4 Do not place the docking station too close to a slope, such as at the top of a hill or the bottom of If the driveway and lawn are at the same level, feel free to use the boundary wire to create a a furrow.
- Page 5 When initially placing the pegs, do not drive them fully into the ground. Use a light hammer to drive Ponds and Pools them in a little bit. Also locate the fixing pegs and lay each one on the lawn at approximately the While the Robotic Mower is protected against rain and spray water, being submerged is likely to correct distance from lawn edges (20-30cm) and obstacles.
- Page 6 Once the blue LED confirms all is OK, test the Robotic Mower's function. Check the LED regularly Signal selection to ensure fixing the boundary wire has not affected the connection and signal shows S1 on the There are two signals which can be selected, S1(blue indicator) and S2(red indicator). charging satation.
-
Page 7: Operation
Operation Control panel Home button: First press the Home button and the press the OK button, robotic Mower will return to docking station. Start button: Frist press the Start button and then press the OK button, robotic Rain sensor Mower will start to indicator work. -
Page 8: Technical Data
Return to Docking station Technical Data Model Compact 280R Max cutting area 280 m Battery pack 20V/2000mAh Input: 100-240V AC, 50/60Hz, Switch power supply Output:24VDC, CC1.5A Mowing time on one charge 60 min Rated voltage 20 V Rated power 42 W... -
Page 9: Maintenance And Storage
Cleaning the underside Maintenance and storage Ensure the main power switch is in OFF position. Wearing protective gloves, turn the Robotic Maintenance works that have not been instructed within the manual should only be carried out by Mower onto its side to expose its underside. Clean the blade disc and frame using a soft brush or a recommended servicing agency. -
Page 10: Troubleshooting
Check that the docking station's position is suitable as explained in this manual. All Yard Force products are covered by a standard two-year warranty which can be extended to three years if the product is registered online within 28 days of purchase. If you do not Robotic Mower runs in circles while mowing or while following register your product within 28 days of purchase, the two-year warranty will apply.
Need help?
Do you have a question about the COMPACT 280R and is the answer not in the manual?
Questions and answers