Table of Contents
Advertisement
Quick Links
Advertisement
Table of Contents

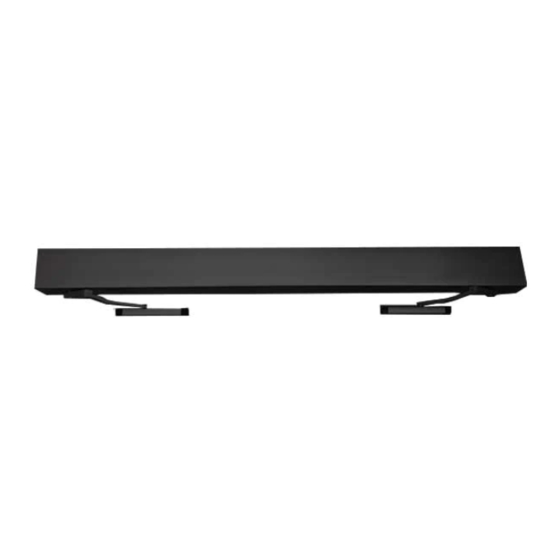
Summary of Contents for DITEC HA9
- Page 1 Prepare unit for mounting. ① ⚠ Mark spindle center on the bottom edge of header before removing. This will help you to relocate the Motor/Gearbox when time for reinstalling. 1 of 6 Quick Start Guide Ditec HA9 Low Energy 1020059-EN-US Swing Operator...
- Page 2 Mount header backer plate. ② PUSH ⚠ The header must be securely anchored to the frame and wall. It must be strong enough to PULL support 200 lbs. (90.7kg), place anchors 12" to 16" (304.8mm to 406.4mm) apart. Connect power. ③...
- Page 3 Change unit configuration. ④ 3 of 6...
- Page 4 Reinstall motor/gearbox. ⑤ ⚠ Tighten nuts in a crisscross pattern starting with Top Center Nut. ⚠ Spindle must be located as shown. Install arm. ⑥ PUSH 5in [ 128mm ] ⚠ ⚠ Measure from hinge center to Rod must extend 1” (25.4mm) first whole on Door Shoe.
- Page 5 PULL Do not tighten the socket cap screw at this time. Pull Arm ⚠ Determine spacer requirement and orientation. Max reveal is 2 ⅜” (60mm). ⚠ Roller track must cover these marks. 5 of 6...
- Page 6 Tune operator. ⑦ Install header cover. ⑧ ⚠ Use a #8-18 x ½” L Self-Drilling Screw. 6 of 6...


Need help?
Do you have a question about the HA9 and is the answer not in the manual?
Questions and answers