Sign In
Upload
Download
Add to my manuals
Delete from my manuals
Share
URL of this page:
HTML Link:
Bookmark this page
Add
Manual will be automatically added to "My Manuals"
Print this page
×
Bookmark added
×
Added to my manuals
Manuals
Brands
SUPERNOVA Manuals
Lighting Equipment
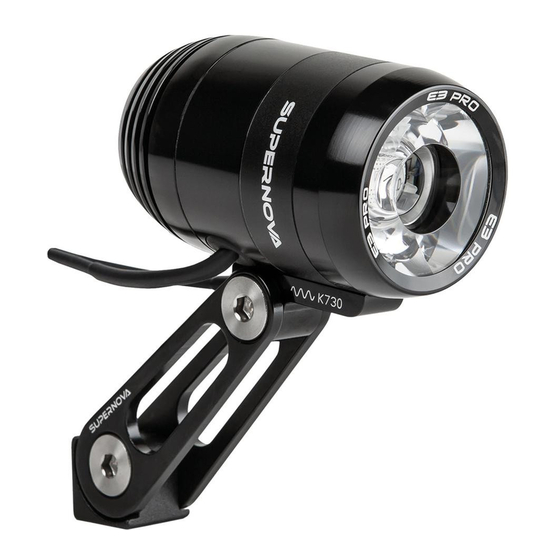
E3 PRO 2
Manual
SUPERNOVA E3 PRO 2 Manual
Dynamo & 25 km/h
Hide thumbs
Also See for E3 PRO 2
:
Manual
(17 pages)
,
Manual
(15 pages)
1
2
3
4
5
6
7
8
9
10
11
12
13
14
15
16
17
18
19
20
21
22
23
24
25
26
27
28
29
30
31
32
33
34
35
36
37
38
39
40
41
42
43
44
45
46
47
48
49
50
51
52
53
54
55
56
57
58
59
60
61
62
page
of
62
Go
/
62
Bookmarks
Advertisement
Quick Links
Download this manual
FRONTSCHEINWERFER | FRONT LIGHTS
V 07.17
25
&
DYNAMO
km/h
ANLEITUNG | MANUAL
DE |
EN
Previous
Page
Next
Page
1
2
3
4
5
Advertisement
Need help?
Do you have a question about the E3 PRO 2 and is the answer not in the manual?
Ask a question
Questions and answers
Related Manuals for SUPERNOVA E3 PRO 2
Bicycle Accessories SUPERNOVA E3 Series Manual
(17 pages)
Bicycle Accessories SUPERNOVA E3 DYNAMO Series Manual
Front lights (15 pages)
Bicycle Accessories SUPERNOVA E3 Manual
Front lights (25 pages)
Bicycle Accessories SUPERNOVA E3 Manual
Front lights for e-bike (19 pages)
Bicycle Accessories SUPERNOVA E3 Manual
Rear lights (19 pages)
Bicycle SUPERNOVA E3 Manual
(11 pages)
Lighting Equipment SUPERNOVA FAZUA Manual
For drive type fazua evation (7 pages)
Lighting Equipment SUPERNOVA VK-1963 Setup Instructions
10' x 10' inline lightbox (12 pages)
Lighting Equipment SUPERNOVA STARSTREAM X PRO Manual
Front light (11 pages)
Lighting Equipment SUPERNOVA MOD-1603 Setup Instructions
Lightbox (7 pages)
Lighting Equipment SUPERNOVA Z-REFLECTOR 3 Manual
(12 pages)
Lighting Equipment SUPERNOVA MOD-1614D Assembly Instructions
Double-sided lightbox (5 pages)
Lighting Equipment SUPERNOVA VK-2995 Manual
Inline lightbox (12 pages)
This manual is also suitable for:
E3 pure 3
V6s
V1260
V521s
Print
Rename the bookmark
Delete bookmark?
Delete from my manuals?
Login
Sign In
OR
Sign in with Facebook
Sign in with Google
Upload manual
Upload from disk
Upload from URL


Need help?
Do you have a question about the E3 PRO 2 and is the answer not in the manual?
Questions and answers