Table of Contents
Advertisement
Advertisement
Table of Contents

Related Manuals for Sony UP-D895MD


Summary of Contents for Sony UP-D895MD
- Page 1 Digital Graphic Printer Instructions for Use Read all of these instructions carefully. These instructions describe how to use this product correctly and safely and provide precautions about how to avoid accidental damage to the printer. UP-D895MD © 2001 Sony Corporation...
- Page 2 WARNING Important safeguards/notices for use in the medical environments To prevent fire or shock hazard, do not expose the unit 1 All the equipments connected to this unit shall be to rain or moisture. certified according to Standard IEC60601-1, IEC60950, IEC60065 or other IEC/ISO Standards To avoid electrical shock, do not open the cabinet.
-
Page 3: Table Of Contents
Overview Table of Contents Quiet, High Quality, Fast Printing Getting Started • Employs a thin thermal head with a built-in high speed drive IC, capable of high resolution images of 12.8 Part Names and Functions ........4 dots/mm. Connections ............5 •... -
Page 4: Getting Started
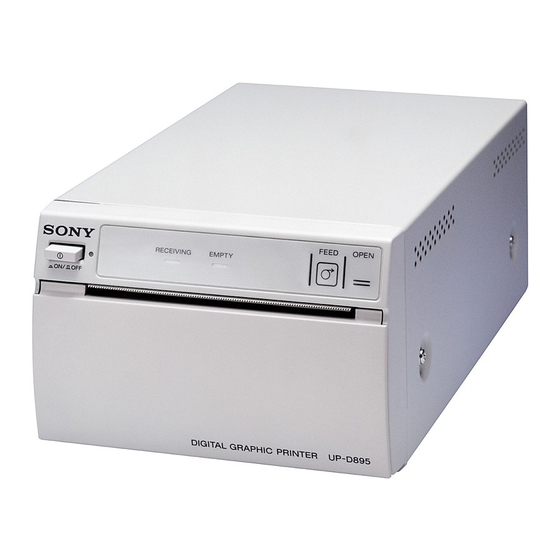
A Power ON/OFF Switch, Power Lamp (7, 9, Getting Started Switch to ON to power and light the POWER lamp. B RECEIVING lamp Lights while the printer is receiving print data from Part Names and the computer. Functions C EMPTY lamp (9) Lights when the printer runs out of paper. -
Page 5: Connections
USB Port Connection Connections After connecting the computer interface cable to the DIP SW computer and the printer, connect the power cord. The DIP SW FUNCTION TABLE NO FUNCTION SW-ON SW-OFF interface cable may vary depending on the computer in POST FEED AC IN RESERVED... -
Page 6: Installing The Printer Driver
Installing the Printer Setting the DIP Switches Driver Set the DIP switches for how you intend to use the printer. To change the DIP switches, first switch off the Install the printer driver provided with the printer. For printer and then use a small screwdriver with a small detailed instructions about how to install the printer point to move the switches. -
Page 7: Printer Paper
Printer Paper Loading Paper in the Printer Use only Sony UPP-110S/110HD/110HG paper designed for use with this printer. High print quality cannot be guaranteed if any other paper is used with this Notes printer, and such paper could damage the printer. - Page 8 Remove the label from the leading edge of the Close the paper door and press on it to shut it. printer paper, pull out about 15~20 cm (about 6~8 in.) of the paper, and then set the paper roll in the paper tray.
-
Page 9: Printing
Printing Before Starting a Print Job Always check the following points: • Printer connected correctly? (page 5) • DIP switches set correctly? (page 6) • Printer driver installed? (page 6) • Paper loaded correctly? (page 7) Starting a Print Job Press the power ON/OFF switch to turn the printer on. -
Page 10: Others
Others Maintenance Cleaning the Cabinet Precautions Use a wrung out damp cloth, or a damp cloth soaked in water and a mild detergent, to clean the cabinet surface. To avoid damaging the printer cabinet, never use On safety alcohol, thinner, or any other type of organic solvent, or •... - Page 11 With its black surface down, insert the cleaning Press the OPEN button to open the paper door, and sheet into the groove above the slide switch inside then remove the cleaning sheet. the paper tray. Close the paper door. Insert into the groove above the slide switch Note inside the paper tray.
-
Page 12: Specifications
USB Interface Connector Pin Assignment Specifications Pin I/O Signal Function Cable power, Max. current Printer 100mA –Data Data Thermal head Thin-film thermal head, 1280 dots +Data Data, pull up to +3.3V through Gradation 256-level gradation (8-bit) a 1.5k: resistance Memory capacity Ground Cable ground 4096... -
Page 13: Troubleshooting
Troubleshooting Before you call for service, please check the problems and solutions described below. If you cannot solve the problem, contact the nearest SONY authorized dealer. Problem Solution First few prints New paper roll just installed? tIf a new roll of paper has just been spotted with small dots. - Page 14 Sony Corporation...
Need help?
Do you have a question about the UP-D895MD and is the answer not in the manual?
Questions and answers