Table of Contents
Advertisement
Quick Links
Advertisement
Table of Contents

Summary of Contents for HIKVISION DS-3WF02C-5N/O
- Page 1 DS-3WF02C-5N/O Quick Start Guide DS-3WF02C-5N/O Quick Start Guide...
- Page 2 INDIRECT DAMAGES, INCLUDING, AMONG OTHERS, DAMAGES FOR LOSS OF BUSINESS PROFITS, BUSINESS INTERRUPTION, OR LOSS OF DATA OR DOCUMENTATION, IN CONNECTION WITH THE USE OF THIS PRODUCT, EVEN IF HIKVISION HAS BEEN ADVISED OF THE POSSIBILITY OF SUCH DAMAGES. REGARDING TO THE PRODUCT WITH INTERNET ACCESS, THE USE OF PRODUCT SHALL BE WHOLLY AT YOUR OWN RISKS.
- Page 3 DS-3WF02C-5N/O Quick Start Guide Regulatory Information FCC Information Please take attention that changes or modification not expressly approved by the party responsible for compliance could void the user’s authority to operate the equipment. FCC compliance: This equipment has been tested and found to comply with the limits for a Class A digital device, pursuant to part 15 of the FCC Rules.
-
Page 4: Applicable Models
DS-3WF02C-5N/O Quick Start Guide Applicable Models This manual is applicable to switches below: DS-3WF02C-5N/O (product series). Symbol Conventions The symbols that may be found in this document are defined as follows. Symbol Description Provides additional information to emphasize or supplement important points of the main text. - Page 5 DS-3WF02C-5N/O Quick Start Guide Catalog Chapter 1 Introduction ....................... 5 1.1 Overview ..........................5 1.2 Packing List ..........................5 1.3 Appearance ..........................5 1.3.1 Front Panel ........................5 Chapter 2 Installation ......................... 8 Chapter 3 Prepare ........................10 Chapter 4 Configuration ......................12...
-
Page 6: Chapter 1 Introduction
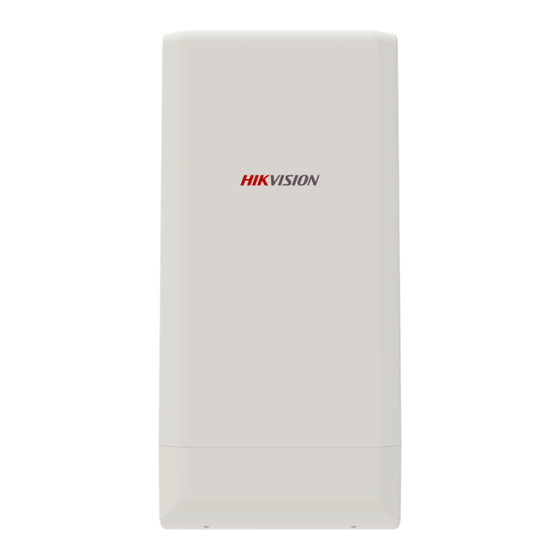
DS-3WF02C-5N/O Quick Start Guide Chapter 1 Introduction 1.1 Overview DS-3WF02C-5N/O wireless bridge can be applied in industries, such as wireless video surveillance, railway, transportation, power and other industries, wireless video/data transmission, wireless coverage, carrier wireless backbone network construction, Wi-Fi wireless coverage, rural information construction, and wireless network coverage. - Page 7 DS-3WF02C-5N/O Quick Start Guide Front Panel of DS-3WF02C-5N/O Figure 1-1 DS-3WF02C-5N/O Front Panel Indicator Indicators are used to monitor the status of the DS-3WF02C-5N/O. See the following table for the description of the indicators. Figure 1-2 Indicators...
- Page 8 Yellow and red lights on, indicating signal level is medium. Green, yellow and red lights on, indicating the wireless signal level is strong Physical Interface The hardware interfaces of the DS-3WF02C-5N/O are as follows. Figure 1-3 Physical Interface Table 1-3 Physical Interface Physical Interface...
-
Page 9: Chapter 2 Installation
DS-3WF02C-5N/O Quick Start Guide Chapter 2 Installation Step 1 Select the unobstructed high point around the device to ensure that the devices are aligned and there is no obstruction in the middle. Fix the device as shown in the figure below. Attach the back of the device to the pole, use the hoop to pass through the hoop hole on the back of the device, tighten the hoop, and fix the device on the pole. - Page 10 DS-3WF02C-5N/O Quick Start Guide Step 3 The schematic diagram of the installation of the device is as follows. Figure 2-3 Finish installation...
-
Page 11: Chapter 3 Prepare
DS-3WF02C-5N/O Quick Start Guide Chapter 3 Prepare Step 1 Use a network cable to connect the computer to the LAN interface of the device or PoE power supply to prepare the device. First, you need to configure the computer IP address and the device's default IP address to be on the same network segment. - Page 12 DS-3WF02C-5N/O Quick Start Guide Step 3 Double-click Internet Protocol Version 4 (TCP/IPv4). As shown below. Figure 3-3 Internet Protocol Version 4 (TCP/IPv4) Step 4 Configure the IP address of the computer to be the unused 192.168.1.X address in the LAN.
-
Page 13: Chapter 4 Configuration
DS-3WF02C-5N/O Quick Start Guide Chapter 4 Configuration After the preparation is completed, start the device configuration. Step 1 Make sure that the IP address of the computer is inconsistent with the default IP address of the device. On the same network segment, use a browser to log in to the device, open a browser, and enter the default IP address of the device in the address bar: 192.168.1.36. - Page 14 DS-3WF02C-5N/O Quick Start Guide Step 2 Go to the device page and click the “Wizard” bar at the top of the page to enter the “Network” page to set the IP address of the device. In the address field of the LAN IP, fill in 192.168.1.X, X is any integer from 2 to 253, and the address is not used.
- Page 15 DS-3WF02C-5N/O Quick Start Guide Figure 4-4 Wizard – Finish Users can also click the “Wireless” bar at the top of the page to enter the “Wireless” page and modify the network name, frequency, key and other parameters. Figure 4-5 Wireless For the WDS Access Point device configuration, please refer to the WDS Station device configuration.
- Page 16 DS-3WF02C-5N/O Quick Start Guide...


Need help?
Do you have a question about the DS-3WF02C-5N/O and is the answer not in the manual?
Questions and answers