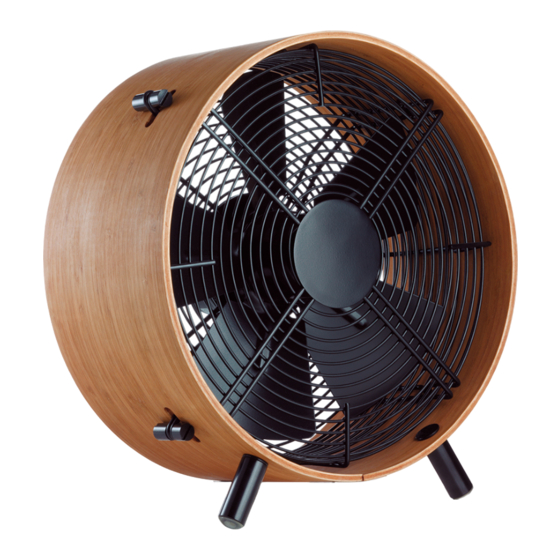
Stadler Form Otto Operating Instructions Manual
Swizz style fan owner's manual
Hide thumbs
Also See for Otto:
- Operating instructions manual (37 pages) ,
- Operating instructions manual (41 pages)
Table of Contents
Advertisement
Available languages
Available languages
Quick Links
Advertisement
Table of Contents

Summary of Contents for Stadler Form Otto
- Page 1 Otto Operating instructions Mode d‘emploi Manual de instrucciones...
-
Page 2: Important Safety Instructions
Important safety instructions Please read through the operating instructions carefully before you use the OTTO fan for the first time and keep them safely for later reference; if necessary pass them on to the next owner. Stadler Form refuses all liability for loss or damage which arises as a result of failure to follow these operating instructions. -
Page 3: Setting Up/Operation
After the OTTO fan has been placed in the desired position, connect the mains cable (2) to the domestic supply socket. Switch on the OTTO fan at the controller (4) and set the desired speed (Positions 1-3, from gentle breeze to powerful circulation). - Page 4 B. At its option, Swizz Style will repair or replace this product if it is found to be defective in material or workmanship. Defective product should be re- turned to the place of purchase in accordance with store policy.
-
Page 5: Alimentation Électrique
Félicitation! Vous venez d‘acheter le superbe ventilateur OTTO. Nous es- pérons que cet appareil destiné à produire une brise agréable ou un fort mouvement d‘air vous donnera entière satisfaction. Comme pour tous les appareils ménagers électriques, il est important d‘entretenir ce ventilateur correctement afin d’éviter les blessures, les incendies ou les dommages. -
Page 6: Caractéristiques Techniques
Après avoir placé le ventilateur OTTO à l‘endroit souhaité: Raccorder le cordon d‘alimentation (2) à une prise. Mettre OTTO en marche en actionnant le régulateur (4) et régler la vitesse de rotation souhaitée (niveau 1 à 3 de brise à vent fort). - Page 7 à partir de la date initiale d’achat de ce dernier. B. A sa discrétion, Swizz Style procédera soit à la réparation ou au rem- placement de ce produit s’il présente des défauts de pièces ou de main d’oeuvre.
-
Page 8: Descripción Del Aparato
Instrucciones de seguridad importantes • Lea detenidamente las instrucciones de uso antes de emplear el ventilador OTTO por primera vez y consérvelas en un lugar seguro para consultarlas en cualquier otro momento; si es necesario hágaselas llegar al próximo propietario. -
Page 9: Especificaciones
Después de haber colocado el ventilador en el lugar deseado, conecte el cable principal (2) a la toma de corriente doméstica. Encienda el ventilador OTTO desde el controlador (4) y seleccione la ve- locidad deseada (posiciones de la 1-3, desde una agradable brisa a una circulación con fuerza). - Page 10 B. Si así lo considerare oportuno, Swizz Style reparará o sustituirá el pro- ducto si este presenta defectos en sus componentes o en su fabricación. El producto defectuoso deberá...
- Page 11 Retailer’s stamp / Cachet du point de vente Sello del establecimiento de venta...
- Page 12 Design by Carlo Borer Thanks to all people involved in this project: Stu Lee for his engagement and ideas, Winnie Chow for her help and organisation, Claudia Fagagnini for the nice photos, Carlo Borer for his unique design. Martin Stadler, CEO Stadler Form Aktiengesellschaft www.swizz-style.com...


Need help?
Do you have a question about the Otto and is the answer not in the manual?
Questions and answers