Advertisement
Quick Links
Installation instructions
Induction hob
GK46TIG | GK46TIM | GK47TIMAS
The appliance should be installed by qualified personnel only. Each step must be carried out and checked in full in
the order specified.
Validity
These installation instructions are valid for the following models:
Product family
31078
31083
31086
31087
31090
31091
General notes
The directives and standards for low-voltage installations and fire protection must be complied with when installing
in flammable material.
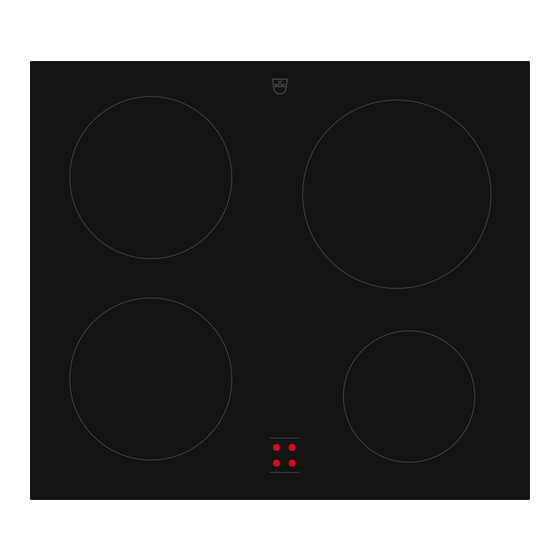
Identification plate
The identification plate is located next to the connec-
tion plate.
▸
Affix the second identification plate (supplied) in an accessible position behind the front of the fitted cabinet beneath the appli-
ance.
With normal mounting frame
GK46TIGC
GK47TIMASC
GK46TIMSC/O
GK46TIMXSC
GK46TIMGC
GK46TIMASC
With dual design
GK46TIGZ
GK47TIMASZ
GK46TIMSZ/O
GK46TIMXSZ
GK46TIMGZ
GK46TIMASZ
Identification plate
Connection plate
1
1021071-R01
28/11/2016
With oversize frame
-
-
GK46TIMSU/O
-
-
-
Advertisement


Need help?
Do you have a question about the GK46TIM Series and is the answer not in the manual?
Questions and answers