Advertisement
Quick Links
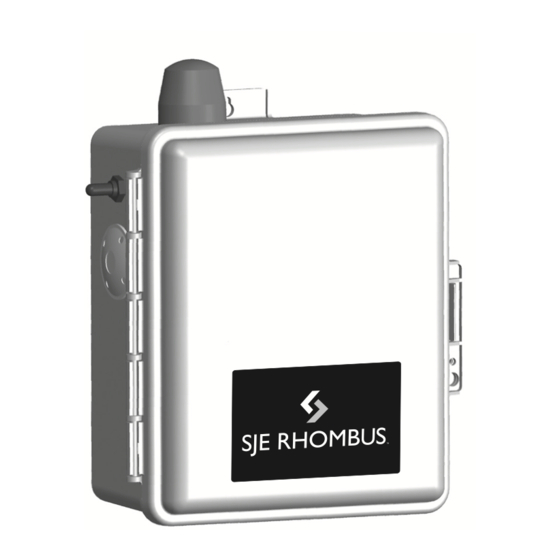
SJE Rhombus
Installation Instructions and Operation/Troubleshooting Manual
Warranty void if panel is modified.
Call factory with servicing questions:
1-800-RHOMBUS
(1-800-746-6287)
Manufactured by:
Technical support: +1-800-746-6287
techsupport@sjeinc.com
www.sjerhombus.com
PN 1008704F 05/19
© 2019 SJE, Inc. All Rights Reserved.
SJE RHOMBUS is a trademark of SJE, Inc.
Single Phase Simplex
This control panel must be installed and serviced by a licensed
electrician in accordance with the National Electric Code NFPA-70,
state and local electrical codes.
All conduit running from the sump or tank to the control panel must
be sealed with conduit sealant to prevent moisture or gases from enter-
ing the panel. NEMA 1 enclosures are for indoor use only, primarily to
provide a degree of protection against contact with enclosed equipment.
Cable connectors are not required to be liquid-tight in NEMA 1 enclosures.
Do not use NEMA 1 enclosures if subjected to rain, splashing water or
hose-directed water. NEMA 4X enclosures are for indoor or outdoor
use, primarily to provide a degree of protection against corrosion, wind-
blown dust and rain, splashing water and hose-directed water. Cable
connectors must be liquid-tight in NEMA 4X enclosures.
Installation
A standard Type 112 panel is designed to operate with three floats. These
floats operate pump stop, pump start, and high level alarm functions.
NOTE: Options ordered may affect the number of floats and their
functions. Please reference the schematic provided with the control
panel for proper installation.
Installation of Floats
CAUTION: If control switch cables are not wired and mounted in the
correct order, the pump system will not function properly.
WARNING: Turn off all power before installing floats in pump chamber.
Failure to do so could result in serious or fatal electrical shock.
1.
Use float label kit to label floats for specific operation (stop, start,
alarm, etc.). See schematic for float options.
2. Determine your normal operating level, as illustrated in Figure 1.
3. Mount float switches at appropriate levels as illustrated in Figures
2-4. Be sure that floats have free range of motion without touching
each other or other equipment in the basin.
If using the mounting clamp; follow steps 4-6.
4. Place the cord into the clamp as shown in Figure 2.
5. Locate the clamp at the desired activation level and secure the
clamp to the discharge pipe as shown in Figure 2.
NOTE: Do not install cord under hose clamp.
6. Tighten the hose clamp using a screwdriver. Over tightening may
result in damage to the plastic clamp. Make sure the float cable is
not allowed to touch the excess hose clamp band during operation.
NOTE: All hose clamp components are made of 18-8 stainless steel
material. See your SJE Rhombus® supplier for replacements.
Type 112
®
Advertisement

Related Manuals for SJE Rhombus 112


Summary of Contents for SJE Rhombus 112
- Page 1 NEMA 4X enclosures. Installation A standard Type 112 panel is designed to operate with three floats. These floats operate pump stop, pump start, and high level alarm functions. NOTE: Options ordered may affect the number of floats and their functions.
- Page 2 For outdoor or wet installation, we rec- 10. Firmly tighten all fittings on junction box. Insure ommend the use of an SJE Rhombus® liquid-tight all cable connectors are liquid-tight and sealed. junction box with liquid-tight connectors to make required connections.
- Page 3 Internally weighted float Float with cable weight Operations SJE Rhombus® Type 112 control panels are designed Pump Run Light to operate in a three float system as standard. When The run light will be ON in either the hand or the au- all floats are in the open or OFF position, the panel is tomatic mode when the pump is called to run.
- Page 4 Use the following procedure to measure the float resistance. WARNING: Disconnect incoming power to panel. SJE Rhombus Five-Year Limited Warranty ® For complete terms and conditions, please visit www.sjerhombus.com.
Need help?
Do you have a question about the 112 and is the answer not in the manual?
Questions and answers