Advertisement
INSTALLATION INSTRUCTIONS
CARE AND MAINTENANCE
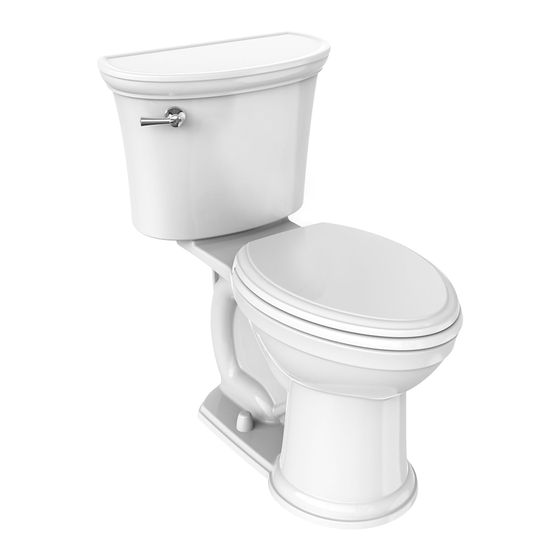
Heritage
VorMax
™
2-piece Toilet
Model 205AA104
Thank you for selecting American Standard - the benchmark of fine quality for over 100 years. To ensure this product is installed properly, please read
these instructions carefully before you begin. (Certain installations may require professional help.) Also be sure your installation conforms to local codes.
CAUTION: PRODUCT IS FRAGILE. TO AVOID BREAKAGE AND POSSIBLE INJURY HANDLE WITH CARE!
!
NOTE: Pictures may not exactly define contour of china and components.
TANK 4270A104
BOWL 3870A101
RIGHT HEIGHT
ELONGATED
Water Supply Line
Right Height
™
®
SOLD SEPARATELY
P r o d u c t n a m e s l i s t e d h e r e i n a r e t r a d e m a r k s o f A S A m e r i c a , I n c .
© A S A m e r i c a , I n c . 2 0 1 4
Elongated
®
EZ-INSTALL KIT INCLUDED WITH TANK
Attachment Handle
EZ-INSTALL KIT INCLUDED WITH BOWL
Bolt Caps (2)
T-Bolts with
Retainer (2)
Wax Ring
1
Nuts (3)
Bowl-To-Floor
Knobs (2)
Toilet Seat
7302187-100
Advertisement
Table of Contents

Summary of Contents for American Standard Heritage VorMax Right Height 205AA104
- Page 1 Model 205AA104 Thank you for selecting American Standard - the benchmark of fine quality for over 100 years. To ensure this product is installed properly, please read these instructions carefully before you begin. (Certain installations may require professional help.) Also be sure your installation conforms to local codes.
-
Page 2: Before You Start
ROUGHING-IN DIMENSIONS: FINISHED WALL NOTE: Distance from wall to closet flange 30-1/4" 19-3/4" (768 mm) (501 mm) centerline must be as listed: 9" (229 mm) 18-1/2" (470 mm) 14" C/L OF SEAT POST HOLES (356 mm) 140mm (5-1/2" CENTERS) 30-13/16" (782 mm) SUPPLY REQ'D... - Page 3 Apply weight evenly. Hand tighten Do not move after only. Do not overtighten. placement. Water tight seal may break. GASKETS Tighten handles alternately until the tank contacts the front and back of the bowl achieving china-to-china contact. NOTES: a) To ease installation, push down on the top of the tank while tightening handles.
- Page 4 Water Level Adjustment Knob Trip Lever Rod Overflow Tube Approximate Water Level Float Cup Adjustable Screw Fill Valve Or Water Control Adjust water level to level indicated on tank by turning water level adjustment knob to move float cup up or down. Prime the system by flushing the Water Supply Line product 5 times before use to...
-
Page 5: Care And Cleaning
WARNING: Do not use in-tank cleaners. These products can seriously corrode fittings in the tank. This damage can cause leakage and property damage. American Standard shall not be responsible or liable for any damage caused by the use of in-tank cleaners.


Need help?
Do you have a question about the Heritage VorMax Right Height 205AA104 and is the answer not in the manual?
Questions and answers