Table of Contents
Advertisement
Available languages
Available languages
Quick Links
INSTALLATION
INSTRUCTIONS
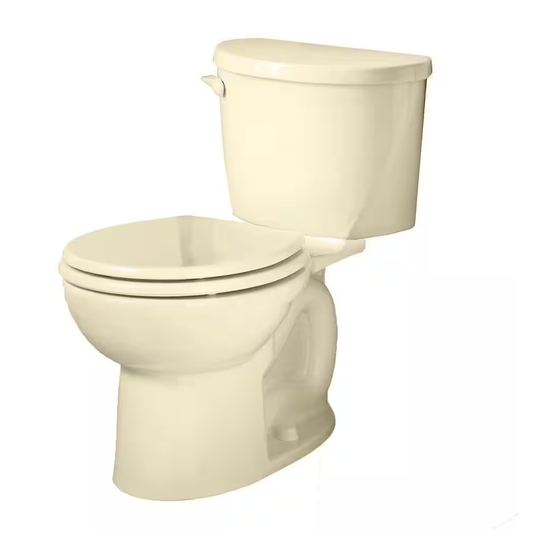
EVOLUTION 2 / MAINSTREAM Two-Piece Toilet
1.6 GPF Models 2426 / 2427 / 2428 / 3469
1.28 GPF Models 2752 / 2753 / 2754 / 3468 / 2565
Thank you for selecting American Standard – the benchmark of fine quality for over 100 years. To ensure this
product is installed properly, please read these instructions carefully before you begin. (Certain installations
may require professional help.) Also be sure your installation conforms to local codes.
CAUTION: PRODUCT IS FRAGILE. TO AVOID BREAKAGE AND POSSIBLE INJURY HANDLE WITH CARE!
!
NOTE: Pictures may not exactly define contour of china and components.
RECOMMENDED TOOLS AND MATERIALS
Putty Knife
Regular Screwdriver
Hacksaw
Wax Ring/Gasket
1
REMOVE OLD TOILET
a. Close toilet supply valve and flush tank completely. Towel or sponge remaining water from tank and bowl.
b. Disconnect and remove supply line. NOTE: If replacing valve, first shut off main water supply!
c. Remove old mounting hardware, remove toilet and plug floor waste opening to prevent escaping sewer gases.
d. Remove closet bolts from flange and clean away old wax, putty, etc. from base area.
NOTE: Mounting surface must be clean and level before new toilet is installed!
2
ROUGHING-IN DIMENSIONS:
NOTE: Distance from wall to closet flange centerline must
be as listed below:
A = 12" (305mm)
FINISHED WALL
A
4
SEALANT
INSTALL WAX SEAL
Invert toilet on floor (cushion to prevent damage), and
install wax ring evenly around waste flange (horn), with
tapered end of ring facing toilet. Apply a thin bead of
sealant around toilet base.
P r o d u c t n a m e s l i s t e d h e r e i n a r e t r a d e m a r k s o f A S A m e r i c a I n c .
© A S A m e r i c a I n c . 2 0 0 9
Adjustable Wrench
Flexible Supply Tube
SUPPLY
AS
REQ'D.
FINISHED
FLOOR
WAX RING
Sealant
Closet Bolts
3
CLOSET BOLTS
INSTALL CLOSET BOLTS
Install closet bolts in flange channel and slide
into place parallel to wall.
5
POSITION TOILET ON FLANGE
a. Unplug floor waste opening and install toilet on closet flange so bolts project
through mounting holes.
b. Loosely install retainer washers and nuts. Side of washers marked "THIS
SIDE UP" must face up!
Tape Measure
Carpenters Level
CLOSET FLANGE
A
NUT
CLOSET
BOLT
FLANGE
7301170 -1 0 0 Re v. D
TAPERED
WASHER
Advertisement
Table of Contents

Related Manuals for American Standard 2426


Summary of Contents for American Standard 2426
- Page 1 1.28 GPF Models 2752 / 2753 / 2754 / 3468 / 2565 Thank you for selecting American Standard – the benchmark of fine quality for over 100 years. To ensure this product is installed properly, please read these instructions carefully before you begin. (Certain installations may require professional help.) Also be sure your installation conforms to local codes.
- Page 2 RUBBER WASHER RUBBER TANK MTG. GASKET BOLTS BOLT CAP WASHER CLOSET FLANGE INSTALL TANK CLOSET BOLT a. Install large rubber gasket over WASHER threaded outlet on bottom of tank and lower tank onto bowl so that tapered INSTALL TOILET end of gasket fits evenly into bowl water inlet opening.
-
Page 3: Care And Cleaning
Do not use in-tank cleaners. Products containing chlorine (calcium hypochlorite) can seriously damage fittings in the tank. This damage can cause leakage and property damage. American Standard shall not be responsible or liable for any tank fitting damage caused by the use of cleaners containing chlorine (calcium hypochlorite). -
Page 4: Troubleshooting Guide
NOTE: Pictures are representative and may not TROUBLESHOOTING exactly depict the flush valve. IF FILL VALVE SHUTS OFF BUT CONTINUES TO LEAK SLOWLY, repeat Step 13. IF FILL VALVE TURNS OFF AND ON DURING PERIODS OF NON-USE, it is a signal you are wasting water because: LIFT ARM •... -
Page 5: Instructions D'installation
1.28 GPF Modèles 2752 / 2753 / 2754 / 3468 / 2565 Nous vous remercions d'avoir choisi American Standard - synonyme de qualité supérieure depuis plus de 100 ans. Afin de s'assurer que ce produit soit bien installé, veuillez lire ces instructions attentivement avant de commencer. (Certaines installations peuvent requérir une aide professionnelle.) Assurez-vous également que votre installation se conforme aux codes locaux. - Page 6 RONDELLE CAOUTCHOUC JOINT BOULONS DE CAOUTCHOUC MONTAGE DE RÉSERVOIR CACHE-BOULON RONDELLE COLLERETTE ÉCROU DE PLANCHER INSTALLATION DU RÉSERVOIR BOULONS DE a. Installer le gros joint de caoutchouc autour LA TOILETTE RONDELLE de la sortie filetée sous le réservoir et descendre le ÉCROU réservoir sur la cuvette, le côté...
-
Page 7: Entretien Et Nettoyage
Ces dommages peuvent causer des fuites et des bris. American Standard n'est pas responsable des dommages à la robinetterie des réservoirs causés par l'utilisation de nettoyants contenant du chlore (hypochlorite de calcium). -
Page 8: Dépannage
REMARQUE : Les images sont représentative et peuvent DÉPANNAGE ne pas décrire exactement la valve de chasse. SI LA VALVE DE REMPLISSAGE SE FERME, MAIS CONTINUE À FUIR, répéter l’étape 13. SI LA VALVE DE REMPLISSAGE S’OUVRE ET SE FERME MÊME LORSQU'ELLE N'EST PAS UTIISÉE, cela indique qu’il y a une fuite d'eau parce que: SOULEVER... -
Page 9: Instrucciones De Instalación
1.28 GPF Modelos 2752 / 2753 / 2754 / 3468 / 2565 Gracias por elegir American Standard - el parámetro de primera calidad por más de 100 años. Para asegurarse de que el producto esté instalado correctamente, por favor lea estas instrucciones cuidadosamente antes de comenzar. (Ciertas instalaciones pueden requerir ayuda profesional). - Page 10 ARANDELA DE GOMA EMPAQUETADURA TORNILLOS DE DE GOMA MONTAJE DEL TANQUE TAPA DE TORNILLO ARANDELA BRIDA DEL INODORO TUERCA INSTALACIÓN DEL TANQUE PERNO DE a. Instale la empaquetadura de goma grande sobre FIJACIÓN la salida roscada en la parte inferior del tanque y ARANDELA TUERCA coloque el tanque sobre la taza, de manera que...
-
Page 11: Lista De Piezas De Repuesto
ADVERTENCIA: no use limpiadores dentro del tanque. Los productos que contienen cloro (hipoclorito de calcio) pueden dañar seriamente los accesorios del tanque. Esto puede provocar fugas y daños a la propiedad. American Standard no será responsable por ningún daño en los accesorios del tanque debido al uso de limpiadores que contienen cloro (hipoclorito de calcio). -
Page 12: Guía Para Solucionar Problemas
NOTA: es posible que las imágenes no representen SOLUCIÓN DE PROBLEMAS con exactitud la válvula de descarga. SI LA VÁLVULA DE SUMINISTRO SE CIERRA PERO SIGUE PERDIENDO AGUA POCO A POCO, repita el Paso 13. SI LA VÁLVULA DE SUMINISTRO SE CIERRA Y ABRE CUANDO NO SE USA, es señal de desperdicio de agua a causa de que: •...
Need help?
Do you have a question about the 2426 and is the answer not in the manual?
Questions and answers