
Related Manuals for Lumberjack TS210SL


Summary of Contents for Lumberjack TS210SL
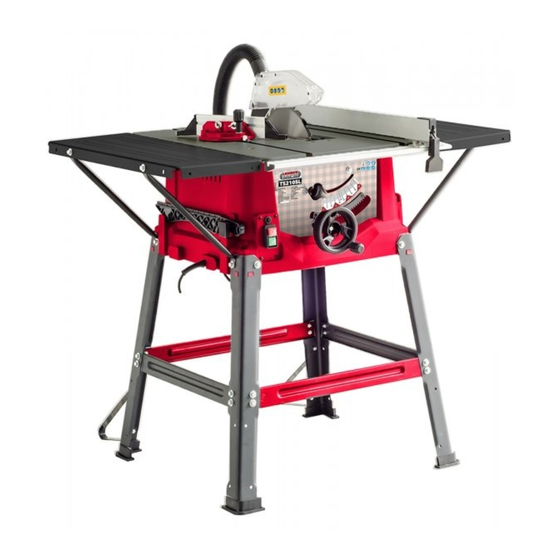
- Page 1 SAFETY AND OPERATING MANUAL 210mm Table Saw With Side Extensions TS210SL ORIGINAL INSTRUCTIONS TS210SL...
-
Page 2: Table Of Contents
TABLE OF CONTENTS Welcome to Lumberjack! Dear customer, Congratulations on your purchase. Before using the product for the first time please be sure to read these instructions for use. They provide you with all information necessary for using the product safely and to ensure its long service life. -
Page 3: General Power Tool Safety Warnings
A wrench or a key left c) Do not expose power tools to rain or wet attached to a rotating part of the power tool may conditions. Water entering a power tool will result in personal injury. increase the risk of electric shock. TS210SL... - Page 4 Store idle power tools out of the reach of children and do not allow persons unfamiliar with the power tool or these instructions to operate the power tool. Power tools are dangerous in the hands of untrained users. TS210SL...
- Page 5 Unsharpened or improperly set saw piece. blades produce narrow kerfs causing excessive e) Keep handles dry, clean, and free from oil friction, blade binding and kickback. and grease. Greasy, oily handles are slippery causing loss of control. TS210SL...
- Page 6 Be aware that laser light reflected working. Damaged cables increase the risk of an off of a mirror or any other reflective surfaces can electric shock. also be dangerous. TS210SL...
- Page 7 Any repairs must be carried out by the laser manufacturer or an authorized service agent. l) Do not attempt to repair the laser guide by yourself. m) Do not attempt to change any parts of the laser guide. TS210SL...
-
Page 8: Symbols & Cable Rating Chart
Caution! Risk of Injury! Do Caution! Wear ear defenders. The not reach into the running impact of noise can cause saw blade damage to hearing. Caution! Wear a dust mask. Class II Double Insulated TS210SL... -
Page 9: Machine Details And Product Features
17a.Rubber feet Table extension (2x) 17b.Leg support stay Push stick 18. Long cross brace Fasteners 19. Short cross brace 20. Hexagon head screw 21. Hexagon nut 22a. Saw blade spanner 22b.Saw blade spanner 23. Support struts TS210SL AIR6V AIR6V AIR6V AIR6V... - Page 10 MACHINE DETAILS AND PRODUCT FEATURES TS210SL AIR6V AIR6V AIR6V AIR6V...
-
Page 11: Assembly
Certain dust such as oak or beech dust is considered carcinogenic, particularly in combination with wood treatment additives (chromate, wood preservatives). Materials containing asbestos may only be processed by experts. TS210SL... - Page 12 4. Place the riving knife over the alignment lugs. 4. Screw on the leg support stays (17b) as shown in the picture. They should be installed on the rear legs. TS210SL...
- Page 13 Make sure that the saw blade is installation instructions above, making sure to facing the right way. The direction of rotation adjust the riving knife if necessary (instructions markings on the blade should be facing outwards below). and correspond with the markings on the saw. TS210SL...
- Page 14 Do not tighten the nut too tightly; the blade guard must be able to move freely. Dust extraction port adaptor If a dust extractor is used, connect the suction hose (5) between the blade guard and the dust extraction port adaptor. TS210SL...
-
Page 15: Operation
Obstructed by debris, the overload cut-out may be triggered. If the overload safety cut-off switch is triggered: Unplug the mains lead and let the saw cool down for at least 10 minutes. TS210SL... - Page 16 Position the rip fence in the desired position and tighten the wing nuts. Adjusting the Parallel Pull the clamping lever (b) upwards. Move the cross stop (16) into the required position. Press the clamping lever (b) down. TS210SL...
-
Page 17: Maintenance And Service
Feed the work piece into the blade in a controlled and smooth motion. TS210SL Warning: Always use a.push-stick if any of your hands comes closer than 125.mm to the.saw blade during the.cutting process. Never use... - Page 18 Do not feed the work piece into the blade too quickly, slow the feed rate. Adjust the riving knife, refer to the Riving knife and saw blade section above. TS210SL AIR6V AIR6V AIR6V...
-
Page 19: Lumberjack Guarantee
If a return is requested by the Authorised Dealer or 1.2.3 If asked to do so by Lumberjack or its Lumberjack, you will be provided with a Returns Authorised dealer, you return the product at Material Authorisation number which must be your own cost to Lumberjack’s or supplying... - Page 20 Lumberjack. If you include a contact number with this it will speed your claim 2.4 Please note that it is essential that the letter of claim reaches Lumberjack on the last day of this Guarantee at the latest. Late claims will not be considered.
-
Page 21: Declaration Of Conformity
Old Heath Road, Wolverhampton, WV1 2RP. Tel: 01902 450 470 Declares that the Table saw (TS210SL) Is in compliance with the regulations included in the Directives: 2006/42/EC EC DECLARATION OF CONFORMITY Certificate for EC-type examination delivered by TÜV SÜD Product Service GmbH-Zerifizierstelle –... -
Page 22: Parts List
Rip fence front end cap End cap Bearing Mitre gauge stop rail Gear housing End cap Motor end cap Mitre handle Self-tapping screws Mitre gauge Brush holder Carriage bolt Carbor brush Self-tapping screws Cross head screws TS210SL AIR6V AIR6V AIR6V... - Page 23 Motor bracket Spring washer Mount plate Washer Washer Motor house Mount plate Strain relief Washer Motor connect line Spring washer Bevel gear Cross head screws Self-tapping screws Spring Bevel lock knob Elevation crank shaft Push stick TS210SL AIR6V AIR6V AIR6V...
- Page 24 Pad for cord clamp on switch Hex nut Foot Hex screws Logo Leg A Bevel scale Square nut Hex bolt Leg C 90 angle adjustment wheel Leg B-210 Screws Set screws Rack Spring Over-load protection 45° Aadjustment wheel Label TS210SL AIR6V AIR6V AIR6V...
-
Page 25: Parts Diagram
Parts Diagram TS21SL...
Need help?
Do you have a question about the TS210SL and is the answer not in the manual?
Questions and answers