Advertisement
OWNER'S MANUAL
SLS Series
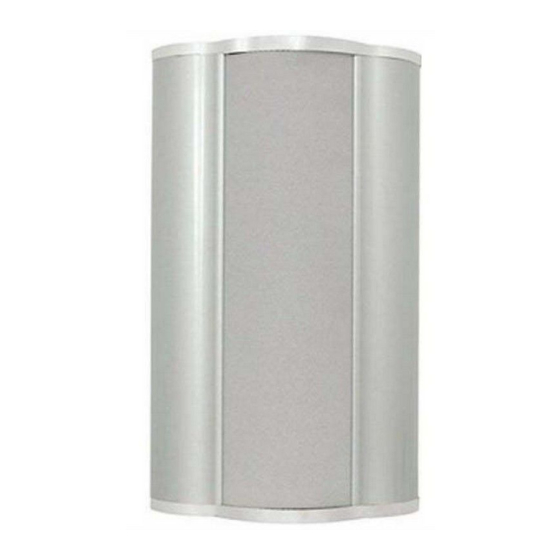
On-Wall Speakers
Congratulations on your purchase of SpeakerCraft's SLS Series speakers. The SLS Series has been timbre-
matched to SpeakerCraft's AIM8 Three, MT8/MT6 Three and CRS8/CRS6 Three Speakers, providing an
outstanding listening experience.
SPEAKER PLACEMENT
The SLS Series speakers can be used for front or rear left
and right, as well as a center channel, in a home theater
speaker system. SLS speakers are magnetically shielded so it is
perfectly safe to place them close to the television.
When using the SLS for front left and right speakers, the
cabinets should be positioned vertically along the screen
with the tweeters pointed towards the screen. (Figure 1)
Using the SLS as a Center Channel Speaker
As a center channel, the SLS should be placed under the
screen and the tweeter should be directed toward the
listener. (Figure 1)
Figure 1
Placement on Wall or Stand
When placing your speakers on a wall or on the optional stand (sold separately), optimal sound will be achieved if
they are placed at ear level or slightly higher.
Speaker Positioning: Vertical vs Horizontal Mounting
The Speaker Bracket comes from the factory mounted vertically on the speaker. (Figure 2) The SLS speakers can be
mounted horizontally by unscrewing the bracket from the speaker, rotating it 90˚ and then securing it back in place.
(Figure 3)
Figure 2
Figure 3
Advertisement
Table of Contents

Summary of Contents for SpeakerCraft SLS One
- Page 1 Speaker Positioning: Vertical vs Horizontal Mounting The Speaker Bracket comes from the factory mounted vertically on the speaker. (Figure 2) The SLS speakers can be mounted horizontally by unscrewing the bracket from the speaker, rotating it 90˚ and then securing it back in place.
- Page 2 MOUNTING THE SLS The SLS utilizes a unique mounting system. First, the Wall Bracket is mounted onto a stud in the wall. Next, the SLS with the attached Speaker Bracket simply slips onto the Wall Bracket, securing the SLS to the wall. (Figure 6) Rubber stops on the back of the speaker cabinet keep it firmly in place while protecting the surface of the wall.
-
Page 3: Speaker Adjustments
3) Grille Installation To reinstall the grille, simply insert one end into the groove on the SLS and bend the grille inward. (Figure 10) Once a portion of the grille is in place, simply slide your fingers along the open portion to finish installation. (Figure 11) -
Page 4: Speaker Specifications
SpeakerCraft or the SpeakerCraft Authorized Dealer will, at its option, repair or replace this product at no additional charge, except as set forth below. If this model is no longer available and can not be repaired effectively, SpeakerCraft, at its sole option, may replace the unit with a current model of equal or greater value.


Need help?
Do you have a question about the SLS One and is the answer not in the manual?
Questions and answers