Table of Contents
Advertisement
Quick Links
supplied by
Electronic Temperature Instruments Ltd
Worthing · West Sussex · BN14 8HQ
tel: 01903 202151 · email: sales@etiltd.com
www.etiltd.com
INSTRUMENT OPERATION - Insert and connect the battery provided into the battery
compartment, this compartment is located in the handle. To use, aim the Mini RayTemp
Infrared thermometer at the target and press the trigger to measure the surface
temperature, 'SCAN' will be shown on the display, then the trigger is released 'HOLD' is
shown and the reading is held for 10 seconds, after which the thermometer will shut down.
Please note: Holding the trigger down for a long period of time could affect the reading
shown in the display.
MEASUREMENT ZONE/TARGET DISTANCE - The measurement zone is proportional to
the distance the infrared thermometer is away from the target. The Mini RayTemp is
equipped with a 12:1 lens. If the target is 60 cm (24") away, the measurement zone will
be 5 cm (2") across.
EMISSIVITY - The Mini RayTemp has a fixed emissivity of 0.95. Please note: non-contact
infrared thermometers are not recommended for use in measuring shiny or polished
metals.
LASER POINTER - The laser pointer function cannot be turned off. The centre of the
measurement zone is 16 mm (approximately ¾") below the laser dot with the instrument
held in a vertical position. For safety, the laser pointer will only activate when the trigger
button is pressed. The laser module is a Class 2 device that has a maximum power
output of less than 1 mW at a wavelength of 630 to 670 nm. Prolonged, continuous
exposure such as staring at the beam can be harmful and should be avoided. DO NOT
look into the beam of any optical instrument.
UNDER RANGE/OVER RANGE - If the measured temperature goes below or above the
range of the instrument, 'Lo' or 'Hi' will be displayed. When the measured temperature
returns within the range of the instrument, readings will automatically be displayed.
°C/°F - Open the battery compartment to reveal the °C/°F switch. Slide the switch to
select °C or °F. Please note: the instrument default is °C.
BATTERIES - The low battery icon indicates that the battery needs replacing as soon as
possible. The instrument will continue to function but, to maintain accuracy, a new battery
is required. Replace with one 9V PP3 battery.
CARE - The sensor lens is the most delicate part of the Mini RayTemp. Do not insert any
foreign bodies into the sensor aperture as this will cause damage to this lens. Do not
submerge any part of the unit. The instrument should be stored at room temperature
between 10 and 40 °C.
814-080/17.02.15
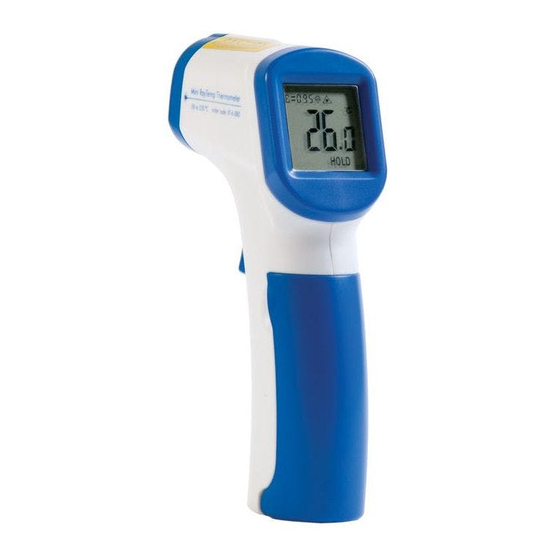
Mini RayTemp
®
Infrared Thermometer
Operating Instructions
order code: 814-080
Advertisement
Table of Contents

Related Manuals for ETI Mini RayTemp


Summary of Contents for ETI Mini RayTemp
- Page 1 Replace with one 9V PP3 battery. supplied by CARE - The sensor lens is the most delicate part of the Mini RayTemp. Do not insert any Electronic Temperature Instruments Ltd foreign bodies into the sensor aperture as this will cause damage to this lens. Do not Worthing ·...
- Page 2 Utilice una nueva batería 9V PP3. CUIDADOS - La lente del sensor es la parte más delicada del Mini RayTemp. No introduzca cuerpos extraños en la apertura del sensor, ya que la lente podría dañarse. No sumerja ninguna parte de la unidad.
- Page 3 Remplacer la pile usagée par une pile neuve PP3 9V. CUIDADO - A lente do sensor é a peça mais delicada do Mini RayTemp. Não introduza nenhum corpo estranho na abertura do sensor, pois tal poderá causar danos na lente.
- Page 4 VORSICHT - Die Sensorlinse ist der empfindlichste Teil des Mini RayTemp. Führen Sie keine CURA - La lente del sensore è la parte più delicata del Mini RayTemp. Non inserire nessun Gegenstände in die Sensoröffnung ein, da dadurch die Linse beschädigt wird. Tauchen Sie corpo estraneo nell'apertura del sensore onde evitare il danneggiamento di questa lente.
Need help?
Do you have a question about the Mini RayTemp and is the answer not in the manual?
Questions and answers