Advertisement
Quick Links
Download this manual
See also:
Owner's Manual
Assembly of EVELO Quest One Bicycle
The focus of this document is to assist with the assembly of your new EVELO
Quest One. The scope is intentionally narrow -- The "Owner's Manual" that-
was included with your bike covers a much broader spectrum of topics: fit
Unboxing Your EVELO
1. Begin unboxing the bike by cutting the
banding then opening the box. Use caution
regarding the staples as they can be very
sharp.
2. Remove the small boxes and seat/seat-
post
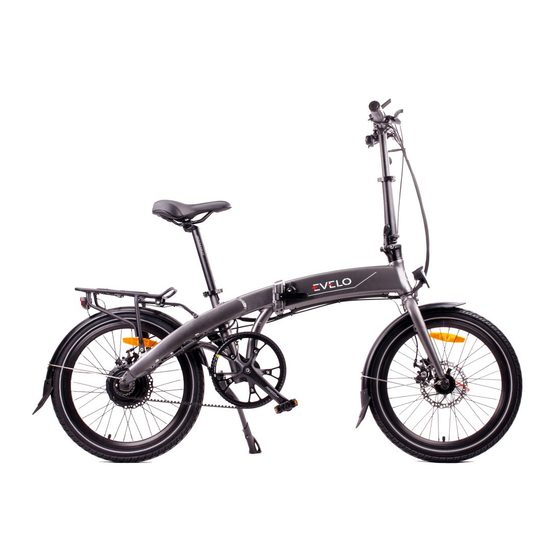
3. The easiest way to get the bike out of the
box is to lie the box down on its side and
then slide it out. See image ----->
4. Remove packaging including zip ties.
Caution: sometimes the zip ties are used to
hold cables or wires in place. A good indi-
cator is if the zip tie is touching a painted
surface of the bike—those should remain in
place.
5. Empty all the boxes so you know what
you are working with.
6. Your Owner's Manual is on the outside of
the box.
adjustments, battery care, controls etc.
Our Team is here to help 7 days a week!
contact@evelo.com
877-991-7272
Feel Free to reach out!
1
Advertisement

Related Manuals for Evelo Quest One


Summary of Contents for Evelo Quest One
- Page 1 Assembly of EVELO Quest One Bicycle The focus of this document is to assist with the assembly of your new EVELO Quest One. The scope is intentionally narrow -- The “Owner’s Manual” that- was included with your bike covers a much broader spectrum of topics: fit adjustments, battery care, controls etc.
- Page 2 Prepare Bike for Assembly Pull the fender off the top of the tire and set aside. The crank is threaded through the spokes of the front wheel. To easily get the wheel disengaged, spin the cranks counter- clockwise until the cranks point towards the front of the bicycle instead of vertical/up- wards.
- Page 3 Prepare Handlebar Assembly Lift the handlebar mast into the vertical position and snap the closing lever shut. There should be distinctive click when it is closed all the way. If the closing lever is too tight or loose, the silver hexagonal linkage in the picture below is used to adjust the proper tension on the closing latch.
- Page 4 Prepare Handlebar Assembly (cont) Open the stem clamp quick release lever and turn the knurled knob to take apart the quick release assembly. Note the position of the brass shim under the lever and the silver washer near the knurled knob underneath.
- Page 5 Prepare Handlebar Assembly (cont) The mounting clamps on the display are not wide enough apart to pass the stem face plate into the proper groove, so temporary removal of the display is necessary. Using a 3mm allen wrench, take out the 2 bolts seen here.
-
Page 6: Install Seatpost
Prepare Handlebar Assembly (cont) Reinstall the display. Install Seatpost Insert the seat post into the frame. Use the same method as above to get the correct ten- sion on the quick release seat collar. - Page 7 Install Front Fender, Headlight, and Front Wheel. Remove the fender/light mounting bolt. Note that two washers are most likely both installed on the front end of the bolt. Remove one of those to use on the nut end of the assembly in the next step.
- Page 8 Install Front Fender, Headlight, and Front Wheel.(cont) Lift the front of the bicycle so you can slide the wheel into the fork. Focus on getting the brake rotor into the brake caliper and the axle will follow into the fork drop outs (the notches that accept the axle).
-
Page 9: Install Pedals
Install Front Fender, Headlight, and Front Wheel.(cont) Install the lower fork struts to the bolt found at the fork drop outs. Install Pedals Installation of the pedals requires a 15 mm wrench. It is important to note that the pedals are threaded differently. - Page 10 It is located on the headtube of your bike, just above the front fork. There is considerable additional information in your “User Guide”. Of course, if you ever have questions, our team is ready to help! contact@evelo.com 877-991-7272...
Need help?
Do you have a question about the Quest One and is the answer not in the manual?
Questions and answers