Table of Contents
Advertisement
Quick Links
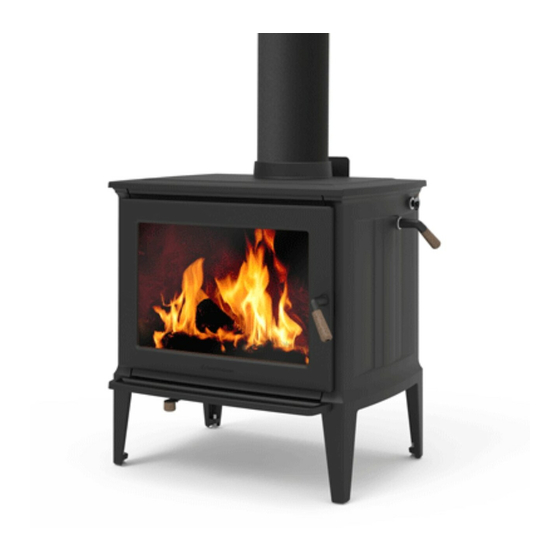
Green Mountain 80 Refractory Stone and Baffle Installation
INCLUDED IN KIT:
(2) 1-0600-800 Rear Refractory Stone
(1) 1-0600-801 Right Refractory Stone
(1) 1-0600-802 Left Refractory Stone
(1) 3070-023 Rear Insulation Panel
(2) 3070-026 Vermiculite Baffle
(1) 5680-002 Bottom Heatshield
(1) 5680-010 Secondary Air Riser/Pipe
(1) 5680-014 Baffle Guard
(1) 5860-018 Secondary Air Deflector
Before You Begin: These components must be correctly installed prior to using this
appliance. Completely read instructions before attempting this installation.
Procedure:
1) Place rear insulation panel against the center of the rear casting, along with the
left side rear refractory stone.
Photo 1. Insulation panel placed behind left rear refractory stone.
Technical Data Sheet
Instructions
©HearthStone Quality Home Heating Products, Inc.
Http://www.hearthstonestoves.com
Revision: 05/21/19
Page: 1 of 6
TOOLS REQUIRED:
7/16" Wrench
Advertisement
Table of Contents

Related Manuals for HearthStone Green Mountain 80


Summary of Contents for HearthStone Green Mountain 80
- Page 1 Revision: 05/21/19 Page: 1 of 6 Technical Data Sheet Green Mountain 80 Refractory Stone and Baffle Installation Instructions INCLUDED IN KIT: TOOLS REQUIRED: (2) 1-0600-800 Rear Refractory Stone 7/16” Wrench (1) 1-0600-801 Right Refractory Stone (1) 1-0600-802 Left Refractory Stone...
- Page 2 Photo 2. Left side refractory stone installed. 3) Install the right rear refractory stone, leaving a gap in the center for the secondary air riser/pipe assembly. Photo 3. Right rear refractory stone installed. ©HearthStone Quality Home Heating Products, Inc. Http://www.hearthstonestoves.com...
- Page 3 Photo 4. Right side refractory stone installed. 5) Assemble the secondary air riser and air deflector by locking the flange of the deflector under the air pipe, as shown below. Illustration 1. Secondary air riser and deflector assembly. ©HearthStone Quality Home Heating Products, Inc. Http://www.hearthstonestoves.com...
- Page 4 Photo 5. Secondary air riser installed. 7) Install the right side vermiculite baffle into the firebox, as shown below. Photo 6. Right side baffle half installed. ©HearthStone Quality Home Heating Products, Inc. Http://www.hearthstonestoves.com...
- Page 5 9) Install the baffle guard on the front of the baffle by sliding it on the front edge of the baffle halves. This will lock the two halves together. Photo 8. Baffle guard installed. ©HearthStone Quality Home Heating Products, Inc. Http://www.hearthstonestoves.com...
- Page 6 10) Install the bottom heatshield onto the preinstalled screws, by passing the large end of the “keyholes” past the washers, and sliding the shield into place. Tighten the screws with the 7/16” wrench. Illustration 2. Bottom Heatshield with hardware. ©HearthStone Quality Home Heating Products, Inc. Http://www.hearthstonestoves.com...
Need help?
Do you have a question about the Green Mountain 80 and is the answer not in the manual?
Questions and answers