Advertisement
PH450 Analyzer
Proper Calibration Steps
Before any electrodes are placed into initial service and then about once a month
thereafter, depending on the application, a two point calibration of the electrodes are
required. A two point calibration corrects for changes in the output of the pH electrode
(slope) and the millivolt offset (Eo) of the reference electrode, by comparing these
values to those of known buffer solutions. The EXA Instruments utilize preprogrammed
buffer tables in the Auto Cal function. These pre-programmed values are based on
pure N.I.S.T. buffers, which correspond to 6.86 pH, 4.01 pH and 9.18 pH at 25° C. Many
plants use N.I.S.T. traceable or technical grade buffers, which are pure NBS buffers that
have been adjusted to read 7.00, 4.00 and 10.00 respectively. If traceable buffers are
used, and the default values in the preprogrammed Buffer Tables have not been
changed, an error of .14 pH (7.00 - 6.86 = .14) will occur. To eliminate this situation, either
pure NBS buffers should be used or the Buffer Tables in the instrument should be
reprogrammed to match the values of the buffers being used. For further information
regarding NBS vs NBS Traceable buffers, refer to the Technical Note TNA0917 "A Word
about...pH Buffers." For information regarding the reprogramming of the EXA PH450 refer
to "Technical Note TNA0905 "PH450 Analyzer Programming Custom Buffer Tables."
When performing a calibration, always start with fresh buffer solutions. You will need two
buffers (preferably 7.00 and 4.00) and some deionized water to rinse the electrodes.
Place a sample of the 7.00 buffer solution in the sample cup attached to the flow-
through housing. Take the electrode assembly out of the flow-through housing, clean
and wipe the probes, then immerse it in the sample cup.
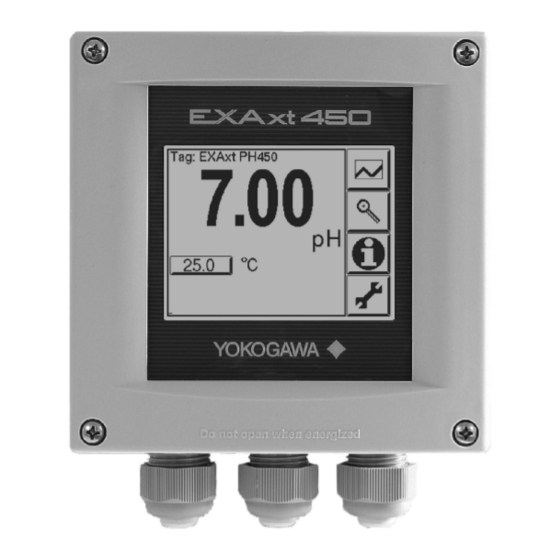
1.) Click on the settings icon (wrench)
Sales News: TNA0916
Date: March 18, 2009
Advertisement
Table of Contents

Subscribe to Our Youtube Channel
Related Manuals for YOKOGAWA PH450


Summary of Contents for YOKOGAWA PH450
- Page 1 For further information regarding NBS vs NBS Traceable buffers, refer to the Technical Note TNA0917 "A Word about...pH Buffers." For information regarding the reprogramming of the EXA PH450 refer to “Technical Note TNA0905 "PH450 Analyzer Programming Custom Buffer Tables."...
- Page 2 2.) Using either the the scroll key or by clicking directly on the diamond next to Calibration/ Wash, select it. 3.) Next, selected the diamond next to Automatic zer/slope 4.) On the following screen in the box at the bottom, use the scroll key to select the 6.9 buffer 5.) The main display will start flashing and...
- Page 3 6.) Once the reading has stabilized, the main display will lock onto the reading and store it in memory. Press the Diamond next to Go to Buffer 7.) Remove the electrode assembly from the 7.00 buffer and rinse it thoroughly in deionized water, then blot the electrodes to remove any excess water.
- Page 4 10.) Once the reading has stabilized, the main display will lock onto the reading and store it in memory. Press the diamond next to Calibration complete 11.) To have the analyzer finish and accept calibration data press the diamond next to Accept Data 12.) The analyzer will automatically return you to the original Calibration screen.
- Page 5 Sometimes you will want to know how you sensor is functioning. To view the sensors zero mV output from the electrode (AS), Slope (SL) and Impedance 1 and Impedance 2. From the Main screen press the I icon in the circle. The following screen will pop up press the diamond next to NEXT.
Need help?
Do you have a question about the PH450 and is the answer not in the manual?
Questions and answers