Table of Contents
Advertisement
Quick Links
Download this manual
See also:
User Manual
Advertisement
Table of Contents

Related Manuals for Pilot RC Extra 330SC


Summary of Contents for Pilot RC Extra 330SC
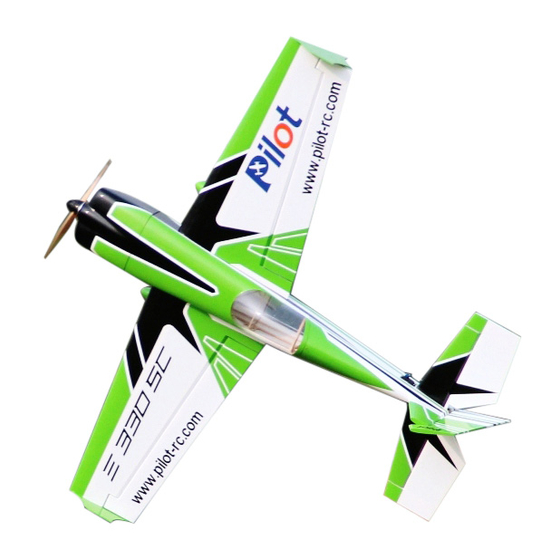
- Page 1 Pilot-RC– 20cc / Electric plane Assembly Manual...
- Page 2 • All Pilot-RC products are guaranteed against defects for 30 days of receiving your airplane. This warranty is limited to construction or productions defects in both material and workmanship, doesn’t not cover any component parts damaged by misuse or modification. •...
-
Page 3: Hardware Needed To Complete
Hardware needed to complete: Engine Option 1 : Gasline • Transmitters and Receivers • Gasoline engine - 20cc ) (for example DLE-20RA) • Servos (5pcs) (for example Pilot-RC PY-20AL) • Batteries of your choice - RX and / or Ignition Engine Option 2: Electric •... - Page 4 Assemble accessories needed to complete: • Squares • Epoxy Adhesives and Acetone Container • Cyanocrylate adhesives and accessories • X-Acto and Saw knives • Sandpaper as required • Thread lock - color Blue • Support for aircraft...
-
Page 5: Main Landing Gear Assembly
Main Landing Gear Assembly • Position the Upside Down fuselage on the fuselage tray • Install the wheels and axles on the landing gear • Install the landing gear on the fuselage... -
Page 6: Tail Wheel Installation
Tail Wheel Installation • Position the Upside Down fuselage on the fuselage tray • Observe the distance for the positioning of the eyelet, see below drawing • Install the grommet on the vertical rudder - Rudder • Do not stick the Rudder for EDGE540V3 hamilton scheme, it will damage the watch decal - IMPORTANT... - Page 7 Installing the servo horn on the stabilizer: • It is very important to sand the linkage horn • Cut the opening that was covered • Glue with epoxy glue • Remove excess glue with acetone...
- Page 8 Installing the servo horn on the rudder: • It is very important to sand the linkage horn • Cut the opening that was covered • Glue with epoxy glue • Remove excess glue with acetone...
- Page 9 Installation of the servo horn on the wing panels: • It is very important to sand the linkage horn • Cut the opening that was covered • Glue with epoxy glue • Remove excess glue with acetone...
- Page 10 Installation of the servos and links on the wing panels: • Install the servo in place - 4 screws • Finalize the installation of the links • Place the wing panels in their Wing bag...
-
Page 11: Stabilizer Installation
Stabilizer Installation: • Cut the Edge trailing from the fixed portion of the vertical rudder • Keep and set aside • Cut the covering on the stab so it can glue to the fuselage well. • Insert the stabilizer • Define a reference point on the fuselage •... -
Page 12: Rudder Installation
Rudder Installation: • Install the rudder temporarily • Validate the correct functioning movement of the rudder • Glue the rudder hinges with epoxy glue • Remove excess glue with acetone... -
Page 13: Servo Tray Installation
Servo Tray Installation: • Install the rudder servo in the fuselage as shown in the picture... -
Page 14: Pull-Pull System Installation
Pull-Pull system Installation: • Determine the correct length of the cables, for the assembly of Pull-pull • Assemble the pull-pull cables • Install and adjust cables... - Page 15 Stabilizer servo installation: • Install the elevator servo in position in the fuselage as shown in picture 1 • Finalize linkage adjustments as shown in picture 2...
-
Page 16: Cowling Installation
Cowling installation: • Install the engine Cowling, insert the screw on the cowling top (as shown in picture 1) • Install masking tape to define the location of the holes to be drilled (As shown in picture 2) • Drill the holes with 2.5mm OD... - Page 17 Preparation of the Firewall for an electric motor: • Install the electric motor firewall (as shown in picture 1) • Glue with epoxy adhesive • Install the electric motor (as shown in picture 2) • Install the electric motor and verify the distance form firewall to the prop hub to obtain the right gap with the Cowling...
-
Page 18: Engine Installation
Engine Installation: • Replace the cowling with the screws • Measure the distance for the motor installation... - Page 19 Preparation for Electric engine: • Verification for clearance gap, should be about 1 to 1.5 cm • Follow the same procedure for petrol engine...
- Page 20 Firewall set-up and preparation for Gas engine: • Glue the duplicate pieces (as shown in picture 1) • Us clamps to hold firm • Use epoxy glue or wood glue • Allow to dry properly...
-
Page 21: Gas Engine Installation
Gas engine Installation: • Install the engine as shows in picture 1 and 2 • Validate the required space between the engine cowl and the propeller bed before permanently installing the engine in place... - Page 22 Gas engine Installation component: • Install battery for ignition • Install the tank • Install servo for motor as well as linkages...
- Page 23 Accessories installation for gasoline engine: • Install the fuel dot for the fuel tank • Install the ignition switch...
- Page 24 Wheels pants Installation: 1. Hold the rear of the fuse up. Slipping the wheel pants over the axles and support the rear of the pants to line up with the ground 2. Drill the holes for the installing the self-tapping screw 3.
- Page 25 Wing deflectors Installation: • Finalize the installation of the wing deflectors with the screws provided with the Kit...
- Page 26 Balancing the CG of airplane: • The CG marked inside the fuselage, which is near the wing tube • Install the balance rods in their position (as shown in picture 1) • Install the canopy • Finalize the balancing of the aircraft for your flight preferences...
- Page 27 Final presentation of your model: Electric Model...
- Page 28 Final presentation of your model: 20cc Gas Model...
Need help?
Do you have a question about the Extra 330SC and is the answer not in the manual?
Questions and answers