Table of Contents
Advertisement
Quick Links
Advertisement
Table of Contents

Related Manuals for La Boite Concept LX


Summary of Contents for La Boite Concept LX
- Page 1 US E R M AN U AL...
-
Page 2: Table Of Contents
T A B L E O F C O N T E N T S 1 . Y O U R L X S P E A K E R B O X C O N T E N T S 2 . -
Page 3: Y O U R L X S P E A K E R
11. Only use attachments / accessories specified bu the manufacturer. / 3 power cords (C7 connector to EU plug, US plug, UK plug) 12. Use the LX only in its original base. / Audio cord (RCA to 3,5mm stereo jack) 13. - Page 4 The end user should carefully read the assembly guidelines before setting up the product or consult a brand representative in case of any question. CCLAB La Boite concept and its distributors cannot be held responsible in case of the product falling due to a mounting that did not follow these guidelines.
- Page 5 LX. If it happens, immediately switch off the device, This equipment was created and tested in confirmity with the limits of class B digital devices in diconnect it from the wall power socket and contact your dealer for assistance and advice.
- Page 6 O V E R L O A D Avoid overloading the wall-mounted electrical installations or the extension cords because this could cause a fire or an electrical discharge. Overloaded DC installations, extension cords, damaged power cables, a damaged or cracked insulation and broken plugs are dangerous. They could cause a discharge or a fire.
-
Page 7: L A B O I T E C O N C E P T L I M I T E D W A R R A N T Y
Deteriorations resulting from : accidents, lightning, water, heat, war, breaches of concept approved distributor. public order, or other causes outside of the reasonable control La Boite concept or its This limited warranty is valid for a two years period from the date of purchase unless exclusions approved distributors. -
Page 8: G E N E R A L D E S C R I P T I O N
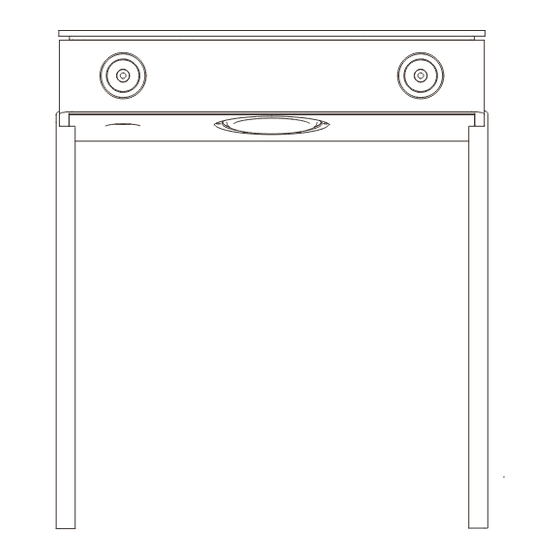
4 . G E N E R A L D E S C R I P T I O N IN PU T P ANE L RCA or K N O B S A N D CONTROL PANEL Phono Phono selection grounding Entrée... - Page 9 BA CK OF Y OU R L X Cable Hook holding the guide cable TO P OF Y OU R L X Sliding trap door accessing the central IEC power socket Power socket 150W Master ON/OFF 100/240 V button 50/60 Hz...
-
Page 10: L X O P E N I N G A N D A S S E M B L I N G
Don’t forget that the LX is heavy; Save the original packaging in case you should have to return the device because the limited warranty does not cover damages due to shipping. La Boite concept’s “return within 3O days” policy covers only prodcuts which are returned in their original packaging. - Page 11 3. Remove the upper protective foam. With the help of somebody, lift the loudspeaker to remove the front cover. Then, replace the loudspeaker back into its protective foam. respective. 4. Use the “LEFT” and “ RIGHT” indications to match the stands and Flat head screws Flat head screws the loudspeaker and...
- Page 12 Besoin d’aide pour monter votre LX Platine ? Veuillez consulter notre notice vidéo disponible sur YouTube : LX Montage. Accédez-y directement depuis le QR code suivant : 5. With the help of somebody, flip the LX to standing position and remove the protective foam.
-
Page 13: Q U I C K S T A R T
LX offers optimal listening wherever you are seated or moving. Thus, the LX has been designed for both high fidelity listening at low levels, as well as for a group experience during a party at high levels. -
Page 14: T Urn I N G T H E Power On/O F F
This source is linked to the RCA/Phono button located on the input panel. 4 . First, turn on the the LX by switching the master ON/OFF at the back of the loudspeaker (please refer to the drawing on page 17). -
Page 15: U S I N G Y O U R L X W I T H Y O U R D E V I C E S
Bluetooth® devices. When pairing a new device, press the pair button again, and reeat steps above. Your LX is able to store up to six devices in TO INCREASE THE VOLUME its memory. -
Page 16: C H Argi Ng Through The Iec Pow Er Soc K Et
LX is asleep. However, if you turn off the LX using the master ON / OFF, there will no longer be power running through the IEC plug. -
Page 17: C O N N Ec T A Turntable
3 / Then place them in the grooves located on the loudspeaker. 7 / Plug the turntable’s audio signal cable into the AUX input of the LX. Then plug in your turn- table to the power socket inside the trapdoor. - Page 18 IF YOU OWN A NON PREAMPLIFIED TURNTABLE (TRADITIONAL) 6 / Swap to PHONO source by switching the button on the input panel. 1 / Remove the five silicone pads which are located underneath the blotter: those are stick with a double-sided adhesive. 2 / Clip the 5 shock absorbers in the groove of the pods provided for the purpose: there are 2 pods per shock absorber.
-
Page 19: W H A T T O D
110 degres, the highest level allowed for safe optimal listening conditions must be lowered until the amplifier cools down. Before cleaning the device, unplug your LX from the power socket. Clean the device only with a dry cloth. Do not use cleaning alcohol or solvents to clean the device’s surface because these could damage the painting and cause electrical failures or fire if they penetrate the device’s electronics. -
Page 20: T E C H N I C A L S U M M A R Y
9 . T E C H N I C A L S U M M A R Y SOURCES Bluetooth® AptX AUX : stereo jack 3.5mm Phono input with ground RCA input Optical: optical digital audio input DAC Wolfsond 24 bits USB USB CHARGERS 2 x USB-A (permanent connection, charging up to 2,4 A) DIMENSIONS &... - Page 21 269 Chemin De Mentaberrikoborda, 64480 USTARIZ - 05 64 11 54 18 41 Rue Sedaine, 75011 PARIS - 01 43 72 53 24 info@laboiteconcept.com www.laboiteconcept.com...
Need help?
Do you have a question about the LX and is the answer not in the manual?
Questions and answers