Table of Contents
Advertisement
Advertisement
Table of Contents

Related Manuals for Jorvik Odin


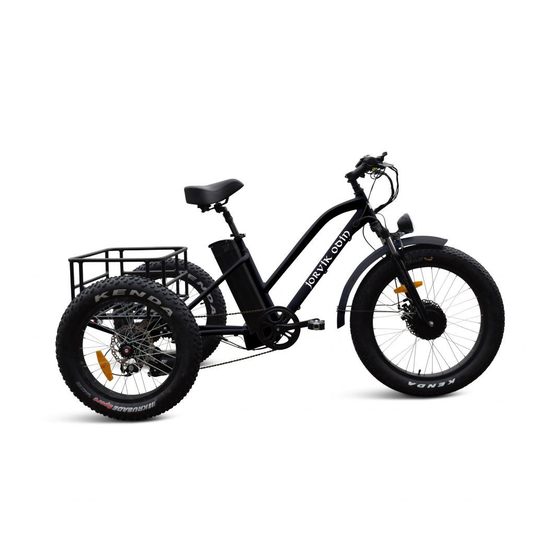
Summary of Contents for Jorvik Odin
- Page 1 Instruction Manual Jorvik Tricycles...
-
Page 2: Recording Your Serial Number
JORVIK TRICYCLES Please take time to record the following information: Recording Your Serial Number Bike Serial No: Battery Serial No: Model: Color: Date of Purchase: Distributor: Contact: Page | 2... -
Page 3: Table Of Contents
JORVIK TRICYCLES Please use this product according to the instructions. Introduction Dear Customer, Before using this ebike please take time to read this manual. It is the Owner’s responsibility to carefully read all of the contents of this manual and to comply with all laws pertaining to the operation of bicycles and/or electric bicycles in your local jurisdiction. - Page 4 JORVIK TRICYCLES These electric bikes are not classified as motor vehicles; however, to drive them on the roads, various countries have differing laws. We have worked hard to provide you a quality product, well designed, and without defects. You too have a part to play……...
-
Page 5: Safety Precautions
DO NOT use chargers or other components that have not been approved and tested by Jorvik Tricycles. Jorvik Tricycles is not responsible for damages caused by the use of other products not specifically designed and tested for use with this electric bike. -
Page 6: Assembly
JORVIK TRICYCLES Assembly Instructions Carefully remove the bike from its box. Front Wheel Assembly Motor waterproof patch cord fit together according to the arrow indicates the direction ( As the picture shows) Remove the nuts from the front axle. Slide the wheel into the slots at the end of the forks. Make sure the disk for the brake slides into the front brake caliber cleanly. -
Page 7: Assembly Instructions
JORVIK TRICYCLES Assembly Instructions HOW TO ASSEMBLE THE FRONT LIGHT 1.MATCH THE FENDER HOLE TO THE FRONT FORK HOLE. INSERT 2. Match the light hole to the support . Insert THE LIGHT SUPPORT AND HEXAGON SOCKET HEAD CAP SCREW LIKE the ross head cap screw through and tighten FOLLOWING PICTURE. -
Page 8: Seat Post Assembly
JORVIK TRICYCLES Assembly Instructions HOW TO ASSEMBLE THE FRONT LIGHT AND FRONT FENDER 4.match the fender stay to the fork hole and tighten the screw. ( same to the other side). Then the fender assembly is done. Seat Post Assembly Seat Installation: Insure the mounting clamp is mounted on the frame over the hole on the seat. - Page 9 JORVIK TRICYCLES Pedal Assembly L or R on the pedal axle. Tighten clockwise for the right pedal and anti-clockwise for the left pedal. L means left pedal. R means right pedal. Recommended Torque for main parts’ assembly Parts Torque required (N.M)
-
Page 10: Charging Instructions
JORVIK TRICYCLES Charging instructions 1. Out of the box, the battery is only semi‐charged. Charge to its full capacity before first use. 2. For the first three charges, charge the battery for at least 12 hours. 3. Put the female plug of the charger into charging socket of the battery box. Insert the male end of the plug into the outlet. -
Page 11: Lcd Display Function Overview
JORVIK TRICYCLES LCD DISPLAY FUNCTION OVERVIEW How to select KM/H & MPH Click UP & DOWN for 3‐5 seconds to enter into SET MODE , press M to find Auto mode 4 and select KM/H & MPH Page |... -
Page 12: Operating Instructions
JORVIK TRICYCLES Operating instructions 1. To use the Pedal Assist feature, start to pedal and after you reach a speed of 3 mph the motor will start to assist you to the maximum speed set in (5). 2. Throttle: Your throttle is on the right hand side of your handlebars. Turn the throttle grip towards you while seated on the bike. -
Page 13: Riding Tips
JORVIK TRICYCLES Riding Tips 1. Before riding, check to make sure the battery is fully charged, that the air pressure in the tyres is normal, and make sure the front and back brakes are working properly. Check the tightness of the front and back wheel, handlebar and that the seat is fastened tightly enough. -
Page 14: Maintenance
JORVIK TRICYCLES Maintenance Wheels: Wheels should be centred in the fork or dropouts. If you hear any irregular noise from the wheels or brakes, the wheels should be checked and repaired. Regularly check the spokes of the wheels for tightness and rim alignment. The wheels should rotate smoothly without wobbling from side to side. -
Page 15: Troubleshooting
JORVIK TRICYCLES Batteries: There is a locking key to lock your battery onto the bike frame to discourage theft. Do not attempt to open any of these batteries in any way! Doing so may cause chemical, electrical, and/or fire hazards. -
Page 16: How To Remove The Rear Axle, Rear Diff And Bearing
JORVIK TRICYCLES How to remove the rear axle, rear diff and bearing. Use the tool to remove the screws marked with red circles use the tool (3mm Inner Hexagon) to remove the above screw Page | 16... - Page 17 JORVIK TRICYCLES Push the wheel from inside to remove the wheel axle After remove the wheel axle, put a rod inside, and use a wood hammer to knock the rod to remove the bearing. Page | 17...
Need help?
Do you have a question about the Odin and is the answer not in the manual?
Questions and answers