Table of Contents
Advertisement
Quick Links
Advertisement
Table of Contents

Related Manuals for Spypoint Force-Dark


Summary of Contents for Spypoint Force-Dark
-
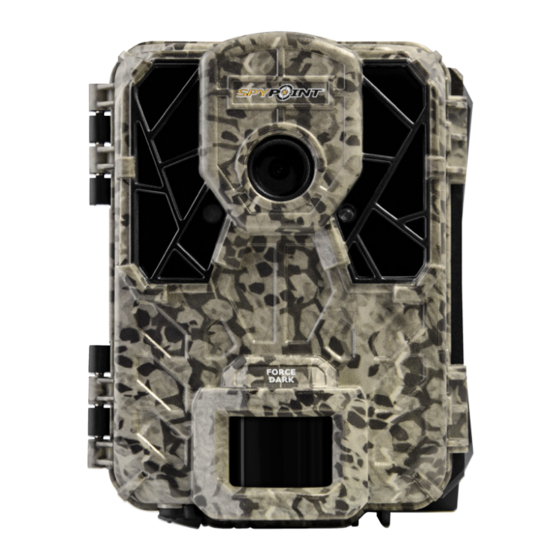
Page 1: Quick Start Guide
FORCE-DARK & COMPARABLES* QUICK START GUIDE v. 1 . 1... - Page 2 1 X Mounting bracket 1 X Installation strap 1 X Quick Start Guide Note: Memory card and batteries are sold separately. User manual, latest firmware & FAQ available at support.spypoint.com Components Photo lens Tripod mount Test light Cable lock hole...
-
Page 4: Choosing A Power Source
Preparation REMOVING THE CAMERA FROM THE MOUNTING BRACKET • Push the tab to remove the camera from the mounting bracket; • Remove the camera; CHOOSING A POWER SOURCE DC 12V Lithium or Alkaline batteries 12V power source Be sure to insert the AA batteries according to the polarity indications (+) and (-). -
Page 5: Inserting A Memory Card
INSERTING A MEMORY CARD Always ensure that the camera is turned off before inserting a memory card. Insert an SD/SDHC memory card up to 32 GB capacity into the SD card slot with the label side facing upwards. The card is inserted correctly when a click is heard. ... -
Page 6: Configuring The General Settings
Configuration and Use the buttons to navigate the menus and change options, the OK button to select and the BACK button to return to the previous menu. CONFIGURING THE GENERAL SETTINGS A. To turn ON/OFF the camera, press and hold the OK button; SETTINGS HOME (Con guration) -
Page 7: Time Lapse
CONFIGURING THE SETTINGS FOR THE 3 OPERATING MODES From the home menu, select SETTINGS then PHOTO, TIME LAPSE or VIDEO to access the respective mode configuration menu. SETTINGS HOME (Con guration) Photo Start Camera Photo (Con guration) Time lapse Detection test Time lapse (Con guration) Vidéo... - Page 8 SUGGESTED PHOTO MODE CONFIGURATION Usage in trails Usage by a feeder Delay Instant 5 min Multi-shot...
- Page 9 INSTALLATION AND MOUNTING BRACKET When the camera is installed using the mounting bracket, it can be removed to access the battery case without disturbing the installation. Recommended installation height: The camera should be installed at the same height as the animal’s mid-body Ideal installation for quality images and videos: The targeted animal should be 7.5 m away from the camera for a...
-
Page 10: Starting The Camera
TESTING THE CAMERA’S MOTION DETECTION CAPABILITY The test light flashes when the HOME camera detects motion. If the Start Camera system does not detect motion, Detection Test increase the detection sensitivity View using the “Sensitivity” option in the SETTINGS/GENERAL menu. Adjust Settings the camera’s position as needed. - Page 11 2-year warranty. We strive to provide our customers with a positive experience and an outstanding service. User manual, latest firmware & FAQ available at support.spypoint.com Online support at SPYPOINT.COM service@spypoint.com Join the community Facebook: www.facebook.com/spypoint/ Youtube: www.youtube.com/user/SpypointTrailCam Instagram: @spypointcamera...
Need help?
Do you have a question about the Force-Dark and is the answer not in the manual?
Questions and answers