Table of Contents
Advertisement
Installation, Operation
and Maintenance Manual
Under Counter Reverse Osmosis System
Model 315, 415, 525, 525P
WARNING
!
Please read carefully before proceeding with
installation. Your failure to follow any attached
instructions or operating parameters may lead to the
product's failure.
Keep this Manual for future reference.
WARNING
!
Do not use with water that is microbiologically unsafe or of
unknown quality without adequate disinfection before or
after the system.
IMPORTANT
If you are unsure about installing your WATTS water filter, contact
a WATTS representative or consult a professional plumber.
CAUTION
!
Test the water periodically to verify that the system is performing
satisfactorily.
Discard small parts remaining after the installation.
NOTICE
Failure to install the system correctly voids the warranty.
Handle all components of the system with care. Do not drop,
drag or turn components upside down.
Be sure the floor under the water filter system is clean, level
and strong enough to support the unit.
Watts Water Quality, 8716 W Ludlow Drive Suite #1, Peoria, AZ 85381
Phone: 800-659-8400 Fax: 800-659-8402
Manual #: 199613
IOM-WQ-315_415_525
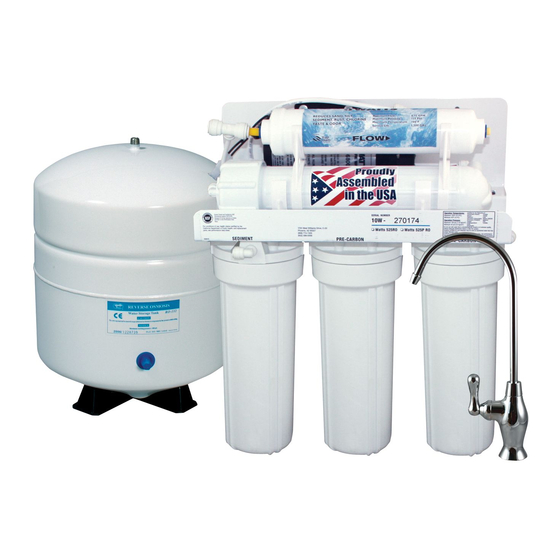
Model 525P Shown
Manual Date: 11/11/2015
Advertisement
Table of Contents


Need help?
Do you have a question about the 315 and is the answer not in the manual?
Questions and answers