Sign In
Upload
Download
Table of Contents
Contents
Add to my manuals
Delete from my manuals
Share
URL of this page:
HTML Link:
Bookmark this page
Add
Manual will be automatically added to "My Manuals"
Print this page
×
Bookmark added
×
Added to my manuals
Manuals
Brands
Nikon Manuals
Measuring Instruments
Nivo 2.C
Instruction manual
Nikon Nivo 2.C Instruction Manual
Hardware
Hide thumbs
1
2
3
4
5
6
7
8
9
10
Table Of Contents
11
12
13
14
15
16
17
18
19
20
21
22
23
24
25
26
27
28
29
30
31
32
page
of
32
Go
/
32
Contents
Table of Contents
Bookmarks
Table of Contents
Safety
Introduction
Warnings and Cautions
Warnings
Cautions
Rechargeable Lithium-Ion (Li-Ion) Batteries
Laser Safety
Table of Contents
1 Introduction
Welcome
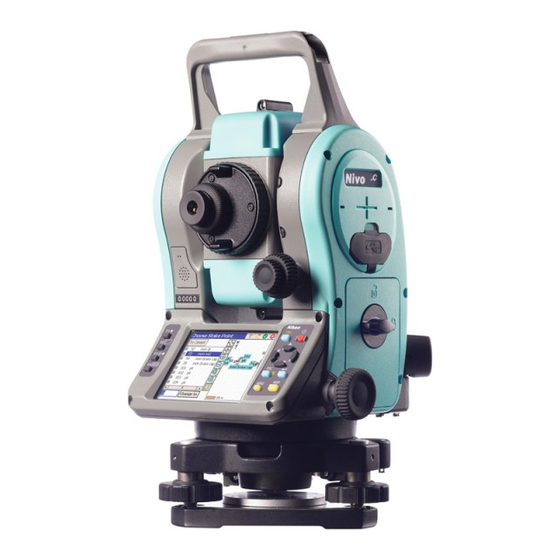
Parts of the Instrument
Maintenance
2 Preparation
Unpacking and Packing the Instrument
Unpacking
Packing
Charging the Battery Pack
Detaching and Re-Attaching the Battery Pack
Setting up the Tripod
Centering
Centering Using the Optical Plummet
Centering Using the Laser Plummet
Centering Using a Plumb Bob
Leveling
Sighting
Setting the Measurement Mode and Preparing the Target
Measurement with a Prism
Measurement in Reflectorless Mode
Setting up the Prism Reflector
Adjusting the Height of the Tribrach Adapter
Changing the Direction of the Prism
Setting the Position of the Target Plate
Advertisement
Quick Links
1
Parts of the Instrument
2
Maintenance
3
Setting the Measurement Mode and Preparing the Target
4
Measurement in Reflectorless Mode
Download this manual
Total Station Nivo Series
Nivo
2.C
, Nivo
3.C
and Nivo
5.C
Instruction Manual
<Hardware>
Version A 1.0.0
Part Number C241E (1/2)
November 2009
www.trimble.com
Table of
Contents
Previous
Page
Next
Page
1
2
3
4
5
Advertisement
Table of Contents
Need help?
Do you have a question about the Nivo 2.C and is the answer not in the manual?
Ask a question
Questions and answers
Related Manuals for Nikon Nivo 2.C
Measuring Instruments Nikon Nivo Series Instruction Manual
Total station (197 pages)
Camera Accessories Nikon DTM Series Communication Interface Manual
(34 pages)
Nikon COOLSHOT 20 GII - 6x20 Laser Rangefinder Manual
(article)
Measuring Instruments Nikon COOLSHOT 20 GII Instruction Manual
Laser rangefinder (260 pages)
Measuring Instruments Nikon COOLSHOT 50 i Instruction Manual
(24 pages)
Nikon COOLSHOT 20i GII - 6x20 Laser Rangefinder Manual
(article)
Measuring Instruments Nikon COOLSHOT 20 i GIII Instruction Manual
(28 pages)
Measuring Instruments Nikon Callaway XHOT Instruction Manual
(17 pages)
Measuring Instruments Nikon NPL-632 Instruction Manual
Field station (206 pages)
Measuring Instruments Nikon Laser 800 - Monarch Laser 800 Rangefinder Instruction Manual
Instruction manual (8 pages)
Measuring Instruments Nikon Coolshot 40i Instruction Manual
(68 pages)
Measuring Instruments Nikon N Series Instruction Manual
(198 pages)
Nikon Laser 550, ProStaff 550, Team REALTREE 550 Manual
(article)
Measuring Instruments NIKON Callaway LR550 Instruction Manual
Callaway diablo octane (2 pages)
Measuring Instruments Nikon Laser 550 Instruction Manual
Nikon laser rangefinder instruction manual (2 pages)
Nikon COOLSHOT 50i - 6x22 Golf Laser Rangefinder Manual
(article)
This manual is also suitable for:
Nivo series
Nivo 5.c
Nivo 3.c
Table of Contents
Print
Rename the bookmark
Delete bookmark?
Delete from my manuals?
Login
Sign In
OR
Sign in with Facebook
Sign in with Google
Upload manual
Upload from disk
Upload from URL


Need help?
Do you have a question about the Nivo 2.C and is the answer not in the manual?
Questions and answers