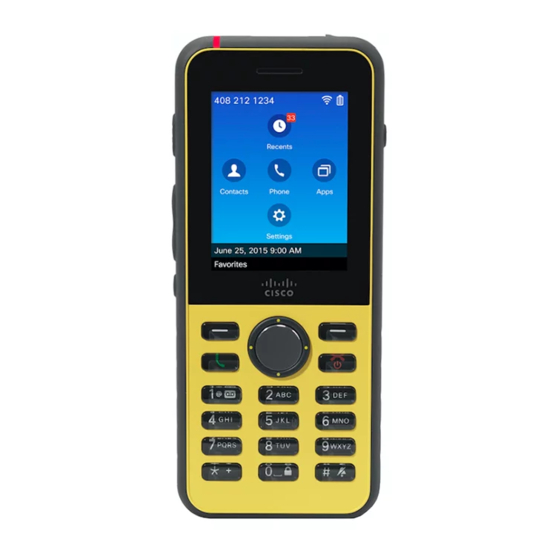
Cisco 8821 Setup
Wireless ip phone
Hide thumbs
Also See for 8821:
- Manual (202 pages) ,
- Administration manual (158 pages) ,
- User manual (116 pages)
Table of Contents
Advertisement
Quick Links
Phone Setup
•
•
Phone Hardware Installation
Before you can use your phone, you must install and charge the battery. The battery may already be installed
in your phone, or you may have to install it yourself.
You must read the safety information in
phone.
The battery may already be charged using one of the supported charging methods. If the battery isn't charged,
you must charge the battery before you can set up the phone.
Install the Cisco Wireless IP Phone 8821 Battery
IP54 compliance mean that the phone is sealed from dust and water. When the phone leaves the factory, it is
completely sealed.
If you need to open the battery compartment, don't open it in a dusty or wet environment.
You should make sure that the battery cover is closed to ensure that dust and water cannot enter the battery
compartment.
Note
Dirt, oil, or other products can damage the gasket on the battery compartment cover, resulting in a poor seal.
Every time you change the battery, inspect the gasket for damage. If the gasket is damaged, you can order a
replacement cover.
Phone Hardware Installation, on page 1
Phone Configuration Tasks, on page 15
Product Safety and Security
before you use, install, or charge the
Phone Setup
1
Advertisement
Table of Contents

Related Manuals for Cisco 8821


Summary of Contents for Cisco 8821
- Page 1 Install the Cisco Wireless IP Phone 8821 Battery IP54 compliance mean that the phone is sealed from dust and water. When the phone leaves the factory, it is completely sealed.
- Page 2 Phone Setup Install the Cisco Wireless IP Phone 8821 Battery Caution Phone life and functions could be compromised if: • The battery is installed incorrectly. • The battery cover is not closed properly. • The rubber gasket on battery cover is poorly maintained.
- Page 3 Hold the battery so that the lower edge is close to the bottom of the compartment. Make sure that the metal contacts on the phone and battery face each other. On the battery, the Cisco logo must be near the locking catch and the arrow must point to the base of the phone.
- Page 4 Phone Setup Install the Cisco Wireless IP Phone 8821 Battery Do not force the battery into the compartment or you will damage the compartment and the Caution battery. b) Slide the bottom of the battery under the tabs in the bottom of the battery compartment.
- Page 5 Phone Setup Install the Cisco Wireless IP Phone 8821 Battery When you close the battery cover, make sure that it is completely closed. Otherwise dust and water Caution can enter the battery compartment. a) Align the tabs at the bottom of the cover into the notches on the phone.
-
Page 6: Replace The Cisco Wireless Ip Phone 8821 Battery
Phone Setup Replace the Cisco Wireless IP Phone 8821 Battery Caution Do not force the cover. If it doesn't click into place easily, remove the cover and check that the battery is inserted correctly. c) Check that the cover is flush with the phone, then slide the lock to the right to lock the cover in place. - Page 7 Phone Setup Replace the Cisco Wireless IP Phone 8821 Battery Note Dirt, oil, or other products can damage the gasket on the battery compartment cover, resulting in a poor seal. Every time you change the battery, inspect the gasket for damage. If the gasket is damaged, you can order a replacement cover.
- Page 8 Phone Setup Replace the Cisco Wireless IP Phone 8821 Battery Step 3 Install the battery. Caution If you install the battery incorrectly in the battery compartment, the battery and the battery compartment will be damaged. Phone Setup...
- Page 9 Hold the battery so that the lower edge is close to the bottom of the compartment. Make sure that the metal contacts on the phone and battery face each other. On the battery, the Cisco logo must be near the locking catch and the arrow must point to the base of the phone.
- Page 10 Phone Setup Replace the Cisco Wireless IP Phone 8821 Battery Step 4 Inspect the gasket on the inside of the battery compartment cover and, if necessary, clean it with a cloth dampened with water. Do not use oil- or alcohol-based cleaners on the gasket. These cleaners will damage the gasket and Caution void the phone warranty.
- Page 11 Phone Setup Replace the Cisco Wireless IP Phone 8821 Battery b) Press the cover firmly against the phone until it clicks in place. Press at the top, middle, and bottom of the cover on each side. Caution Do not force the cover down. If it doesn't click into place easily, remove the cover and check that the battery is inserted correctly.
-
Page 12: Phone Battery Charging
Phone Setup Phone Battery Charging Phone Battery Charging You can charge the battery using any of the following options: • USB cable—You can charge the phone with an AC power adapter or your computer. • Desktop charger—You can use the phone and charge it at the same time. •... -
Page 13: Charge The Battery With The Ac Power Supply
Phone Setup Charge the Battery with the AC Power Supply Procedure Step 1 Catch the edge of a prong with your finger and pull the prong up until it clicks into position. Step 2 (Optional) Install the international power clip. Step 3 (Optional) Before you close the adapter, remove the international power clip. -
Page 14: Charge The Battery With The Usb Cable And A Usb Port On Your Computer
Phone Setup Charge the Battery with the USB Cable and a USB Port on Your Computer Caution Do not charge the phone in a hazardous environment. Do not charge the phone if it is wet. Before you begin You need the USB power cable supplied with your phone. You need to prepare the power adapter for use as described in Prepare the Power Adapter, on page Procedure... -
Page 15: Phone Configuration Tasks
Phone Setup Phone Configuration Tasks Caution Do not charge the phone in a hazardous environment. Do not charge the phone if it is wet. Procedure Step 1 Connect the long connecter of the USB cable to the bottom of the phone with the pins aligned. Step 2 Plug the other end into the USB port in the computer. - Page 16 Phone Setup Phone Configuration Tasks 1. Ensure that your Cisco Unified Communications Manager has the latest firmware load and any required device packages. 2. (Optional) Set up Wi-Fi profiles, Wi-Fi profile groups, phone button templates, softkey templates, and the common phone profile on the Cisco Unified Communications Manager.
Need help?
Do you have a question about the 8821 and is the answer not in the manual?
Questions and answers