Table of Contents
Advertisement
Quick Links
Advertisement
Table of Contents

Related Manuals for AV Stumpfl FULLWHITE


Summary of Contents for AV Stumpfl FULLWHITE
- Page 1 FULLWHITE MANUAL...
- Page 2 CORNER ELEMENTS 4 pieces- basic frame 52x52 cm (fig.: including SET UP SUPPORT,optional) CENTRE SUPPORT Consists of plug in elements with integrated screw connection ACCESSORY BAG Yellow bag for mounting accessories PROJECTION SCREEN BAG Lined storage bag for folded projection screen (Optional transport tube for rolled delivery)
- Page 3 128x25x30 cm big 133x31x35 cm (optional Flightcase) FULLWHITE FRAME Modular plug-in frame system Basic frame (4 corners 52x52 cm), Frame components in custom length Fullwhite compact: standard and supplementary frame components in short lengths for small transport volume ASSEMBLY INSTRUCTION...
-
Page 4: Table Of Contents
INDEX SCOPE OF DELIVERY GENERAL OVERVIEW FULLWHITE FRAME COMPONENTS CLAMP CONNECTION FRAME MOUNTING WITH SET UP SUPPORT CENTER SUPPORT PIVOT NUTS ATTACHMENT OF SET UP SUPPORT MOUNTING OPTIONS FRAME MOUNTING WITHOUT SET UP SUPPORT ACCESSORIES ©www.pi-tec.com... -
Page 5: General
GENERAL QUALITY AND SAFETY: This projection screen is in accordance with the safety regulations in DIN standard 19045 and DIN 56950. The screen fabric is comply with DIN 4102 part 1 and the specifications of the according data sheet. WARRANTY: The warranty period for production deficiencies is 5 years for the frame elements and 24 months for the projection surface. -
Page 6: Overview
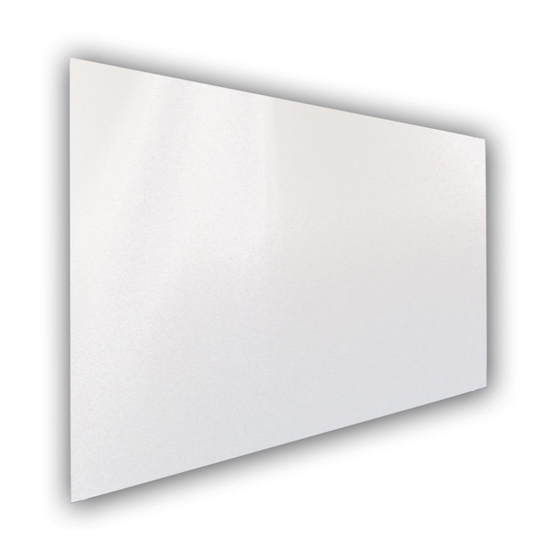
OVERVIEW Further development of the mobile projection screens for applications where hidden technology and puristic design is required. With the minimalistic design this projection screen fits easily in every optical superior installation. Universal, invisible mounting options as well as high stability and flexibility are essential features of this projection system. -
Page 7: Fullwhite Frame Components
FULLWHITE FRAME COMPONENTS FULLWHITE All components of the projection screen are labeled. For assembly, start with the basic frame. Place the corner elements 1 to 4 according to drawing above. Afterwards separate the frame components to „horizontal“ and „vertikal“ and halve the number for each frame site. -
Page 8: Clamp Connection
CLAMP CONNECTION The Fullwhite clamp connector is equipped with a center safety screw. The clamp connection is tightened with the two screws (1&2) and additionally secured with a center safety screw (3). Therefore use the included TORX screwdriver TX25. -
Page 9: Frame Mounting With Set Up Support
FRAME MOUNTING WITH SET UP SUPPORT PROTECTIVE FOIL Before you unroll the projection surface with the projection side down, the floor has to be cleaned com- pletely and the supplied protective foil has to be laid out. The protective foil is to prevent dirt and damage of the projection surface. FRAME MOUNTING Detailed instruction for SET UP SUPPORT (optional accessory) on page 13 NOTE: SET UP SUPPORTS can remain folded up on the frame after mounting. -
Page 10: Center Support
CENTER SUPPORT 1-2 Put together the center support according to the labels and secure the connections with the two wing nuts. 3 Detach the pivot nuts from the top and bottom center support element and insert them into the inner slot of the horizontal frame bar. - Page 11 SURFACE ATTACHMENT 1-2 Foldaway legs hold the projection screen’s frame in position above the floor to allow the surface attachment from top. 3-4 Lay out the surface on the frame with the label „OBEN-TOP“ corresponding with the upper frame bar. It is necessary to carry out this step with several people to avoid damage of the projection surface.
- Page 12 5-6 Attach the surface by starting at the first corner to fix one vertical and horizontal hook to the corner clip. Repeat this step according to the order in picture 7. Finally stretch all the remaining hooks one by one over the profile edge and put them into the bottom profile slot.
-
Page 13: Pivot Nuts
ATTACHMENT OF SET UP SUPPORT The installation of the projection surface with large FULLWHITE is done by using SET UP SUPPORTS. Those foldaway legs hold the frame approx. 12 cm above the floor to allow the surface attachment from top. -
Page 14: Mounting Options
MOUNTING OPTIONS MOUNTING BRACKET FOR WALL MOUNTING Optional as vertical or horizontal mounting point MOUNTING BRACKET FOR CEILING SUSPENSION MOUNTING BRACKETS FOR LEGS: Individually movable mounting brackets for legs can be mounted at the inner side of the frame profile. -
Page 15: Frame Mounting Without Set Up Support
FRAME MOUNTING WITHOUT SET UP SUPPORT In case of frame mounting without SET UP SUPPORT the profiles have to be placed on the floor with the profile groove to the top . - Page 16 PROTECTIVE FOIL Before you unroll the projection surface with the projection side down, the floor has to be cleaned completely and the supplied protective foil has to be laid out. The protective foil is to prevent dirt and damage to the projection side of the projection surface. SURFACE MOUNTING The frame now needs to be placed flat onto the backside of the projection surface according to the photo.This step has to be carried out with several people to avoid any damage of the projection...
-
Page 17: Accessories
3. CONNECTION BRACKETS AND CONNECTION PLATES To connect Fullwhite frames, several types of connection are available on request. Example 1: Connection bracket outside corner 90° Example 2: Connection bracket inner corner...
Need help?
Do you have a question about the FULLWHITE and is the answer not in the manual?
Questions and answers